

- Taking attendane by one image.
- Face detection using MTCNN implementation for TensorFlow by ipazc;
- Face recogition using face embedding and K Nearest Neighbor by ageitgey and scikit-learn;
- This is a object oriented program, you can create your own class for taking attendance;
- Image processing by opencv and matplotlib;
- In the future, I will deploy it by Flask, try different machine learning algorithm for better result;
- Averagers are used for demonstration :)
In this demo, class name is Avengers.

├── Attendancv
├── data
├── < class name >
├── image
├── class
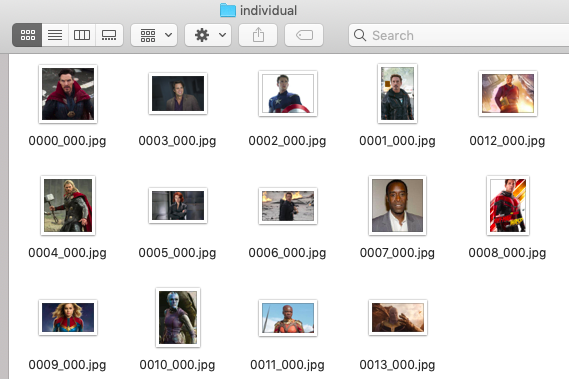
├── individual
├── < class name >.csv
├── label_dictionary.py
├── model.py
└── utils.py
Puting label names on first row starting by second column, 'time' on cell A1. This csv file will save all attendance record by the program.

Each image on folder individual corresponding to 1 label. The image name format needs to follow the order of label name on the first row of < class name >.csv.
The number is started from zero.
The format of image name : 000< label order >_00< label image amount >.jpg
First individual image of Thanos who is No.13 on < class name >.csv : 0013_000.jpg
Secord individual image of Thanos who is No.13 on < class name >.csv : 0013_001.jpg

Puting the class image on class folder everytime. If you put one image each time, you no need to change image name.
Else, following class image format as YYYY-mm-dd HH/mm.jpg

Whole procress are three lines, creating class, modelling and prediction.
The code below can be executed on label_dictionary.py.

object = Label_Dictionary(< class name >, save_individual_annotated=False)
The face image name, face vector and loaction of each label are saved to the < class name >.json. it is created after line one was executed.
├── data
	├── < class name >
		├── image
		├── < class name >.csv
		├── < class name >.json

if save_individual_annotated = True in Label_dictionary( ), annotated folder will be created and annotated image will save to this folder by program.

object.modelling(n_neighbors= 1)
Executing second line for creating k nearest neighbor(KNN) for face recognition.
You can select n_neighbors in fuction modelling();
The KNN model out named as < class name> knn < n_neighbors >.

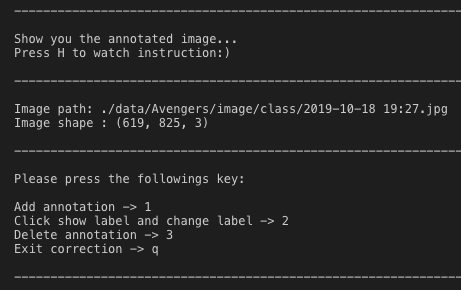
object.tick_attendence(img_name = None,save_annotated = True,add_vector = True,n_neighbors = 1)
If face recognition is wrong on the class image, you have three method to do correction. adding annotation, change label tag and delete annotation.
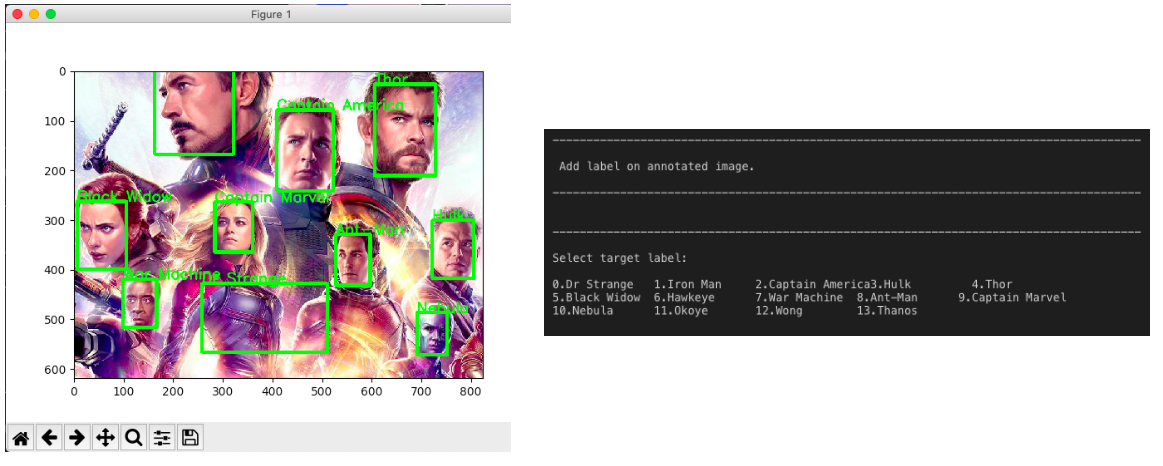


The new face vectors, locations from class image will add to the < class name >.json, also new KNN model is created.

The attendance record is saved in < class name >.csv.