With timelapse you can create movies using time-lapse photography taken with your webcam. The result can look something like this (watch it on YouTube):
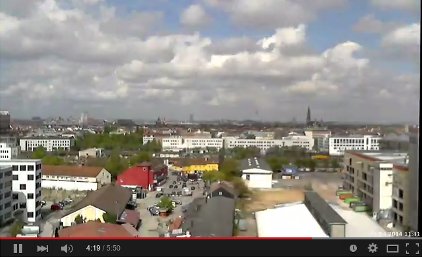
(Rendered out of ~15,000 snapshots taken from my office window.)
timelapse consists of two shell scripts:
take-snapshot.sh takes a snapshot with your webcam and should be called
periodically, e.g. via a cronjob running every minute.
render-movie.sh uses all snapshots taken so far and renders a 24fps movie out
of them.
/bin/bash- fswebcam
- Mencoder from MPlayer
- A webcam ;-)
To install the required software under Ubuntu or any other Debian-based Linux, simply run:
apt-get install fswebcam mencoder
Next, download timelapse either as a ZIP file or use Git:
git clone https://github.com/wrzlbrmft/timelapse.git
To run take-snapshot.sh every minute, add the following line to your crontab
and change the path to the unzipped or the checkout directory:
* * * * * /path/to/take-snapshot.sh
timelapse consists of two shell scripts using /bin/sh.
In addition to the (optional) command-line arguments, every script can be configured by setting the variables it contains at the beginning. They should all be self-explanatory.
Usage:
./take-snapshots.sh [<device>] [<snapshotsDir>]
By default the device is /dev/video0 and the snapshots are saved in a
directory called snapshots next to the script file.
Usage:
./render-movie.sh [<snapshotsDir>] [<movieFile>]
By default the snapshots are loaded from a directory called snapshots and the
movie file is called movie.avi; both next to the script file.
Mencoder requires the snapshot files to be named numerically and in directly ascending order, like
000001.jpg
000002.jpg
000003.jpg
...
Therefore render-movie.sh prepares the snapshot files in a temporary directory
before actually rendering the movie out of them.
By default this is done using symlinks (ln -s ), but render-movie.sh can
also copy the snapshot files to the temporary directory, in case your file
system does not support symlinks.
To copy the snapshot files instead of using symlinks, simply change the
USE_SYMLINKS variable in the script to:
USE_SYMLINKS="0"
Depending on the number of snapshot files, copying them can take a while and also requires more disk space of course.
NOTE: The temporary directory is not automatically removed afterwards. I did not want to rm -rf a directory from a script variable (reminds me of this famous bug).
This software is distributed under the terms of the GNU General Public License v3.