
FcmSharp is a .NET library for the Firebase Cloud Messaging (FCM) API.
It implements the Firebase Cloud Messaging HTTP v1 API:
FcmSharp supports .NET Core as of Version 1.0.0.
You can use NuGet to install FcmSharp. Run the following command in the Package Manager Console.
PM> Install-Package FcmSharp
// Copyright (c) Philipp Wagner. All rights reserved.
// Licensed under the MIT license. See LICENSE file in the project root for full license information.

using System;
using System.Threading;
using FcmSharp.Requests;
using FcmSharp.Settings;

namespace FcmSharp.ConsoleApp
{
    public class Program
    {
        public static void Main(string[] args)
        {
            // Read the Credentials from a File, which is not under Version Control:
            var settings = FileBasedFcmClientSettings.CreateFromFile(@"D:\serviceAccountKey.json");

            // Construct the Client:
            using (var client = new FcmClient(settings))
            {
                var notification = new Notification
                {
                    Title = "Notification Title",
                    Body = "Notification Body Text"
                };

                // The Message should be sent to the News Topic:
                var message = new FcmMessage()
                {
                    ValidateOnly = false,
                    Message = new Message
                    {
                        Topic = "news",
                        Notification = notification
                    }
                };

                // Finally send the Message and wait for the Result:
                CancellationTokenSource cts = new CancellationTokenSource();

                // Send the Message and wait synchronously:
                var result = client.SendAsync(message, cts.Token).GetAwaiter().GetResult();

                // Print the Result to the Console:
                Console.WriteLine("Data Message ID = {0}", result.Name);

                Console.WriteLine("Press Enter to exit ...");
                Console.ReadLine();
            }
        }
    }
}Please follow the official documentation for creating a Firebase project:
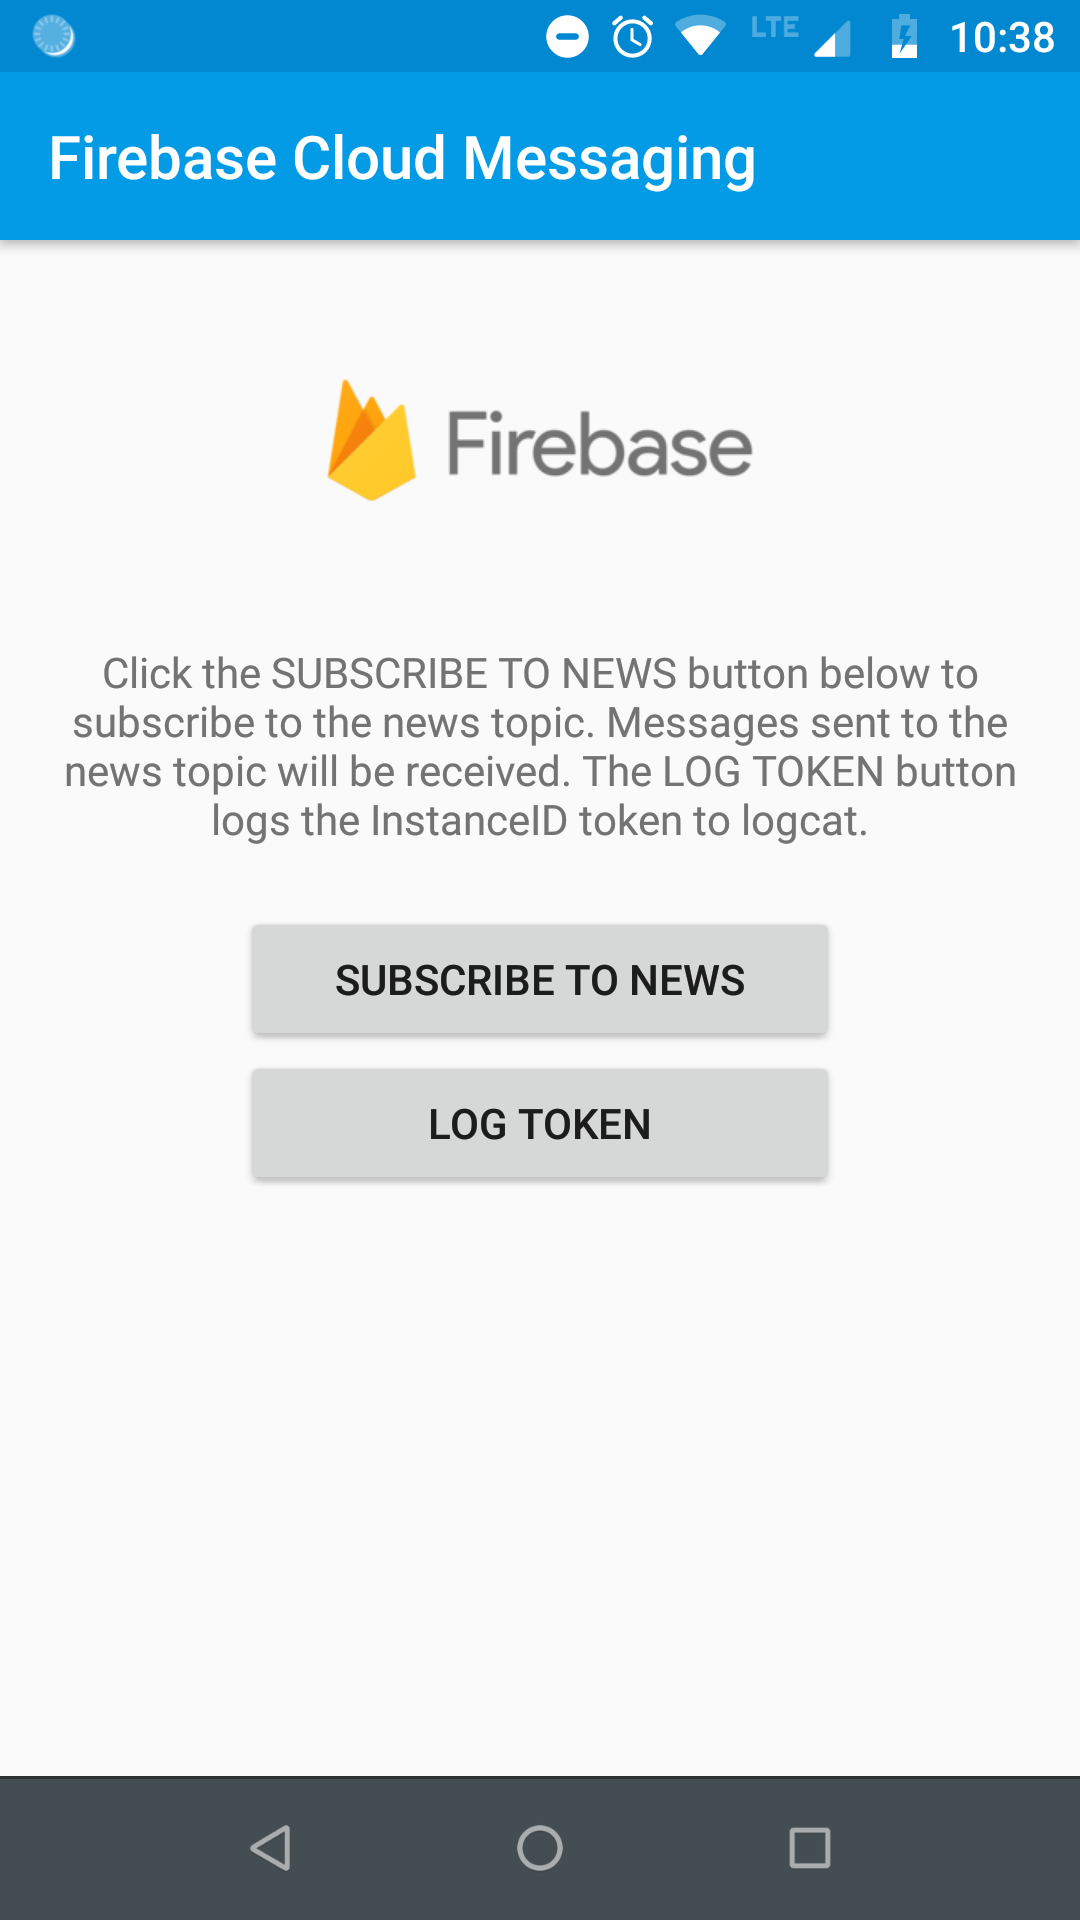
I have prepared an Android project called messaging-app at Examples/Android/messaging-app, that you can use to easily get started with Android Firebase Messaging. It subscribes to a topic, receives incoming Notifications and displays them. It's basically a simplified version of the quickstart-android example.
You can use Android Studio to open the project and deploy it on your device. In the application you can click on the "SUBSCRIBE TO NEWS" Button to subscribe on a Topic called "news", that we will send a notification to:
The only thing, that needs to be done on the Android-side is downloading the google-services.json file and adding it to the project.
You start by opening the Firebase Console and going to the Project Settings of your project:

Then select the General Tab and click on the google-services.json download link:

Put it in the app folder of your project. My messaging project is located at D:\github\quickstart-android\messaging,
so the final link will look like this: D:\github\quickstart-android\messaging\app\google-services.json.
I have added an example project for FcmSharp to the GitHub repository at:
In the example you only need to set the path to the Service Account Key.
All messages to the Firebase Cloud Messaging API need to be signed. This requires you to first download the Service Account Key for you project.
Open the Project Settings and then go to the Service Accounts Tab. On this page click on Generate New Private Key for generating the required credentials.

A warning will be shown, which reminds you to store the key securely. This is imporant, so be sure to never leak the Private Key into the public.

I have stored the Private Key to D:\serviceAccountKey.json.
Now FcmSharp is used to send the Notification to the "news" topic.
// Copyright (c) Philipp Wagner. All rights reserved.
// Licensed under the MIT license. See LICENSE file in the project root for full license information.

using System;
using System.Threading;
using FcmSharp.Requests;
using FcmSharp.Settings;

namespace FcmSharp.ConsoleApp
{
    public class Program
    {
        public static void Main(string[] args)
        {
            // Read the Credentials from a File, which is not under Version Control:
            var settings = FileBasedFcmClientSettings.CreateFromFile(@"D:\serviceAccountKey.json");

            // Construct the Client:
            using (var client = new FcmClient(settings))
            {
                var notification = new Notification
                {
                    Title = "Notification Title",
                    Body = "Notifcation Body Text"
                };

                // The Message should be sent to the News Topic:
                var message = new FcmMessage()
                {
                    ValidateOnly = false,
                    Message = new Message
                    {
                        Topic = "news",
                        Notification = notification
                    }
                };

                // Finally send the Message and wait for the Result:
                CancellationTokenSource cts = new CancellationTokenSource();

                // Send the Message and wait synchronously:
                var result = client.SendAsync(message, cts.Token).GetAwaiter().GetResult();

                // Print the Result to the Console:
                Console.WriteLine("Data Message ID = {0}", result.Name);

                Console.WriteLine("Press Enter to exit ...");
                Console.ReadLine();
            }
        }
    }
}We can see, that a small Firebase Icon pops up in the Action Bar:

And if we swipe down, we can see the Notification Title and Body, that we have sent with FcmSharp:

Go to the Firebase Console and choose your project. Then go to the Project Settings (by clicking on the Gear Icon next to Project Overview)
and select the Tab Service Accounts. Then scroll down and select Generate Private Key to download the JSON file. Please see the complete
example in this README for a step-by-step guide.
FcmSharp supports using Proxy Servers. The following test shows how to use a Proxy. It uses the ProxyHttpClientFactory of FcmSharp for creating a proxied FcmClient.
// Copyright (c) Philipp Wagner. All rights reserved.
// Licensed under the MIT license. See LICENSE file in the project root for full license information.

using System;
using System.Collections.Generic;
using System.Net;
using NUnit.Framework;
using System.Threading;
using FcmSharp.Http.Client;
using FcmSharp.Http.Proxy;
using FcmSharp.Requests;
using FcmSharp.Settings;

namespace FcmSharp.Test.Integration
{
    [Explicit("This Test uses Fiddler Proxy to test Proxy Functionality")]
    public class ProxyIntegrationTest
    {
        /// <summary>
        ///
        /// Test Instructions for Windows 10 (https://superuser.com/questions/180480/how-to-simulate-corporate-proxy-server-on-my-development-machine):
        ///
        /// > 1. Download and run Fiddler proxy (it's free). It will automatically set itself as a system proxy in Windows on
        /// >    each run. Also click Rules -> Require Proxy Authentication in the top menu if you want to test authentication
        /// >    to the proxy (username and password are "1").
        /// >
        /// > 2. Open Windows Firewall, then Advanced settings -> Windows Firewall Properties. Block all outbound connections
        /// >    for all profiles you need (domain, private, public) and click OK.
        /// >
        /// > 3. Add new outbound firewall rule to allow all access for 8888 port (default Fiddler port) or "%LocalAppData%\Programs\Fiddler\Fiddler.exe" app.
        /// >
        /// > That's it, only the programs which use your proxy settings (http://1:1@127.0.0.1:8888) will work.
        /// </summary>
        [Test]
        [Description("This Test uses Fiddler to enforce a Proxy and sends a Message using the Proxy settings")]
        public void SendFcmMessageUsingProxyTest()
        {
            // This needs to be a valid Service Account Credentials File. Can't mock it away:
            var settings = FileBasedFcmClientSettings.CreateFromFile("your_project_id", @"D:\serviceAccountKey.json");

            // Define the Proxy URI to be used:
            var proxy = new Uri("http://localhost:8888");

            // Define the Username and Password ("1", because I am using Fiddler for Testing):
            var credentials = new NetworkCredential("1", "1");

            // Build the HTTP Client Factory:
            var httpClientFactory = new ProxyHttpClientFactory(proxy, credentials);

            // Initialize a new FcmHttpClient to send to localhost:
            var fcmHttpClient = new FcmHttpClient(settings, httpClientFactory);

            // Finally
            using (var client = new FcmClient(settings, fcmHttpClient))
            {

                // Construct the Data Payload to send:
                var data = new Dictionary<string, string>()
                {
                    {"A", "B"},
                    {"C", "D"}
                };

                // The Message should be sent to the News Topic:
                var message = new FcmMessage()
                {
                    ValidateOnly = false,
                    Message = new Message
                    {
                        Topic = "news",
                        Data = data
                    }
                };

                // Finally send the Message and wait for the Result:
                CancellationTokenSource cts = new CancellationTokenSource();

                // Send the Message and wait synchronously:
                var result = client.SendAsync(message, cts.Token).GetAwaiter().GetResult();

                Console.WriteLine(result);
            }
        }
    }
}The FcmClient only provides an asynchronous API, and a synchronous API won't be added. I know that
asynchronous programming can be very challenging for beginners, so here is how you can turn an async
call into a synchronous one:
var result = client.SendAsync(message, cts.Token).GetAwaiter().GetResult();
![]()

I want to thank all contributors of this project for helping to create a great library, my employer OVSoftware for allowing me to work on my side-projects and JetBrains for donating me a ReSharper license for this project.