
❗ ** iOS Version of App has not been tested yet.**
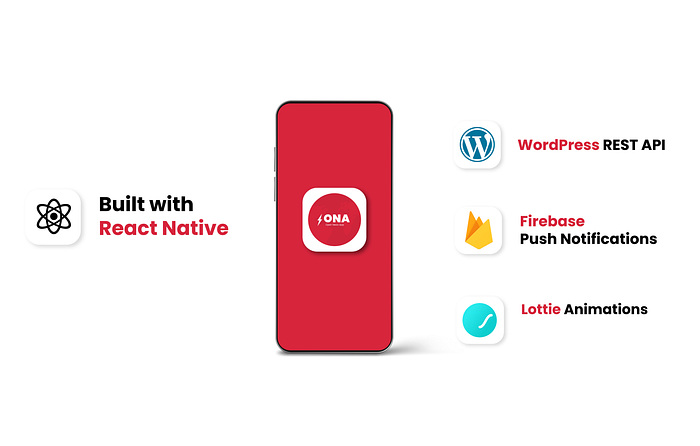
ONA or Open News App is an open source React Native Based Application for WordPress News and Blog Websites.
- React Native Based
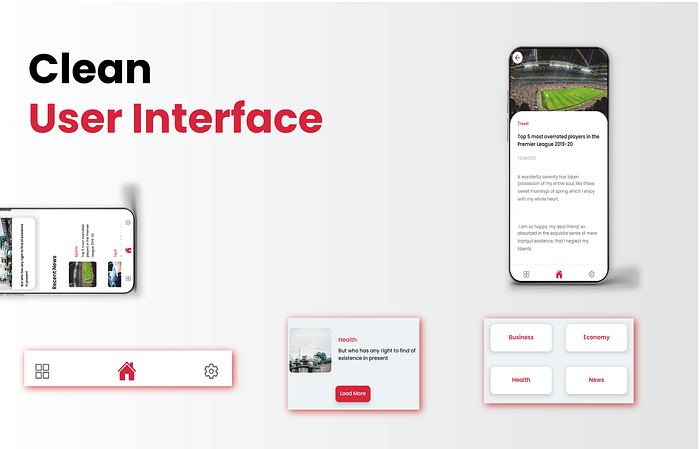
- Clean and Elegent UI
- Firebase Push Notifications
- WordPress REST API
- Separate Categories Section.
- External Links to privacy and other pages.
To Run or test the app on your PC.
- Download the repository into your PC.
- Run
npm installin the folder, this will install all npm required packages. - To Run the app
npx react-native run-android
-
To connect the app with your wordpress website you must have working REST API on your website.
-
Download and Activate
REST API Featured ImagePlugin on your WordPress Image. Plugin Link
- Start a new react native project.
- Delete
node modulesfolder from your newly created project. - Copy
Packagesfrom ONApackage.jsonand runnpm installinside your newly created project.
Now we need to setup things inside
androidfolder of your new project.
- From
ONA/android/app/main/android/AndroidManifestcopy the lines mentioned withinsection that needs to be copiedinto your own newly created projectsandroid/app/main/android/AndroidManifest.
- Go to
android/build.gradlefile ofONAand copy the lines of code mentioned in file withinextanddependencies - Go to
android/app/build.gradleand copy the lines mentioned withindependenciesand282-232.
- Go to Firebase console, Create a new project.
- Click on
Android, fill up the details like Project name, Package name etc. - Register and Download the Config file
google-services.json - In
android/appfolder replacegoogle-serviceswith yourgoogle-servicesfile.
In ONA\android\app\src\main\res\values\
- In
values\strings - Add the
<string name="default_notification_channel_id" translatable="false">fcm_default_channel</string>to your strings file below your app name. - In
values\colorsadd below mentioned code.
The assets folder contains fonts and the icon files that your app needs to run, Copy the ONA\android\app\src\main\assetsto your project folder.
In ONA\android\app\src\main\res file add all sizes of icons that are being used in the application. You can generate them using Android Studio or Online tools.
Run react-native-link command inside your project directory.
Your App Is Ready.
- Go to
constants.jsfile inassetsfolder of the app. - Change the value of
APP_BASE_URLto URL of your website,Note: Do not add / at the end of the URL. - To change name of the app, change the value of
APP_NAME.
In constants.jsfile, change the values of below given constant values.
TERMS_AND_CON_LINK:  '#',
WEBSITE_LINK:  '#',
PRIVACY_LINK:  '#',
FEEDBACK_LINK:  '#',
OSN comes with Lottie animations, to change the loading animation of the app, Go to the lottie website and download the animation you want in JSON format first.
Once you have downloaded the JSON file, Go to assets/loadingfile and replace newsload1 with the file you download, keep the filename to newsload1.
React Native: Vikas Bukhari WordPress API's: Nasir Khan