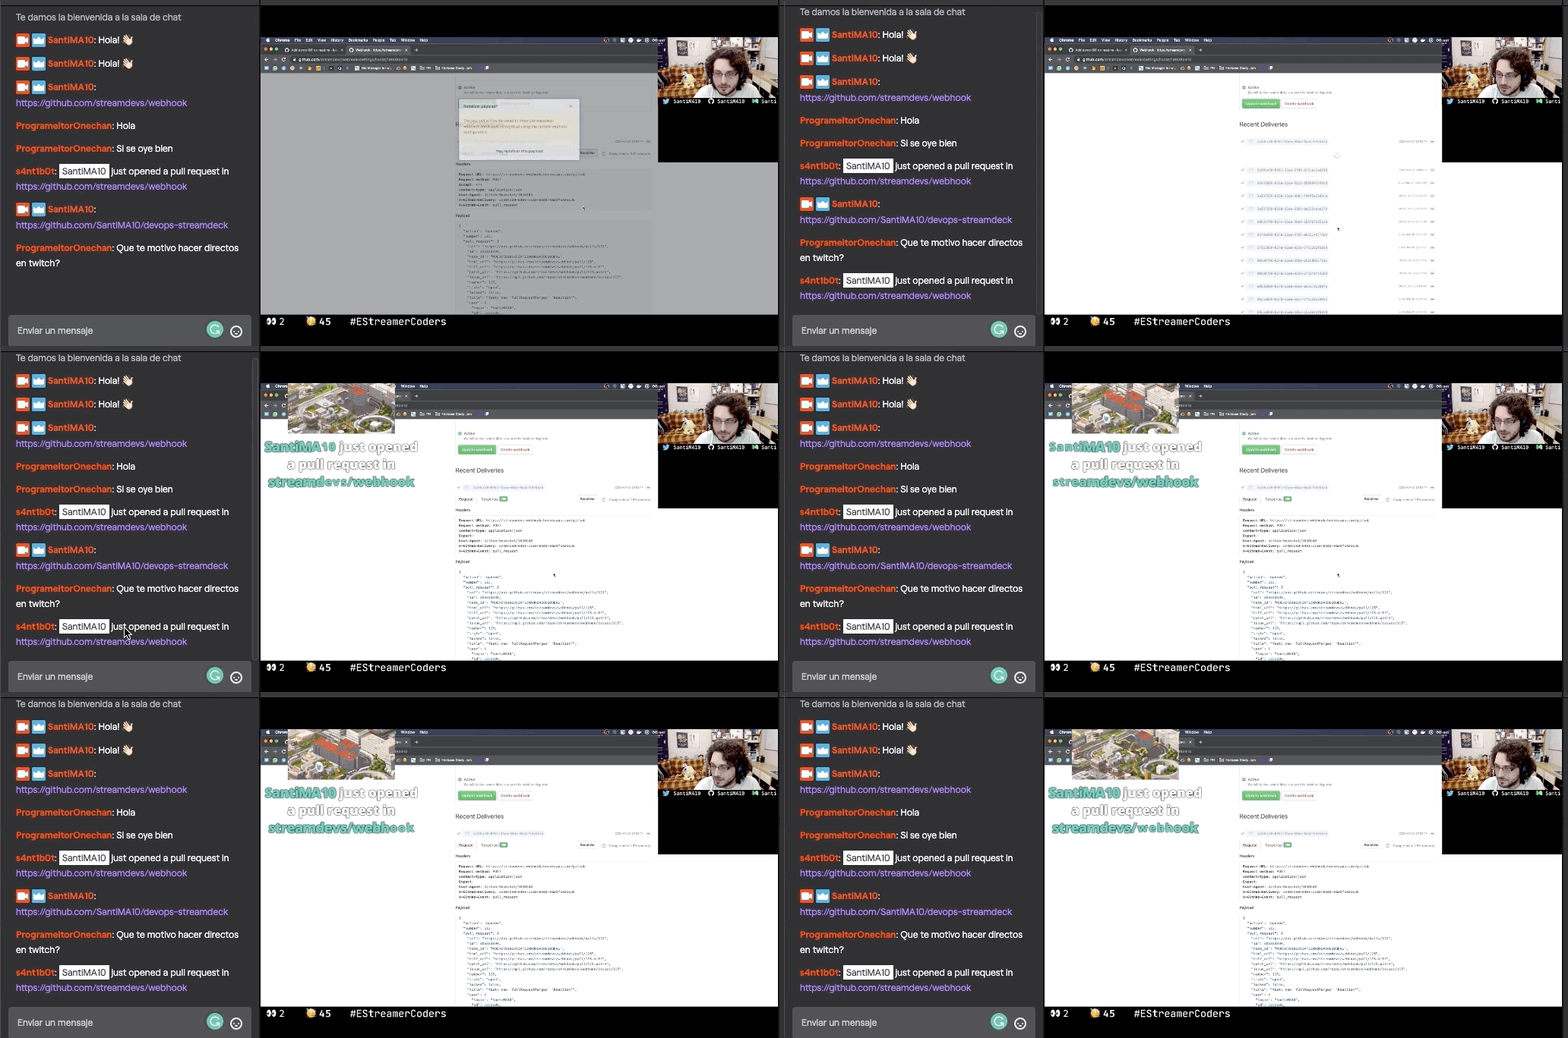
A webhook to forward GitHub and GitLab events to StreamLabs Alerts and Twitch Chat.
This is a tool created with live-coding streamers in mind. The goal is to have another source of interaction and showcase relevant activity on GitHub to their audience on streaming platforms generating more interest in their Open Source projects.
We support the following events:
- Stars
- Forks
- Releases
- Issues
- Opened
- Assigned
- Pull Requests
- Opened
- Merged
At the moment GitLab's webhooks don't support as many events. So far, we support:
- Merge Request
- Opened
- Merged
There are a few requirements for the integration to work.
- Your webhook is on a server, running 24/7
- Your webhook is able to receive HTTP requests from GitHub/GitLab.
- Your repository (and/or user/organisation) on GitHub/GitLab is configured to notify your webhook
You can deploy this webhook in different ways
-
Get the source code
git clone https://github.com/streamdevs/webhook.git -
Change into the source code directory
cd webhook -
Install the dependencies with yarn (or alternative you can use
npm)yarn install -
Create a .env file with your (configuration)[#configuration] and the edit it
cp .env.example .env -
Compile the project to JavaScript
yarn build -
Run the start command
yarn run start -
You should see your webhook running on the port specified in the configuration below
We make use of the following environment variables:
| Variable | Setting | Mandatory | Default |
|---|---|---|---|
| PORT | Where the HTTP server should listen. | No | 8080 |
| STREAMLABS_TOKEN | A token to use the StreamLabs API. You can get one by using StreamDevs/streamlabs-token | No | empty |
| TWITCH_BOT_NAME | The account (username) that the chatbot uses to send chat messages. | No | empty |
| TWITCH_BOT_TOKEN | The token to authenticate your chatbot. Generate this with https://twitchapps.com/tmi/, while logged in to your chatbot account. The token will be an alphanumeric string. | No | empty |
| TWITCH_BOT_CHANNEL | The Twitch channel name where you want to run the bot. Usually this is your main Twitch account. | No | empty |
| NOTIFY_ISSUES_ASSIGNED_TO | A comma-separated list of GitHub user names. Only issues assigned to these users will be notified or leave it empty to receive all notifications. | No | empty array |
| IGNORE_PR_OPENED_BY | A comma-separated list of GitHub user names. Only PR not opened by these users will be notified or leave it empty to receive all notifications. | No | empty array |
| NOTIFY_CHECK_RUNS_FOR | Comma-separated list of branches to notify Check Runs for. Leave empty to notify for any branch | No | empty array |
- Open your repository settings on GitHub.
- Go to the Webhooks section.
- Click on Add webhook.
- On the Payload field, enter the GitHub endpoint for your deployed webhook. For example
https://YOUR-SITE-HERE.herokuapp.com/github. - For Content type we want to select
application/json. - On Which events would you like to trigger this webhook? select
Let me select individual events. - On the list of events check any of the supported events
- Make sure the
Activecheckbox is checked - Click on
Add webhook - You will receive your first notification on Twitch Chat and StreamLabs letting you now your webhook has been configured correctly.
Check the GitHub documentation
- Open your repository settings on GitLab.
- Go to the Settings/Webhooks section.
- On the URL field, enter the GitLab endpoint for your deployed webhook. For example
https://YOUR-SITE-HERE.herokuapp.com/gitlab. - On the list of Trigger you can activate any of the supported events
- Click on
Add webhook
Everyone is welcome to contribute to this repository. To do so follow these steps:
- Open an Issue with your idea and label it using the
ideatag - Open a pull request and reference your original issue
- Make sure your PR includes proper tests
- Be on the lookout for requested changes or clarifications during the Code Review
- Once your PR is reviewed and merged, we'll add you to the contributors list
You can use the "deploy to Heroku" button or use the Heroku CLI
- Install the Heroku CLI
- Log in to Heroku with
heroku login - Open the Heroku dashboard for your app
- Go to the settings tab
- Under App Information, copy the Heroku git Url
- Add a new git remote with
git remote add heroku your-https-git-repo-goes-here
Push to the master branch on Heroku with git push heroku master
Note that you can deploy a different branch to Heroku, but it will only deploy the remote master branch. To deploy a
local branch you can run git push heroku your-branch-here:master so that your branch overrides the master branch on Heroky.
Thanks goes to these wonderful people (emoji key):
Orestes Carracedo 💻 |
Santi 💻 |
hugolesta 💻 |
Hugo Perez Fernandez 💻 |
riolcrt 🤔 |
This project follows the all-contributors specification. Contributions of any kind welcome!
This project is under the CC-BY 4.0 license


