brainslicer is a Python package for creating images (slices) from T1-anatomical NIFTIs using the command line.
It provides the following features:
- Slice Selection: Display slices from axial, sagittal, or coronal planes.
- Brightness and Contrast Control: Fine-tune image appearance for better visualization.
- Colourmap Customization: Choose from a variety of colourmaps to highlight different aspects of the image data.
Installation:
You can install the package via pip by running:
pip install git+https://github.com/sohaamir/brainslicer.gitUsage:
Use brainslicer by supplying the following arguments:
brainslicer [-h] file_path slice_number [--plane {axial,sagittal,coronal}] [--brightness BRIGHTNESS] [--contrast CONTRAST] [--colourmap COLOURMAP] [--list-colourmaps] For example:
brainslicer examples/example.nii 100 --plane sagittal --brightness 1.5 --contrast 1.5 --colourmap viridisFor more information and usage examples, use the -h or --help flags.
options:
  -h, --help                           show this help message and exit
  --plane {axial,sagittal,coronal}     Plane of the slice

Required arguments:
  file_path             Path to the NIFTI file
  slice_number          Index of the slice

Optional arguments:
  --brightness BRIGHTNESS, -b BRIGHTNESS      Brightness adjustment factor (default: 1.0)
  --contrast CONTRAST, -con CONTRAST          Contrast adjustment factor (default: 1.0)
  --colourmap COLOURMAP, -cmap COLOURMAP      Colourmap to use for displaying the slice (default: 'gray').
  --list-colourmaps                           List all available colourmaps
Colourmaps are those supported by matplotlib.colormap. See the matplotlib website for more information.
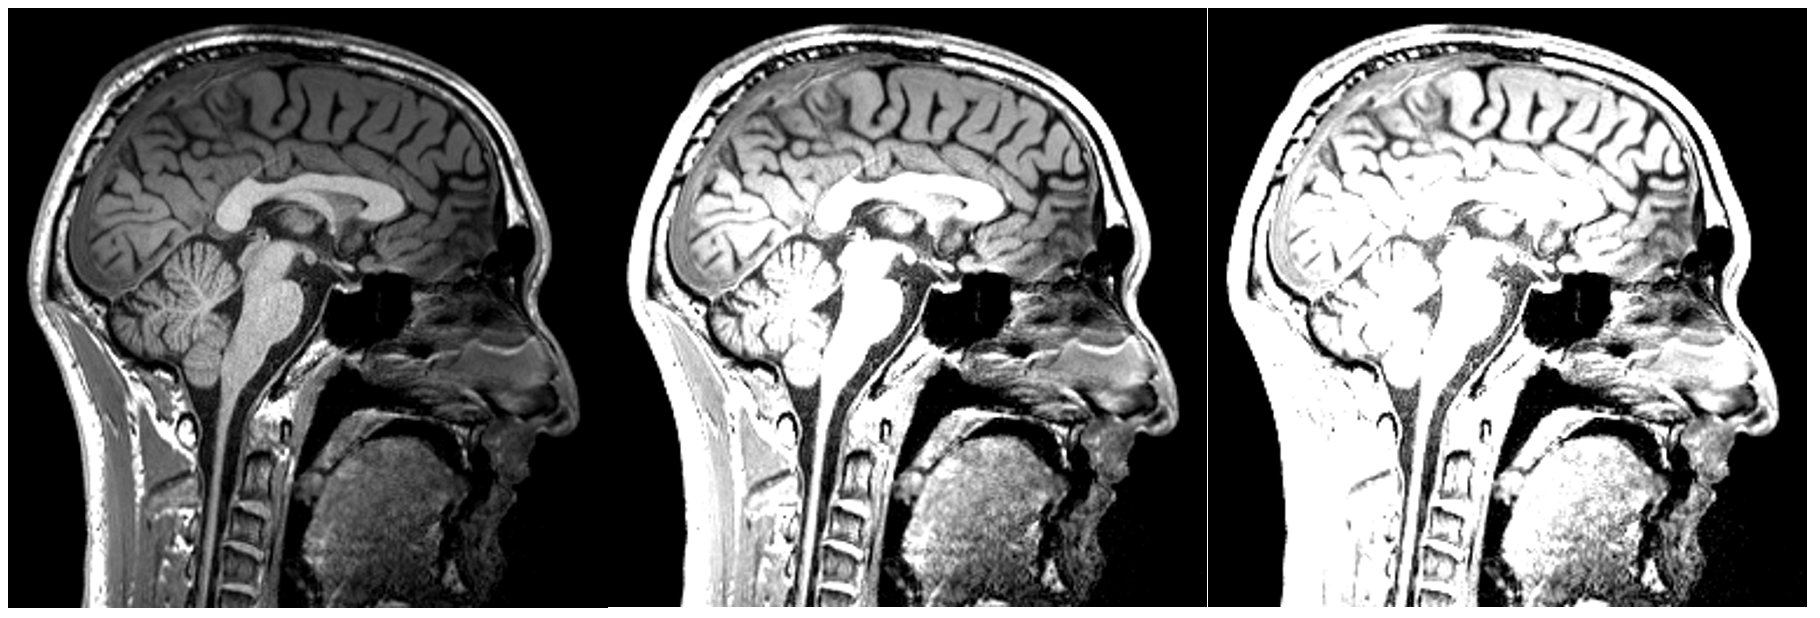
Changing the contrast:
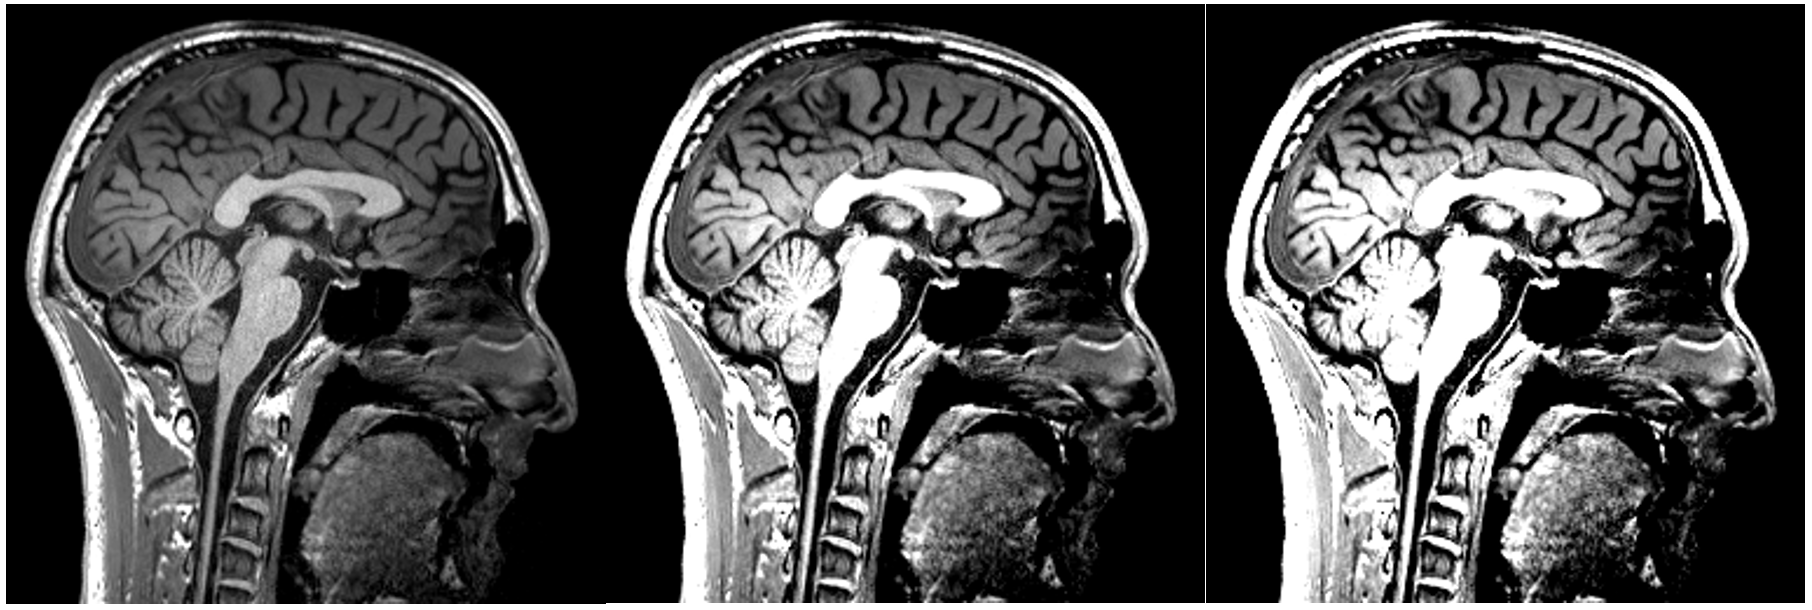
Changing the brightness:
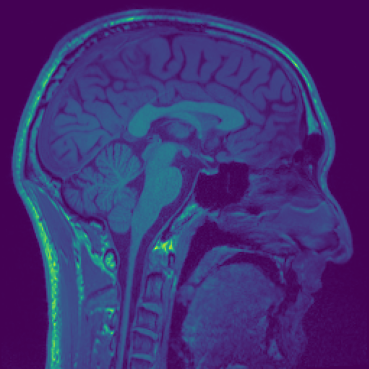
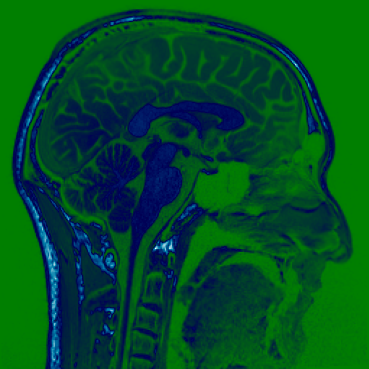
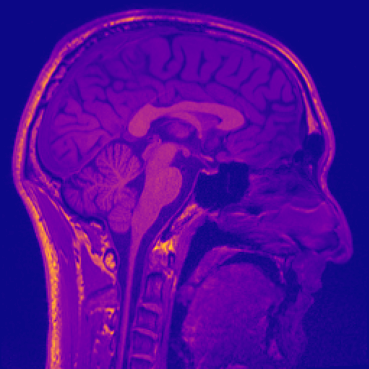
Different colourmaps (viridis, ocean, plasma):
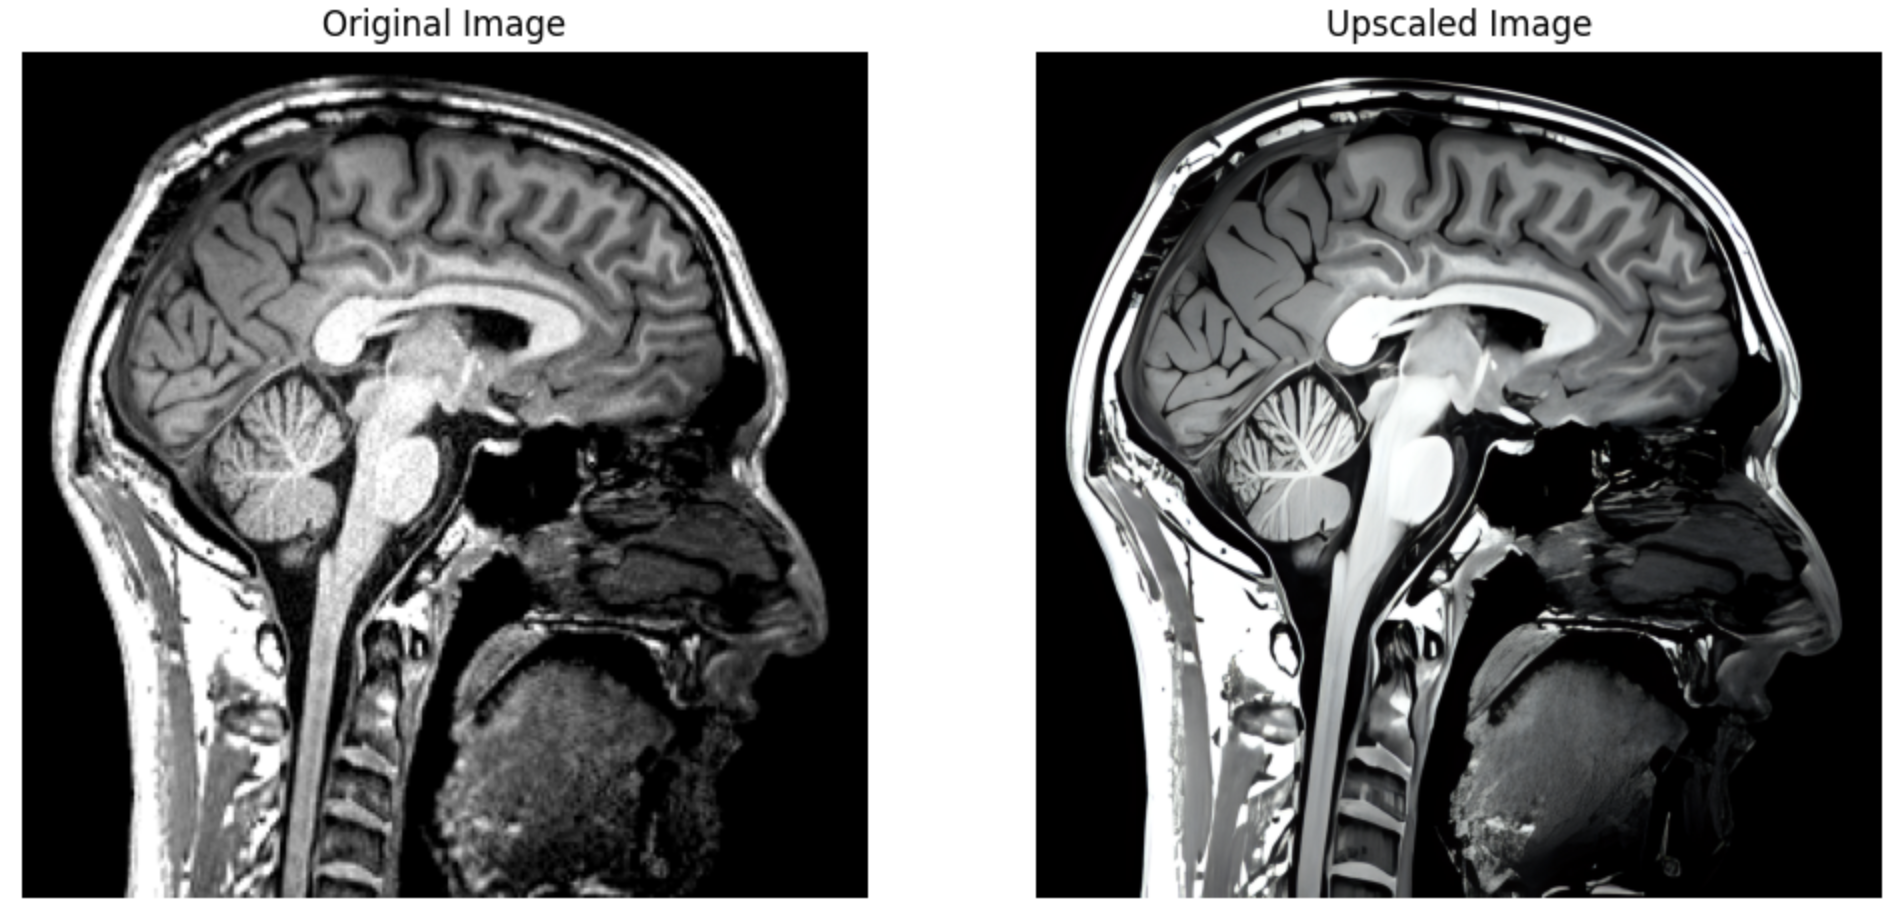
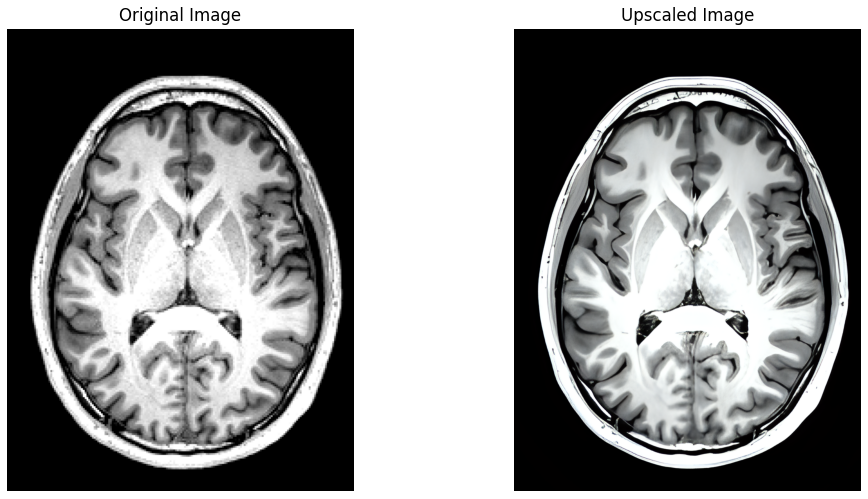
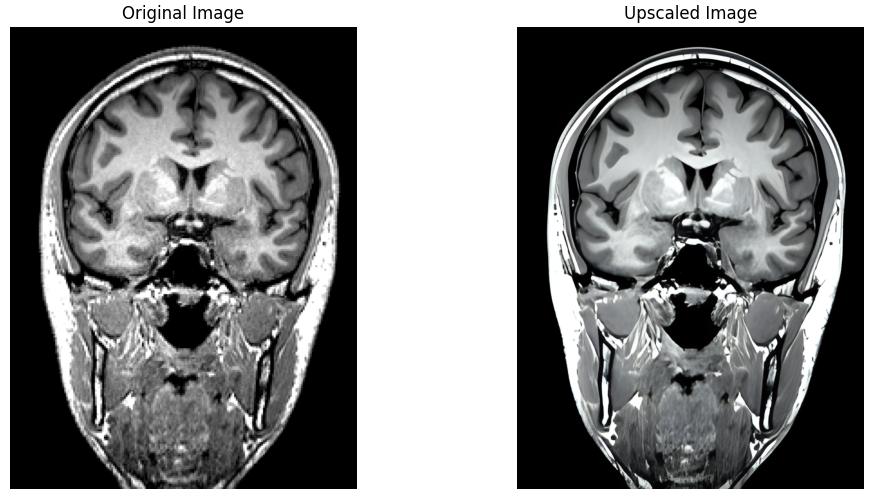
Leveraging the significant advances made recently in upscaling images, brainslicer-ESRGAN is an integrated notebook that allows for users to both slice and upscale NIFTIs.
The slices are upscaled using Real-ESRGAN, a Generative Adversarial Network capable of recovering high resolution from low resolution images. The key section of the code involves defining a function which takes an image file path and an output directory as input, firstly reading the image, then using the RealESRGAN model to predict the super-resolved (upscaled) version of the image:
import torch
from PIL import Image
import numpy as np
from RealESRGAN import RealESRGAN

device = torch.device('cuda' if torch.cuda.is_available() else 'cpu')
model = RealESRGAN(device, scale=4)
model.load_weights('/content/drive/MyDrive/projects/brainslicer/weights/RealESRGAN_x4.pth')

def upscale_image(image_path, output_dir):
    image = Image.open(image_path).convert('RGB')
    sr_image = model.predict(image)

    # Create output directory if needed
    os.makedirs(output_dir, exist_ok=True)

    # Save images
    base_filename = os.path.splitext(os.path.basename(image_path))[0]
    image.save(os.path.join(output_dir, f'{base_filename}_original.png'))
    sr_image.save(os.path.join(output_dir, f'{base_filename}_upscaled.png'))

    # Display images side-by-side
    fig, (ax1, ax2) = plt.subplots(1, 2, figsize=(12, 6))
    ax1.imshow(image)
    ax1.set_title('Original Image')
    ax1.axis('off')
    ax2.imshow(sr_image)
    ax2.set_title('Upscaled Image')
    ax2.axis('off')
    plt.show()
The complete pipeline with detailed instructions is available in the Colab and Jupyter notebooks above.
Model weights are available here.
Sagittal
Axial
Coronal
Credit to Looka for the AI-generated logo.