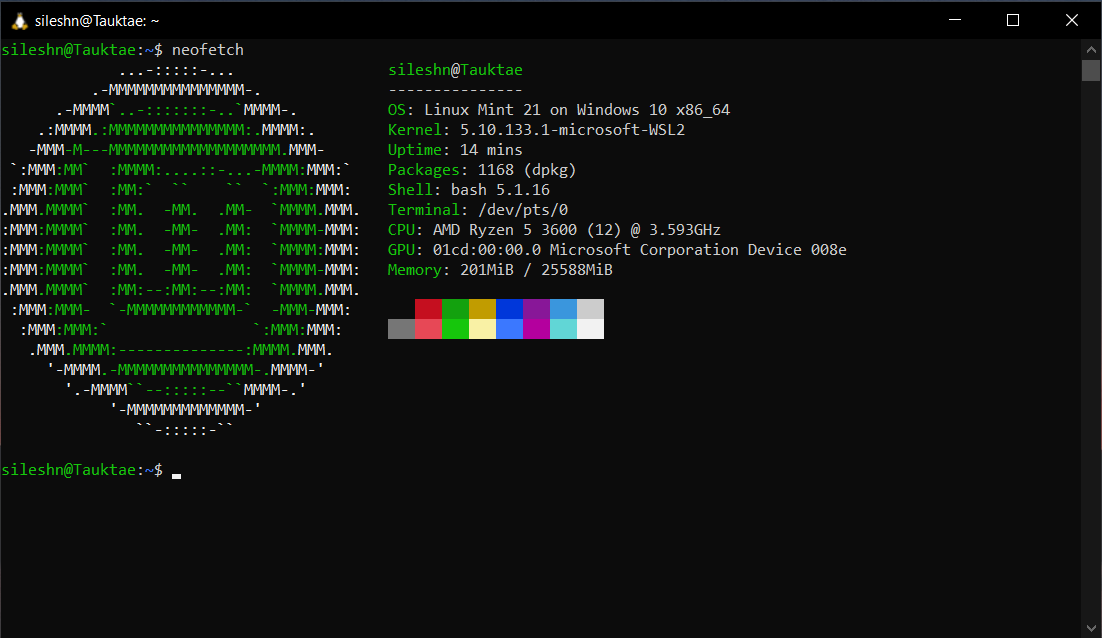
Linuxmint on WSL2 (Windows 10 FCU or later) based on wsldl.


LinuxmintWSL2 has the following features during the installation stage.
- Increase virtual disk size from the default 256GB
- Create a new user and set the user as default
- LinuxmintWSL2 Supports systemd natively if you are running wsl v0.67.6 (more details here) and above. For earlier versions of wsl, systemd is supported using diddledani's one-script-wsl2-systemd. This is done automatically during initial setup.
- LinuxmintWSL2 includes a wsl.conf file which only has section headers. Users can use this to configure the distro to their liking. You can read more about wsl.conf and its configuration settings here.
- For x64 systems: Version 1903 or higher, with Build 18362 or higher.
- For ARM64 systems: Version 2004 or higher, with Build 19041 or higher.
- Builds lower than 18362 do not support WSL 2.
- If you are running Windows 10 version 2004 or higher, you can install all components required to run wsl2 with a single command. This will install ubuntu by default. More details are available here.
wsl.exe --install
- If you are running Windows 10 lower then version 2004, follow the steps below to install requirements manually. For more details, check this microsoft document.
- Enable Windows Subsystem for Linux feature.
dism.exe /online /enable-feature /featurename:Microsoft-Windows-Subsystem-Linux /all /norestart
- Enable Virtual Machine feature
dism.exe /online /enable-feature /featurename:VirtualMachinePlatform /all /norestart
- Download and install the latest Linux kernel update package from here.
- Make sure all the steps mentioned under "Requirements" are completed.
- Download installer zip
- Extract all files in zip file to same directory
- Set version 2 as default. Note that this step is required only for manual installation.
wsl --set-default-version 2 - Run Mint.exe to extract rootfs and register to WSL
Note: Exe filename is using the instance name to register. If you rename it you can register with a diffrent name and have multiple installs.
Usage :
    <no args>
      - Open a new shell with your default settings.

    run <command line>
      - Run the given command line in that instance. Inherit current directory.

    runp <command line (includes windows path)>
      - Run the given command line in that instance after converting its path.

    config [setting [value]]
      - `--default-user <user>`: Set the default user of this instance to <user>.
      - `--default-uid <uid>`: Set the default user uid of this instance to <uid>.
      - `--append-path <true|false>`: Switch of Append Windows PATH to $PATH
      - `--mount-drive <true|false>`: Switch of Mount drives
      - `--default-term <default|wt|flute>`: Set default type of terminal window.

    get [setting]
      - `--default-uid`: Get the default user uid in this instance.
      - `--append-path`: Get true/false status of Append Windows PATH to $PATH.
      - `--mount-drive`: Get true/false status of Mount drives.
      - `--wsl-version`: Get the version os the WSL (1/2) of this instance.
      - `--default-term`: Get Default Terminal type of this instance launcher.
      - `--lxguid`: Get WSL GUID key for this instance.

    backup [contents]
      - `--tar`: Output backup.tar to the current directory.
      - `--reg`: Output settings registry file to the current directory.
	  - `--tgz`: Output backup.tar.gz to the current directory.
      - `--vhdx`: Output backup.ext4.vhdx to the current directory.
      - `--vhdxgz`: Output backup.ext4.vhdx.gz to the current directory.

    clean
      - Uninstall that instance.

    help
      - Print this usage message.
>{InstanceName}.exe
[root@PC-NAME user]#>{InstanceName}.exe run uname -r
4.4.0-43-Microsoft>{InstanceName}.exe runp echo C:\Windows\System32\cmd.exe
/mnt/c/Windows/System32/cmd.exe>{InstanceName}.exe config --default-user user
>{InstanceName}.exe
[user@PC-NAME dir]$>{InstanceName}.exe config --default-term wtLinuxmintWSL2 will ask you to create a new user during its first run. If you chose to create a new user during initial setup, the steps below are not required unless you want to create additional users.
passwd
useradd -m -g users -G sudo -s /bin/bash <username>
echo "%sudo ALL=(ALL) ALL" >/etc/sudoers.d/sudo
passwd <username>
exit
You can set the user you created as default user using 2 methods.
Open Mint.exe, run the following command (replace username with the actual username you created).
sed -i '/\[user\]/a default = username' /etc/wsl.conf
Shutdown and restart the distro (this step is important).
(or)
Execute the command below in a windows cmd terminal from the directory where Mint.exe is installed.
>Mint.exe config --default-user <username>
>Mint.exe clean
export to backup.tar.gz
>Mint.exe backup --tgzexport to backup.ext4.vhdx.gz
>Mint.exe backup --vhdxgzThere are 2 ways to do it.
Rename the backup to rootfs.tar.gz and run Mint.exe
(or)
.tar(.gz)
>Mint.exe install backup.tar.gz.ext4.vhdx(.gz)
>Mint.exe install backup.ext4.vhdx.gzYou may need to run the command below in some circumstances.
>Mint.exe --default-uid 1000Docker, tar, zip, unzip, bsdtar need to be installed.
git clone git@gitlab.com:sileshn/LinuxmintWSL2.git
cd LinuxmintWSL2
make
Copy the Linuxmint.zip file to a safe location and run the command below to clean.
make clean
Delete older versions of docker if installed.
sudo apt-get remove docker docker-engine docker.io containerd runc
Execute the commands below to install docker.
sudo apt -y install apt-transport-https ca-certificates curl software-properties-common
curl -fsSL https://download.docker.com/linux/ubuntu/gpg | sudo apt-key add -
sudo add-apt-repository "deb [arch=amd64] https://download.docker.com/linux/ubuntu $(. /etc/os-release; echo "$UBUNTU_CODENAME") stable"
sudo apt update
sudo apt install docker-ce
sudo usermod -aG docker $USER
Follow this blog post for further details on how to set it up. Alternatively, if using systemd, use the commands below to setup and reboot.
sudo systemctl start docker.service
sudo systemctl enable docker.service
sudo usermod -aG docker $USER