- Raspberry Pi
- Camera without IR filter
- Weatherproof extension cord + Outlet tap
- 3D enclosure, specially fitted
- Infrared illuminator
- USB microphone
- Chickens
- Too much time on your hands
Plug in the USB microphone, install new image of Raspbian, and attach the camera. Setup the camera using raspi-config and then setup the following.
2. Setup Wifi
Make sure this WiFi will work outside.
sudo vim /etc/wpa_supplicant/wpa_supplicant.conf
network={
  ssid="SOMETHING"
  psk="PASSWORD"
}
sudo apt-get install apcalc python3 python3-setuptools zsh \
    openssh-server openssh-client tree git vim htop python3-pyaudio \
    python3-pil python3-numpy python3-rpio.gpio lame imagemagick
4. Setup audio
sudo nano /usr/share/alsa/alsa.conf scroll down until you find the lines
defaults.ctl.card 0
defaults.pcm.card 0
and change them to
defaults.ctl.card 1
defaults.pcm.card 1
Download Go1.7+ and install.
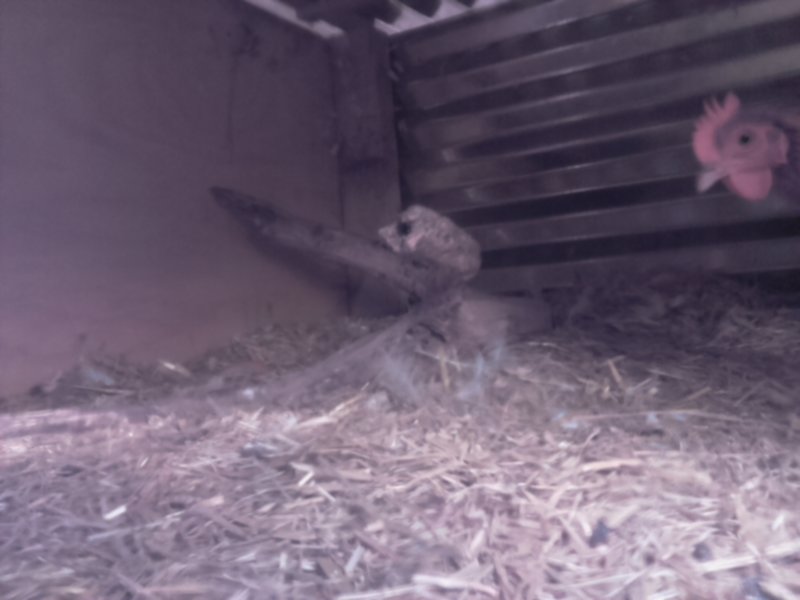
Here's mine:
On the Raspberry Pi, do the following:
git clone https://github.com/schollz/chickencam.git
cd chickencam
nano conf.py # edit SERVER_LOCATION with the your particular server
go build -o sunset
sudo python3 main.py
This should be done on the server (which can also be the raspberry pi):
git clone https://github.com/schollz/chickencam.git
cd chickencam/server
go build
./server


