Read gauges using machine vision and relay the data via Bluetooth Low Energy.
Follow our step-by-step tutorial to get started with the Nicla Vision and then to configure it as a gauge reader:
Download OpenMV for your operating system and then follow the Getting Started with Nicla Vision tutorial. Do not skip the part where it says "Before proceeding with the tutorial, please update the board's bootloader following the instructions below."
Sometimes you'll be invited but OpenMV to upgrade the firmware on the Nicla. When you do this, on some OSes (ex: an older Mac laptop running Big Sur), you might get errors like:
"Upgrading nicla firmware…. Error updating firmware: dfu-util: Invalid DFU suffix signature dfu-util: A valid DFU suffix will be required in a future dfu-util release!!! dfu-util: dfuse_download: libusb_control_transfer returned -9"
The only workaround found was to switch to a more modern Mac, in this case a 2020 Mac laptop running Monterey.
When the Nicla is attached, it should show up as an attached storage device, like a USB drive. You can add files to the Nicla just by copying files to this drive.
Clone this repository and copy the contents of the folder nicla to the Nicla. Ensure that the files ra_config.py and ra_functions.py are on the Nicla, if not, when you run main-gauge1.py, it won't find these dependencies.
Once you've done this, you can run main-gauge1.py in OpenMV.
NOTE: you can run main-gauge1.py from anywhere, it doesn't have to be the version currently loaded on the Nicla itself. This can lead to confusion, so try to be clear about which version you're using.
If the nicla is running while attached to OpenMV, you can see any print statements in the Serial Terminal:

Click on "Serial Terminal" to open the Serial Terminal:
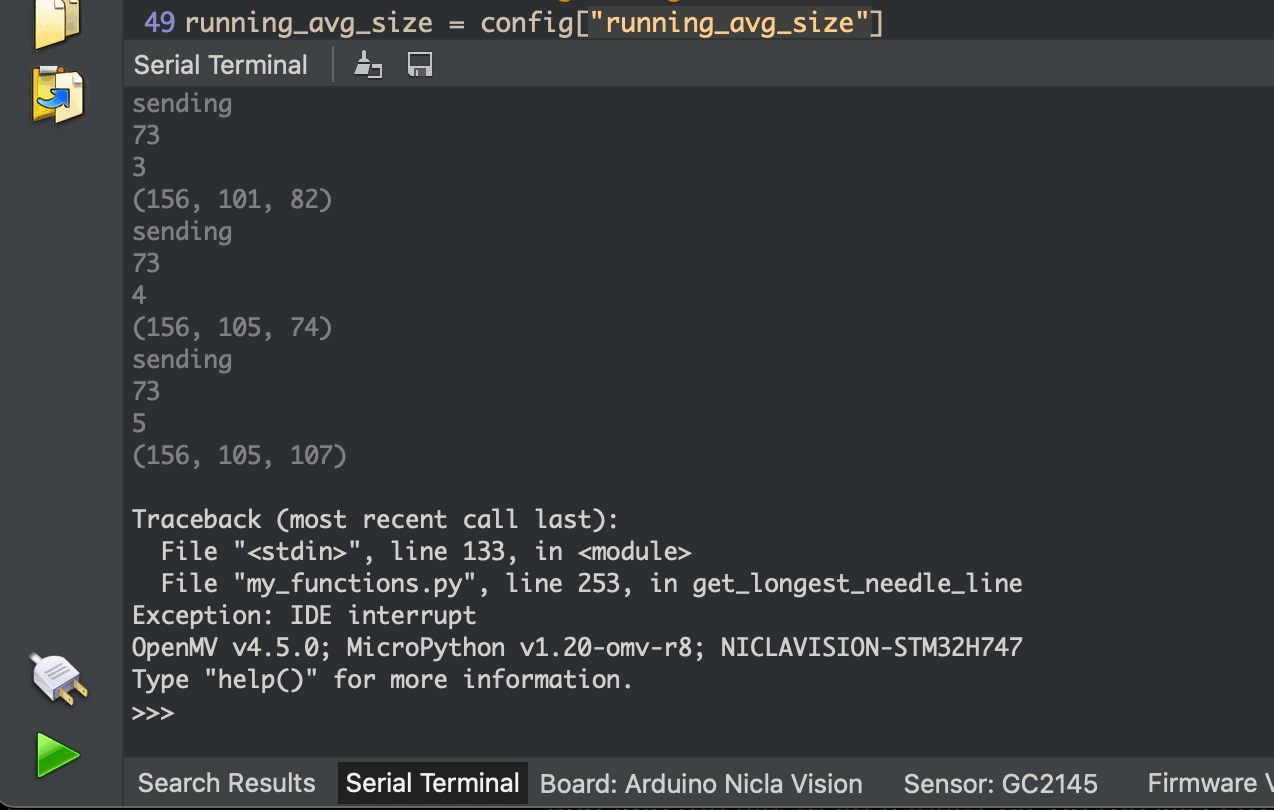
(note the values in the Parentheses, we'll come back to that)
Rename the file main-gauge1.py on the Nicla to main.py
When the Nicla starts up on its own, it will run the file main.py
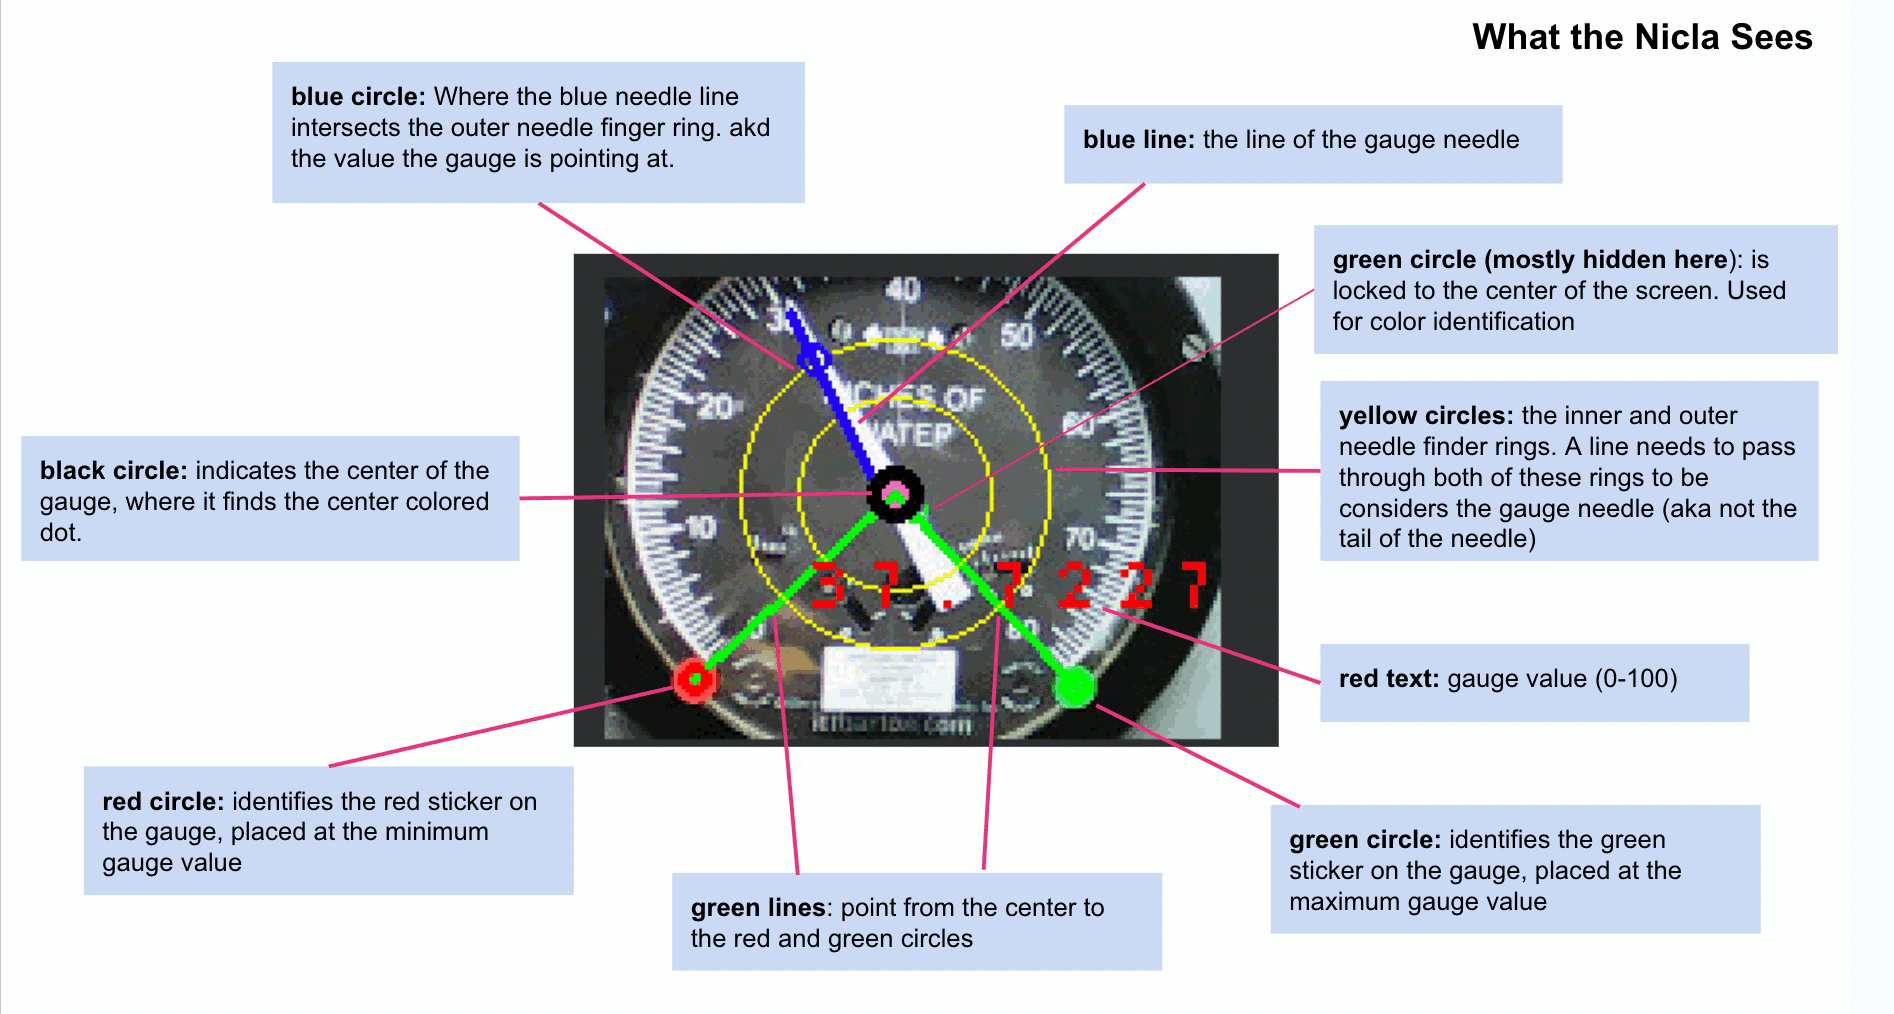
The Frame Buffer on the right of the UI shows what the Nicla is looking at, along with additional graphics we've drawn on the captured image. This is important for setting up the device.
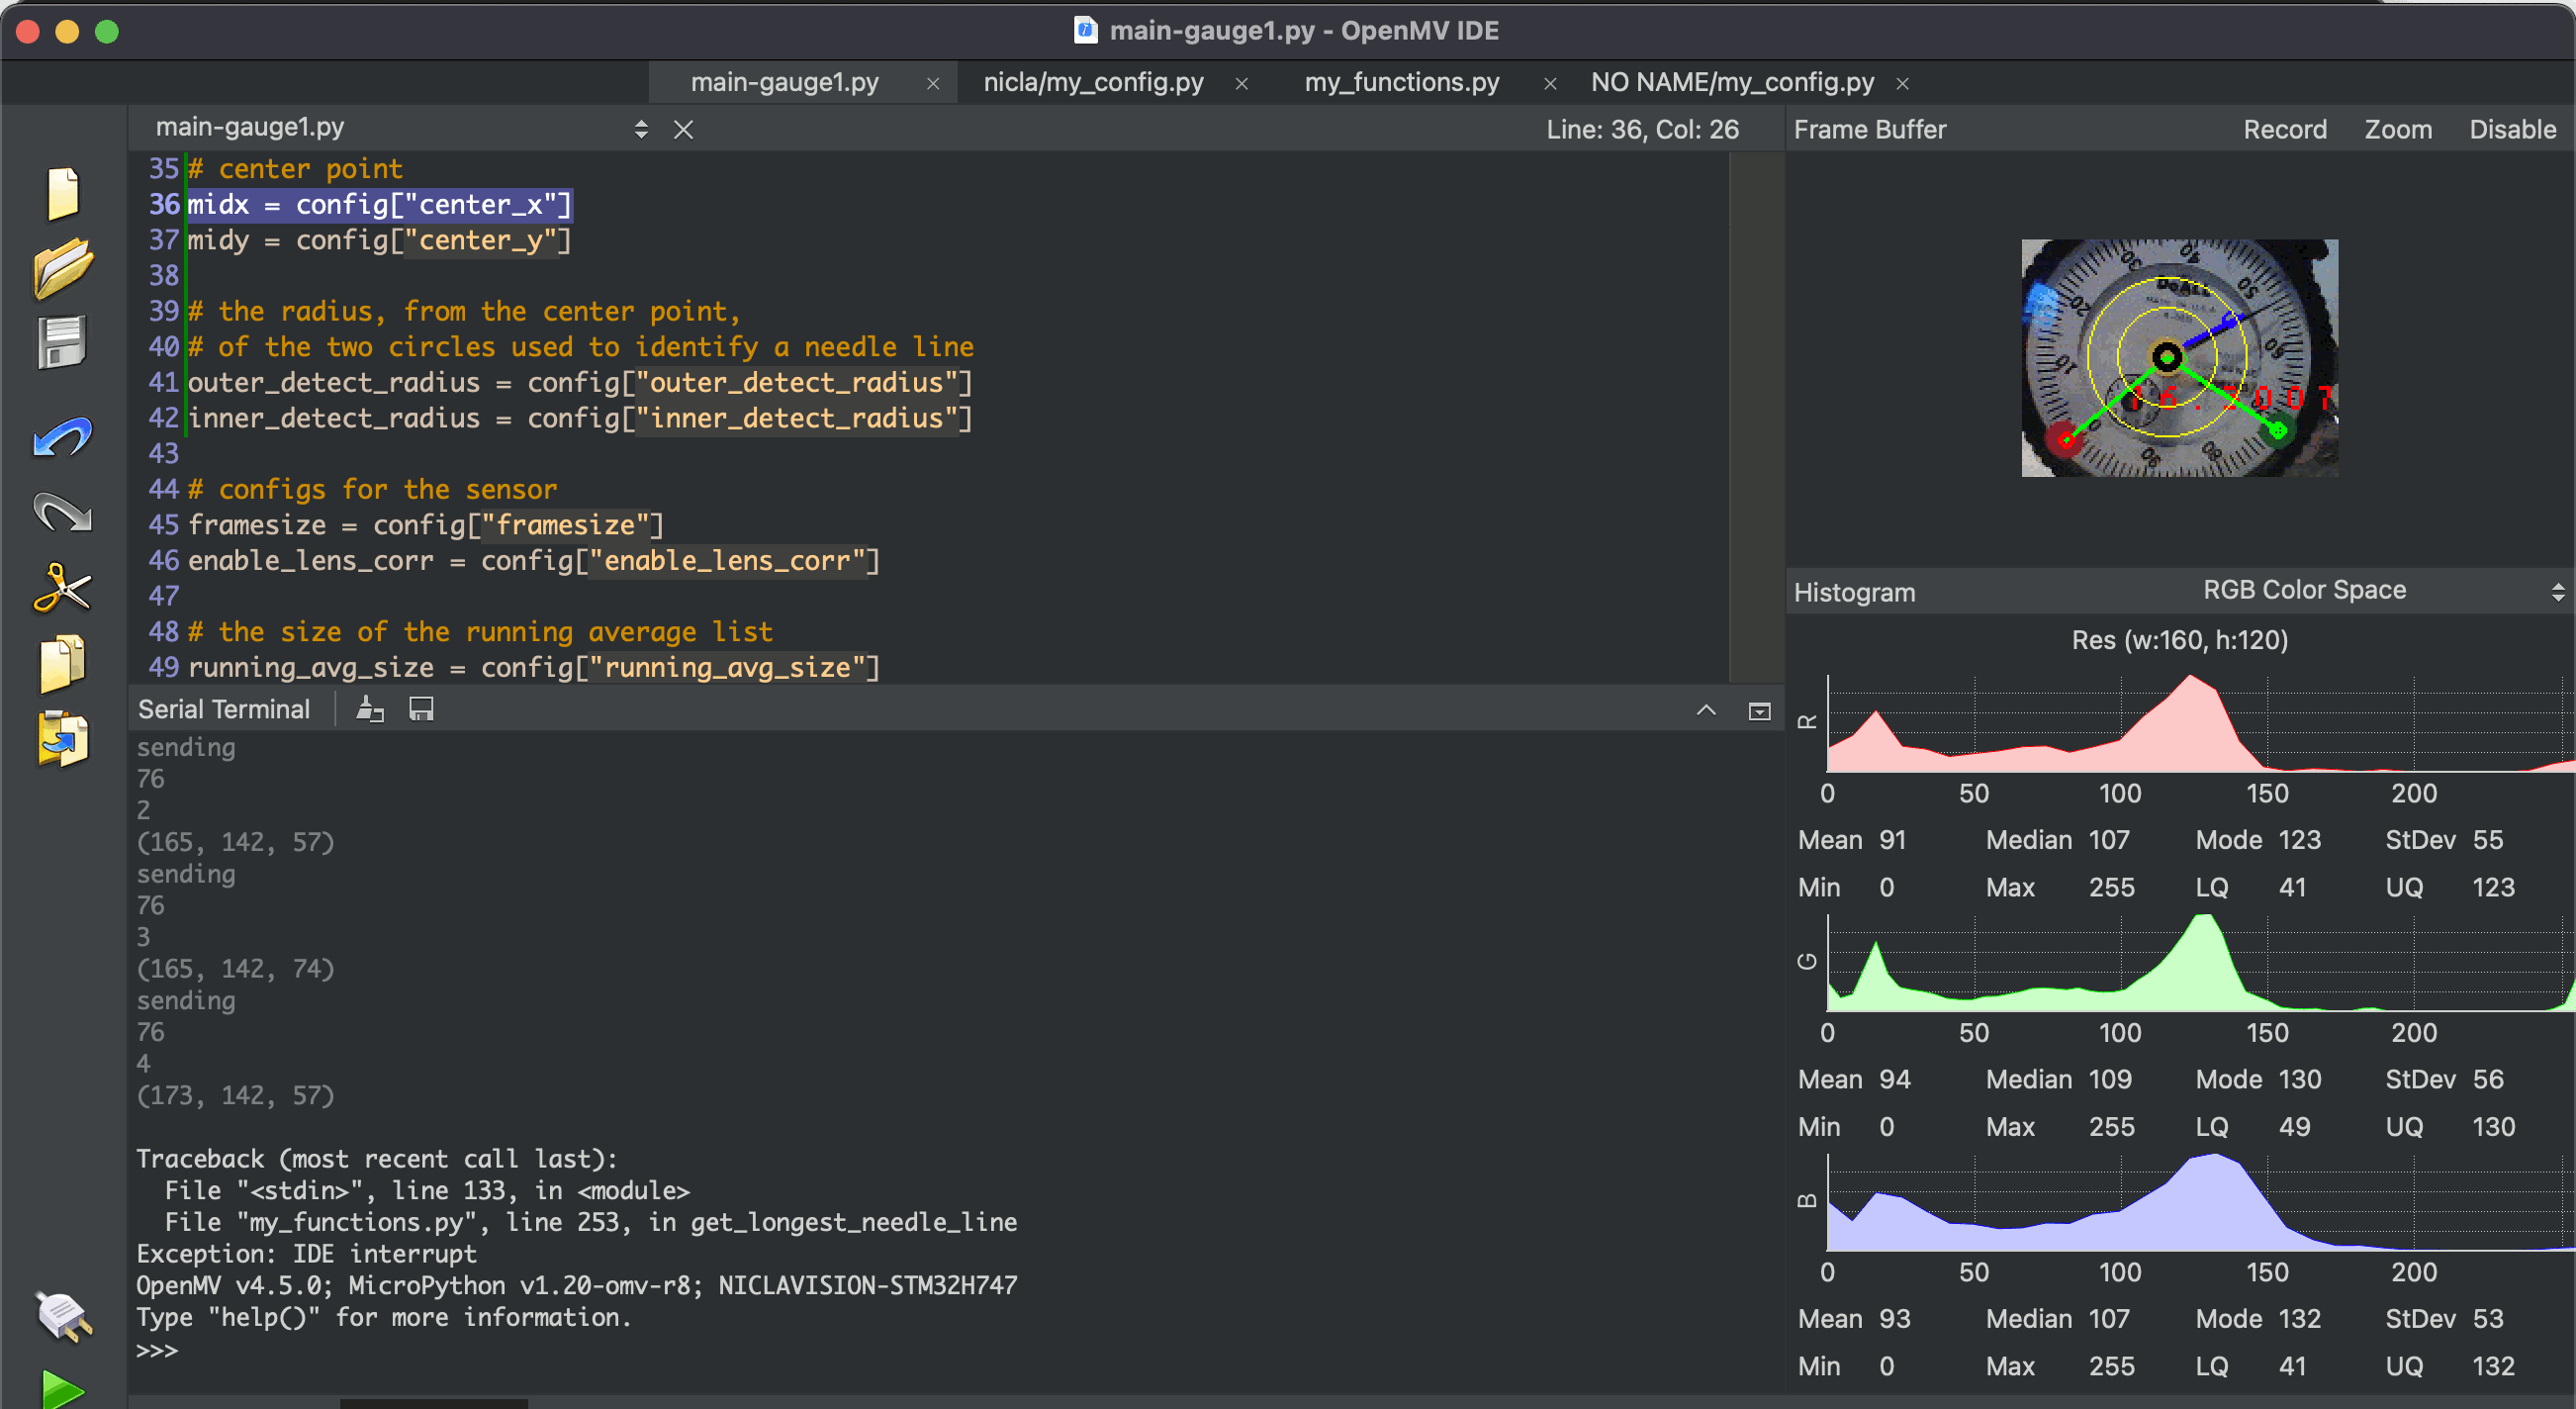
ra_config.py should be the only file you need to edit, depending on your installation requirements. The file is heavily commented. Make sure you're editing the ra_config.py that's on the Nicla itself
The nicla should be setup while attached to a laptop running OpenMV, so you can see what the nicla sees in the Frame Buffer.
Set it up so that the gauge fills the screen:
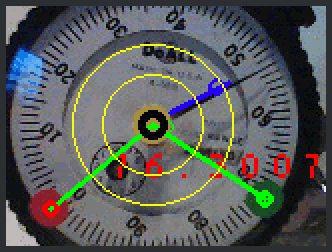
You'll notice that the graphics seem to pop in an out. That's because in each detection loop, the sensor doesn't always detect all the parts. The goal is to get it setup so that it detects the RIGHT values most of the time, NO value sometimes, and WRONG values almost never.
There are two ways to set up the Nicla to look at the gauge:
-
Position it really carefully so that the center of the gauge and the minimum and maximum gauge values are at known positions. Then define those positions in the ra_config.py file. You can iterate toward correct values by looking at the graphics drawn over the framebuffer image
-
Use colored dots to indicate the minimum and maximum gauge values and the center of the gauge. Currently the colors are
-
Red: minimum gauge value
-
Green: maximum gauge value
-
Yellow: Center of the gauge
-
Depending on lighting conditions, configuration of the color detection configurations may need to be tweaked.
These colors are defined in terms of a RANGE in the LAB colorspace, defined in an array that looks like this:
(LMin, LMax, AMin, Amax, BMin, BMax)
Any pixel that is within that range will be identified as that color. In real world situations, the same physical color might require a different threshold set, depending on lighting or other conditions.
If a colored dot is not being detected correctly, try creating a new threshold
-
Turn on the Serial Terminal
-
Start the code running when the nicla is pointed at the gauge in the intended setup. It's important to START it with the nicla in the right place, because the camera calibrates itself to it's starting conditions
-
Point the small green circle in the center of the Frame Buffer view at the colored dot you want to match
-
Take note of the 3-value array being output in the Serial Terminal

-
This is the LAB value of the pixel in the center of the image
-
create na RANGE array, with values about +/- 10 from the given value, so eg
-
(52, -1, 13) becomes (42, 62, -9,11, 3, 23 )
- NOTE that the first value is LIGHTNESS, so you could try a wider range on that.
-
Plug this new range array into the ra_config.py, following the instructions there.
-
Run the code again and see if it works!
This project is based on the OpenMV Project which we invite you to consider sponsoring at github.com/sponsors/openmv.
Discover how to contribute to this open source project which upholds a standard code of conduct.
Consult our security policy for best practices using this open source software and to report vulnerabilities.
MIT License
Copyright (c) 2023-2024 reelyActive
Permission is hereby granted, free of charge, to any person obtaining a copy of this software and associated documentation files (the "Software"), to deal in the Software without restriction, including without limitation the rights to use, copy, modify, merge, publish, distribute, sublicense, and/or sell copies of the Software, and to permit persons to whom the Software is furnished to do so, subject to the following conditions:
The above copyright notice and this permission notice shall be included in all copies or substantial portions of the Software.
THE SOFTWARE IS PROVIDED "AS IS", WITHOUT WARRANTY OF ANY KIND, EXPRESS OR IMPLIED, INCLUDING BUT NOT LIMITED TO THE WARRANTIES OF MERCHANTABILITY, FITNESS FOR A PARTICULAR PURPOSE AND NONINFRINGEMENT. IN NO EVENT SHALL THE AUTHORS OR COPYRIGHT HOLDERS BE LIABLE FOR ANY CLAIM, DAMAGES OR OTHER LIABILITY, WHETHER IN AN ACTION OF CONTRACT, TORT OR OTHERWISE, ARISING FROM, OUT OF OR IN CONNECTION WITH THE SOFTWARE OR THE USE OR OTHER DEALINGS IN THE SOFTWARE.