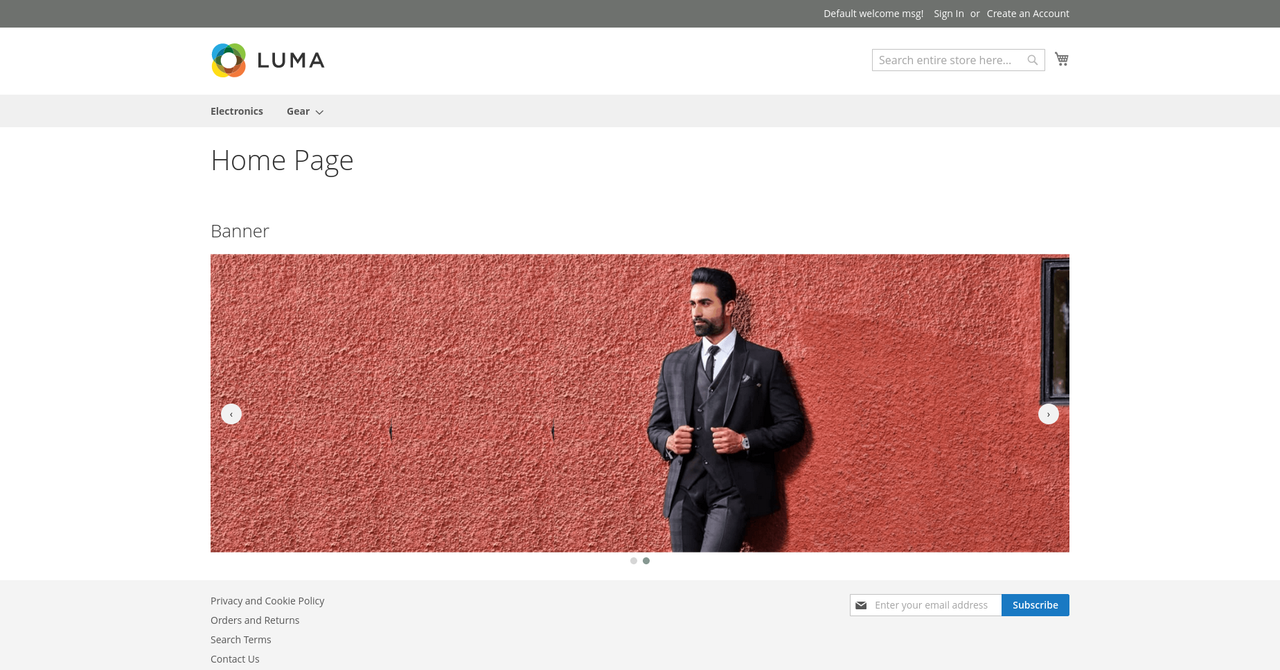
We recommend you to install Razecode_Banner module via composer. It is easy to install, update and maintaince.
NOTE: Please use composer 2 to avoid any error while installing.
Run the following command in Magento 2 root folder.
composer require razecode/banner
php bin/magento setup:upgrade
php bin/magento setup:static-content:deploy
composer update razecode/banner
php bin/magento setup:upgrade
php bin/magento setup:static-content:deploy
Run compile if your store in Production mode:
php bin/magento setup:di:compile
If you don't want to install via composer, you can use this way.
- Download the latest version here
- Extract
master.zipfile toapp/code/Razecode/Banner; You should create a folder pathapp/code/Razecode/Bannerif not exist. - Go to Magento root folder and run upgrade command line to install
Razecode_Banner:
php bin/magento setup:upgrade
php bin/magento setup:static-content:deploy
1. Add banner manually
{{block class="Razecode\Banner\Block\BannerSlider" template="Razecode_Banner::bannerslider.phtml" name="razecode.banner"}}
2. Add banner from admin configuration
Go to:
Store > Configuration > Razecode > Banner Slider > General Configuration > Display Slider from layout xml file (default)
NOTE:
This extension requires base module.
Download Base Module latest version here
