![]()
A Python implementation of WebGPU - the next generation GPU API. 🚀
The purpose of wgpu-py to to provide Python with a powerful and reliable GPU API.
It serves as a basis to build a broad range of applications and libraries related to visualization and GPU compute. We use it in pygfx to create a modern Pythonic render engine.
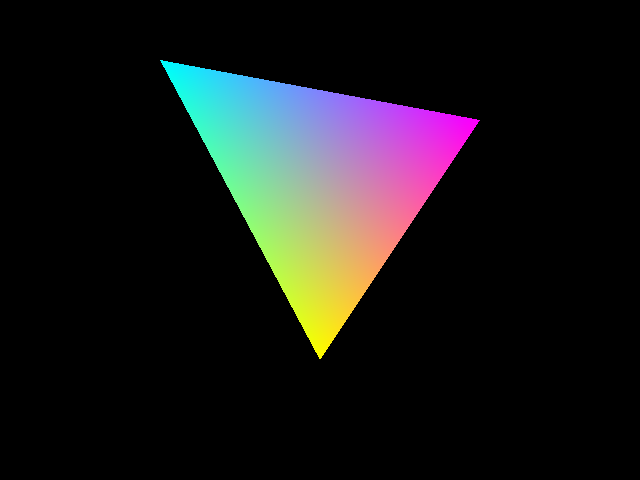
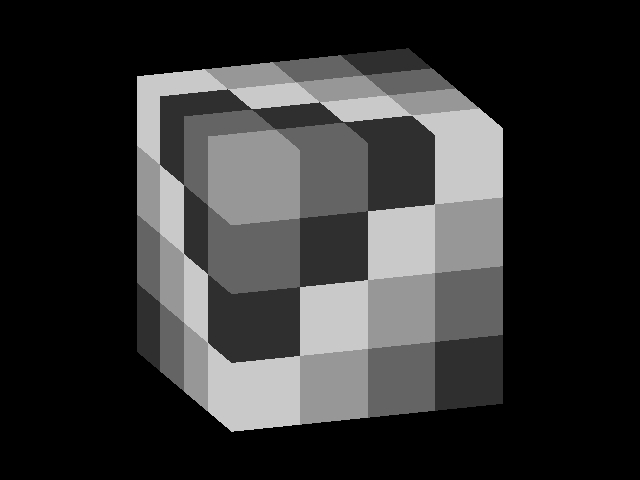
To get an idea of what this API looks like have a look at triangle.py and the other examples.
- Until WebGPU settles as a standard, its specification may change, and with that our API will probably too. Check the changelog when you upgrade!
- Coverage of the WebGPU spec is complete enough to build e.g. pygfx.
- Test coverage of the API is close to 100%.
- Support for Windows, Linux (x86 and aarch64), and MacOS (Intel and M1).
WGPU is the future for GPU graphics; the successor to OpenGL.
WebGPU is a JavaScript API with a well-defined spec, the successor to WebGL. The somewhat broader term "wgpu" is used to refer to "desktop" implementations of WebGPU in various languages.
OpenGL is old and showing it's cracks. New API's like Vulkan, Metal and DX12 provide a modern way to control the GPU, but these are too low-level for general use. WebGPU follows the same concepts, but with a simpler (higher level) API. With wgpu-py we bring WebGPU to Python.
Technically speaking, wgpu-py is a wrapper for wgpu-native, exposing its functionality with a Pythonic API closely resembling the WebGPU spec.
pip install wgpu glfw
Linux users should make sure that pip >= 20.3. That should do the trick on most systems. See getting started for details.
Also see the online documentation and the examples.
The full API is accessable via the main namespace:
import wgpuTo render to the screen you can use a variety of GUI toolkits:
# The auto backend selects either the glfw, qt or jupyter backend
from wgpu.gui.auto import WgpuCanvas, run, call_later

# Visualizations can be embedded as a widget in a Qt application.
# Import PySide6, PyQt6, PySide2 or PyQt5 before running the line below.
# The code will detect and use the library that is imported.
from wgpu.gui.qt import WgpuCanvas

# Visualizations can be embedded as a widget in a wx application.
from wgpu.gui.wx import WgpuCanvas
Some functions in the original wgpu-native API are async. In the Python API,
the default functions are all sync (blocking), making things easy for general use.
Async versions of these functions are available, so wgpu can also work
well with Asyncio or Trio.
This code is distributed under the 2-clause BSD license.
- pygfx - A python render engine running on wgpu.
- shadertoy - Shadertoy implementation using wgpu-py.
- tinygrad - deep learning framework
- fastplotlib - A fast plotting library
- xdsl - A Python Compiler Design Toolkit (optional wgpu interpreter)
- Clone the repo.
- Install devtools using
pip install -r dev-requirements.txt(you can replacepipwithpipenvto install to a virtualenv). - Install wgpu-py in editable mode by running
pip install -e ., this will also install runtime dependencies as needed. - Run
python download-wgpu-native.pyto download the upstream wgpu-native binaries.- Or alternatively point the
WGPU_LIB_PATHenvironment variable to a custom build.
- Or alternatively point the
- Use
black .to apply autoformatting. - Use
flake8 .to check for flake errors. - Use
pytest .to run the tests. - Use
pip wheel --no-deps .to build a wheel.
To update to upstream changes, we use a combination of automatic code generation and manual updating. See the codegen utility for more information.
The test suite is divided into multiple parts:
pytest -v testsruns the core unit tests.pytest -v examplestests the examples.pytest -v wgpu/__pyinstallertests if wgpu is properly supported by pyinstaller.pytest -v codegenlints the generated binding code.
There are two types of tests for examples included:
When running the test suite, pytest will run every example in a subprocess, to
see if it can run and exit cleanly. You can opt out of this mechanism by
including the comment # run_example = false in the module.
You can also (independently) opt-in to output testing for examples, by including
the comment # test_example = true in the module. Output testing means the test
suite will attempt to import the canvas instance global from your example, and
call it to see if an image is produced.
To support this type of testing, ensure the following requirements are met:
- The
WgpuCanvasclass is imported from thewgpu.gui.automodule. - The
canvasinstance is exposed as a global in the module. - A rendering callback has been registered with
canvas.request_draw(fn).
Reference screenshots are stored in the examples/screenshots folder, the test
suite will compare the rendered image with the reference.
Note: this step will be skipped when not running on CI. Since images will have subtle differences depending on the system on which they are rendered, that would make the tests unreliable.
For every test that fails on screenshot verification, diffs will be generated
for the rgb and alpha channels and made available in the
examples/screenshots/diffs folder. On CI, the examples/screenshots folder
will be published as a build artifact so you can download and inspect the
differences.
If you want to update the reference screenshot for a given example, you can grab those from the build artifacts as well and commit them to your branch.