
The installation of the 64-bit operating system on the new Raspberry Pi Zero 2 is somewhat cumbersome.
We have all the hard work done for you. Don't forget to read the last remark!
- Get a 16 GB SD-card which will hold the image.
- Download the image RPi_64OS_Zero_2.zip (3.5 GByte!) from our Gdrive site.
- Flash the image on the SD-card with the Imager or balenaEtcher.
- Insert the SD-card in your Raspberry Pi Zero 2 and enjoy.
- No WiFi installed. Password: 3.14
- You can overclock the Raspberry Pi Zero 2 if your SD-card is not too worn out. 1200 MHz is no problem. Most deep learning examples even work at 1300 MHz.
- If you are in need of extra space, you can delete the opencv and the opencv_contrib folder from the SD-card. There are no longer needed since all libraries are placed in the /usr/local directory.
- Use a tool like GParted
sudo apt-get install gpartedto expand the 16 GB image to larger SD-cards. - Chromium, just like FireFox, will not work due to graphic rendering issues.
- Please note, the Raspberry Pi Zero 2 is a very new device. Lost of (software) updates can be expected in the coming months.
- We commit several deep learning benchmarks. Read all about them at our site
- Most worrying was stuttering behaviour while working with the 64-bit operating system on the Raspberry Pi Zero 2. It wasn't snappy at all. Below compile times of gcc. Look at the 94 seconds it takes to do the job on the 64-bit version, as where the 32-bit OS can do it in 22. You can imagine we are not over-enthusiastic about the current 64-bit Bullseye version on a Raspberry Pi Zero 2. The 64-bit Ubuntu server was faster, but it doesn't have a graphical desktop. Only a terminal input. And for those unfamiliar with Ubuntu, the desktop is only possible with 4 GB of RAM onboard.
Hopefully, the Pi team will release a genuine Zero 2 64-bit version.

- OpenCV 4.5.4
- ncnn 20210124
- TensorFlow-Lite 2.6.0
Since everyone has a unique password on their WiFi connection, we have not activated the WiFi.
To enable the wireless LAN follow the next steps:
- Left click on the Ethernet symbol.
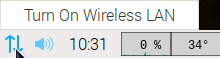
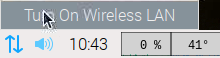
- Click "Turn on wireless LAN", and wait a few seconds. Your RPi will scan for available networks.
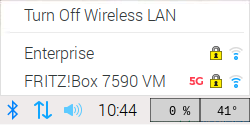
- Left click again on the Ethernet symbol and choose your network.
- Give your key, and wait a couple of seconds to let the RPi establish the connection.
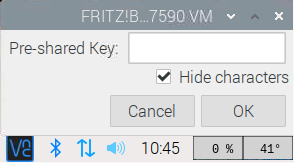
- Success!

