![]()

imgtools_m8 is a simple image tools package that provides functionality to convert, downscale, and upscale images.
It uses deep learning and OpenCV to upscale images using pre-trained models developed by Xavier Weber (more info here).
You can install the package from GitHub or PyPI.
To install directly from GitHub:
$ python3 -m pip install "git+https://github.com/mano8/imgtools_m8 --upgrade"
To install from PypI :
python3 -m pip install imgtools_m8 --upgrade
The imgtools_m8 package offers automated image processing capabilities for a designated source directory, with the output results saved to a specified output directory.
The package provides versatile resizing options, including:
- fixed_width: Resizing images to an exact width in pixels.
- fixed_height: Resizing images to an exact height in pixels.
- fixed_size: Resizing images based on the highest limitation reached (height or width).
- fixed_width and fixed_height: Resizing images based on the highest limitation reached, while allowing different height and width values.
In cases where the original image size exceeds the specified output dimensions, the package automatically applies upscaling using pre-trained models.
For more usage examples, refer to the example's directory.
(See accepted extensions from cv2 documentation)
In all the examples provided, the source_path value is set to a single image file path. However, this package can also work with a directory path containing multiple image files. In this scenario, the processing will be applied to all images within the specified source_path directory.
In this example, we demonstrate how to convert an input image to three different formats (.jpg, .webp, and .png) without resizing.
from imgtools_m8.img_tools import ImageTools

# Set up the output formats
output_formats = [
    {
        'formats': [
            {'ext': '.jpg', 'quality': 80, 'progressive': 1, 'optimize': 1},
            {'ext': '.webp', 'quality': 70},
            {'ext': '.png', 'compression': 2}
        ]

    }
]

# Create an instance of ImageTools
imgtools = ImageTools(
    source_path="./tests/dummy_dir/recien_llegado.jpg",
    output_path="/my/output/path/directory",
    output_formats=output_formats
)
# Run the image processing
imgtools.run()
This code snippet converts the input image to three different formats (JPEG, WEBP, and PNG) and saves the resulting images in the specified output directory.
The JPEG images are saved with 80% quality, progressive encoding, and optimization.
The WEBP images are saved with 70% quality,
and the PNG images are saved with compression level 2.
In this example, we demonstrate how to resize an input image and save it as a .jpeg format.
The source file is 340px wide and 216px high. The output file will be downscaled to 300*190 px, and finally saved as a JPEG with 80% quality, progressive encoding, and optimization.
when fixed_width and fixed_height are set, the downscale process selects the higher coefficient as the limitation, and in this case, it is the fixed width of 300 px.
For a fixed height of 200 px, the output will be an image of 314x200 px.
from imgtools_m8.img_tools import ImageTools

# Set up the output formats
output_formats = [
    {
        'fixed_width': 300,
        'fixed_height': 200,
        'formats': [
            {'ext': '.jpg', 'quality': 80, 'progressive': 1, 'optimize': 1}
        ]
    }
]

# Create an instance of ImageTools
imgtools = ImageTools(
    source_path="./tests/dummy_dir/recien_llegado.jpg",
    output_path="/my/output/path/directory",
    output_formats=output_formats
)
# Run the image processing
imgtools.run()
In this example, the input image is downscaled to a fixed width of 300 pixels, as the higher coefficient is selected. The resulting image is then saved as a JPEG with 80% quality, progressive encoding, and optimization.
In this example, we demonstrate how to resize an input image and save it as a .jpeg format.
The source file is 340px wide and 216px high. The output file will be upscaled 4x to 1360x864 px, then downscaled to 1200x762 px, and finally saved as a JPEG with 80% quality, progressive encoding, and optimization.
By default, the package uses the pre-trained EDSR model to upscale images, automatically determining the best model scale to use. In this case, the best choice is the EDSR_4x.pb model.
from imgtools_m8.img_tools import ImageTools

# Set up the output formats
output_formats = [
    {
        'fixed_width': 1200,
        'formats': [
            {'ext': '.jpg', 'quality': 80, 'progressive': 1, 'optimize': 1}
        ]
    }
]

# Create an instance of ImageTools
imgtools = ImageTools(
    source_path="./tests/dummy_dir/recien_llegado.jpg",
    output_path="/my/output/path/directory",
    output_formats=output_formats
)
# Run the image processing
imgtools.run()
This code snippet demonstrates how to resize an input image using automatic upscaling and downscaling.
The image is first upscaled using the default EDSR model to achieve a higher resolution, then downscaled to the specified width of 1200 pixels.
The resulting image is saved as a JPEG with 80% quality, progressive encoding, and optimization.
The package automatically selects the appropriate model scale for upscaling based on the image dimensions.
In this example, we demonstrate how to fix the model scale for the upscale process and resize an input image while saving it as a .jpeg format.
For various reasons, users might want to use only a preferred model scale for the upscale process. In this case, it's necessary to define a model configuration with the selected model scale value, which needs to be a valid model scale.
For example, the pre-trained EDSR model has valid model scales of 2x, 3x, and 4x. Other models may have different valid scale values.
The source file is 340px wide and 216px high. The output file will be upscaled 2x two times in this case, resulting in a size of 1360x864 px. Then it will be downscaled to 1200x762 px, and finally saved as a JPEG with 80% quality, progressive encoding, and optimization.
This process is slower compared to Example 3 due to the necessity of executing two upscale processes, which increases the execution time.
from imgtools_m8.img_tools import ImageTools

# Set up model configuration
model_conf = {
   'scale': 2
}

# Set up the output formats
output_formats = [
    {
        'fixed_width': 1200,
        'formats': [
            {'ext': '.jpg', 'quality': 80, 'progressive': 1, 'optimize': 1}
        ]
    }
]

# Create an instance of ImageTools
imgtools = ImageTools(
    source_path="./tests/dummy_dir/recien_llegado.jpg",
    output_path="/my/output/path/directory",
    output_formats=output_formats,
    model_conf=model_conf
)
# Run the image processing
imgtools.run()In this example, we demonstrate how to use another pre-trained model. While this package currently only contains the EDSR model, you have the flexibility to use any available model of your choice.
To use a different model, you will need to download models with a .pb extension from here. Once downloaded, place the models in a directory, and set the model configuration as shown below.
If you wish to automatically select the best model scale, ensure you have downloaded all available model scales or only the ones you intend to use. Keep in mind that when only one model scale is available for a model, it will be used exclusively. This can result in slower execution times and/or lower quality results depending on the available model scale, input image size, and output size(s) defined in the configuration.
In this example, we use the pre-trained TF-ESPCN model to upscale images, automatically determining the best model scale to use. In this case, the best choice is the TF-ESPCN_4x.pb model.
from imgtools_m8.img_tools import ImageTools

# Set up model configuration for downloaded TF-ESPCN models
model_conf = {
   'path': "/path/to/your/downloaded/model/directory",
   'model_name': 'espcn',
}

# Set up the output formats
output_formats = [
    {
        'fixed_width': 1200,
        'formats': [
            {'ext': '.jpg', 'quality': 80, 'progressive': 1, 'optimize': 1}
        ]
    }
]

# Create an instance of ImageTools
imgtools = ImageTools(
    source_path="./tests/dummy_dir/recien_llegado.jpg",
    output_path="/my/output/path/directory",
    output_formats=output_formats,
    model_conf=model_conf
)
# Run the image processing
imgtools.run()The source file is 340px width and 216px height.
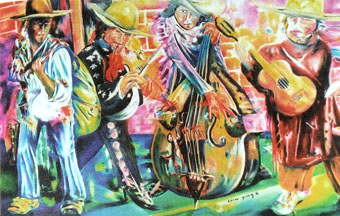
Recien llegado by @Cezar yañez
In some examples, the output is upscaled to 1200x762 px and saved as a JPEG with 80% quality, progressive encoding, and optimization:
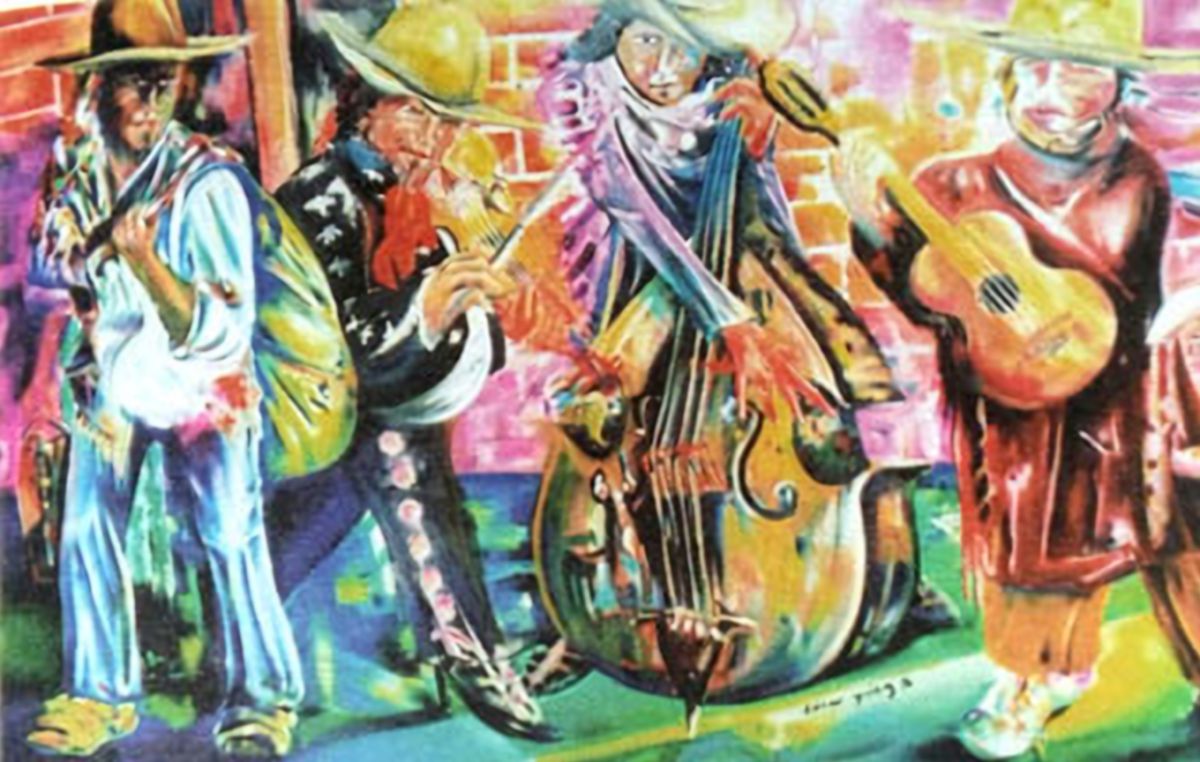
recien_llegado_1200x762.jpg by @Cezar yañez
This project is licensed under the Apache 2 License - see the LICENSE file for details.
- Eli Serra
- pre-trained models by Xavier Weber.