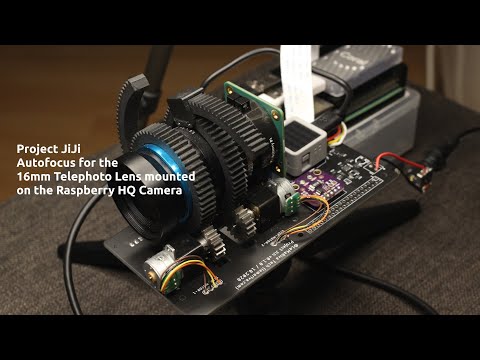
As you may have already noticed, the Raspberry Pi HQ Camera lenses don't have any autofocus functionality. This project includes the hardware design, firmware and software to add autofocus functionality to those lenses. In this case, I use the 16mm telephoto lens. The project is divided into two repositories. This repository includes the code of the M5Stack firmware whereas lemariva/rPIFocus includes the code for the Raspberry Pi, in which the Microservices application runs.
A detailed article about the application can be found on Raspberry Pi HQ Camera: Autofocus for the Telephoto Lens (JiJi).
 |
 |
 |
 |
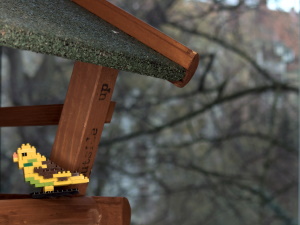
| Focus Type: Box Background focused (download) |
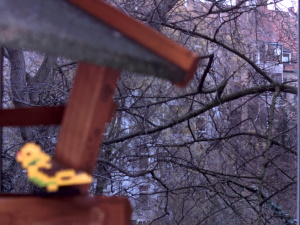
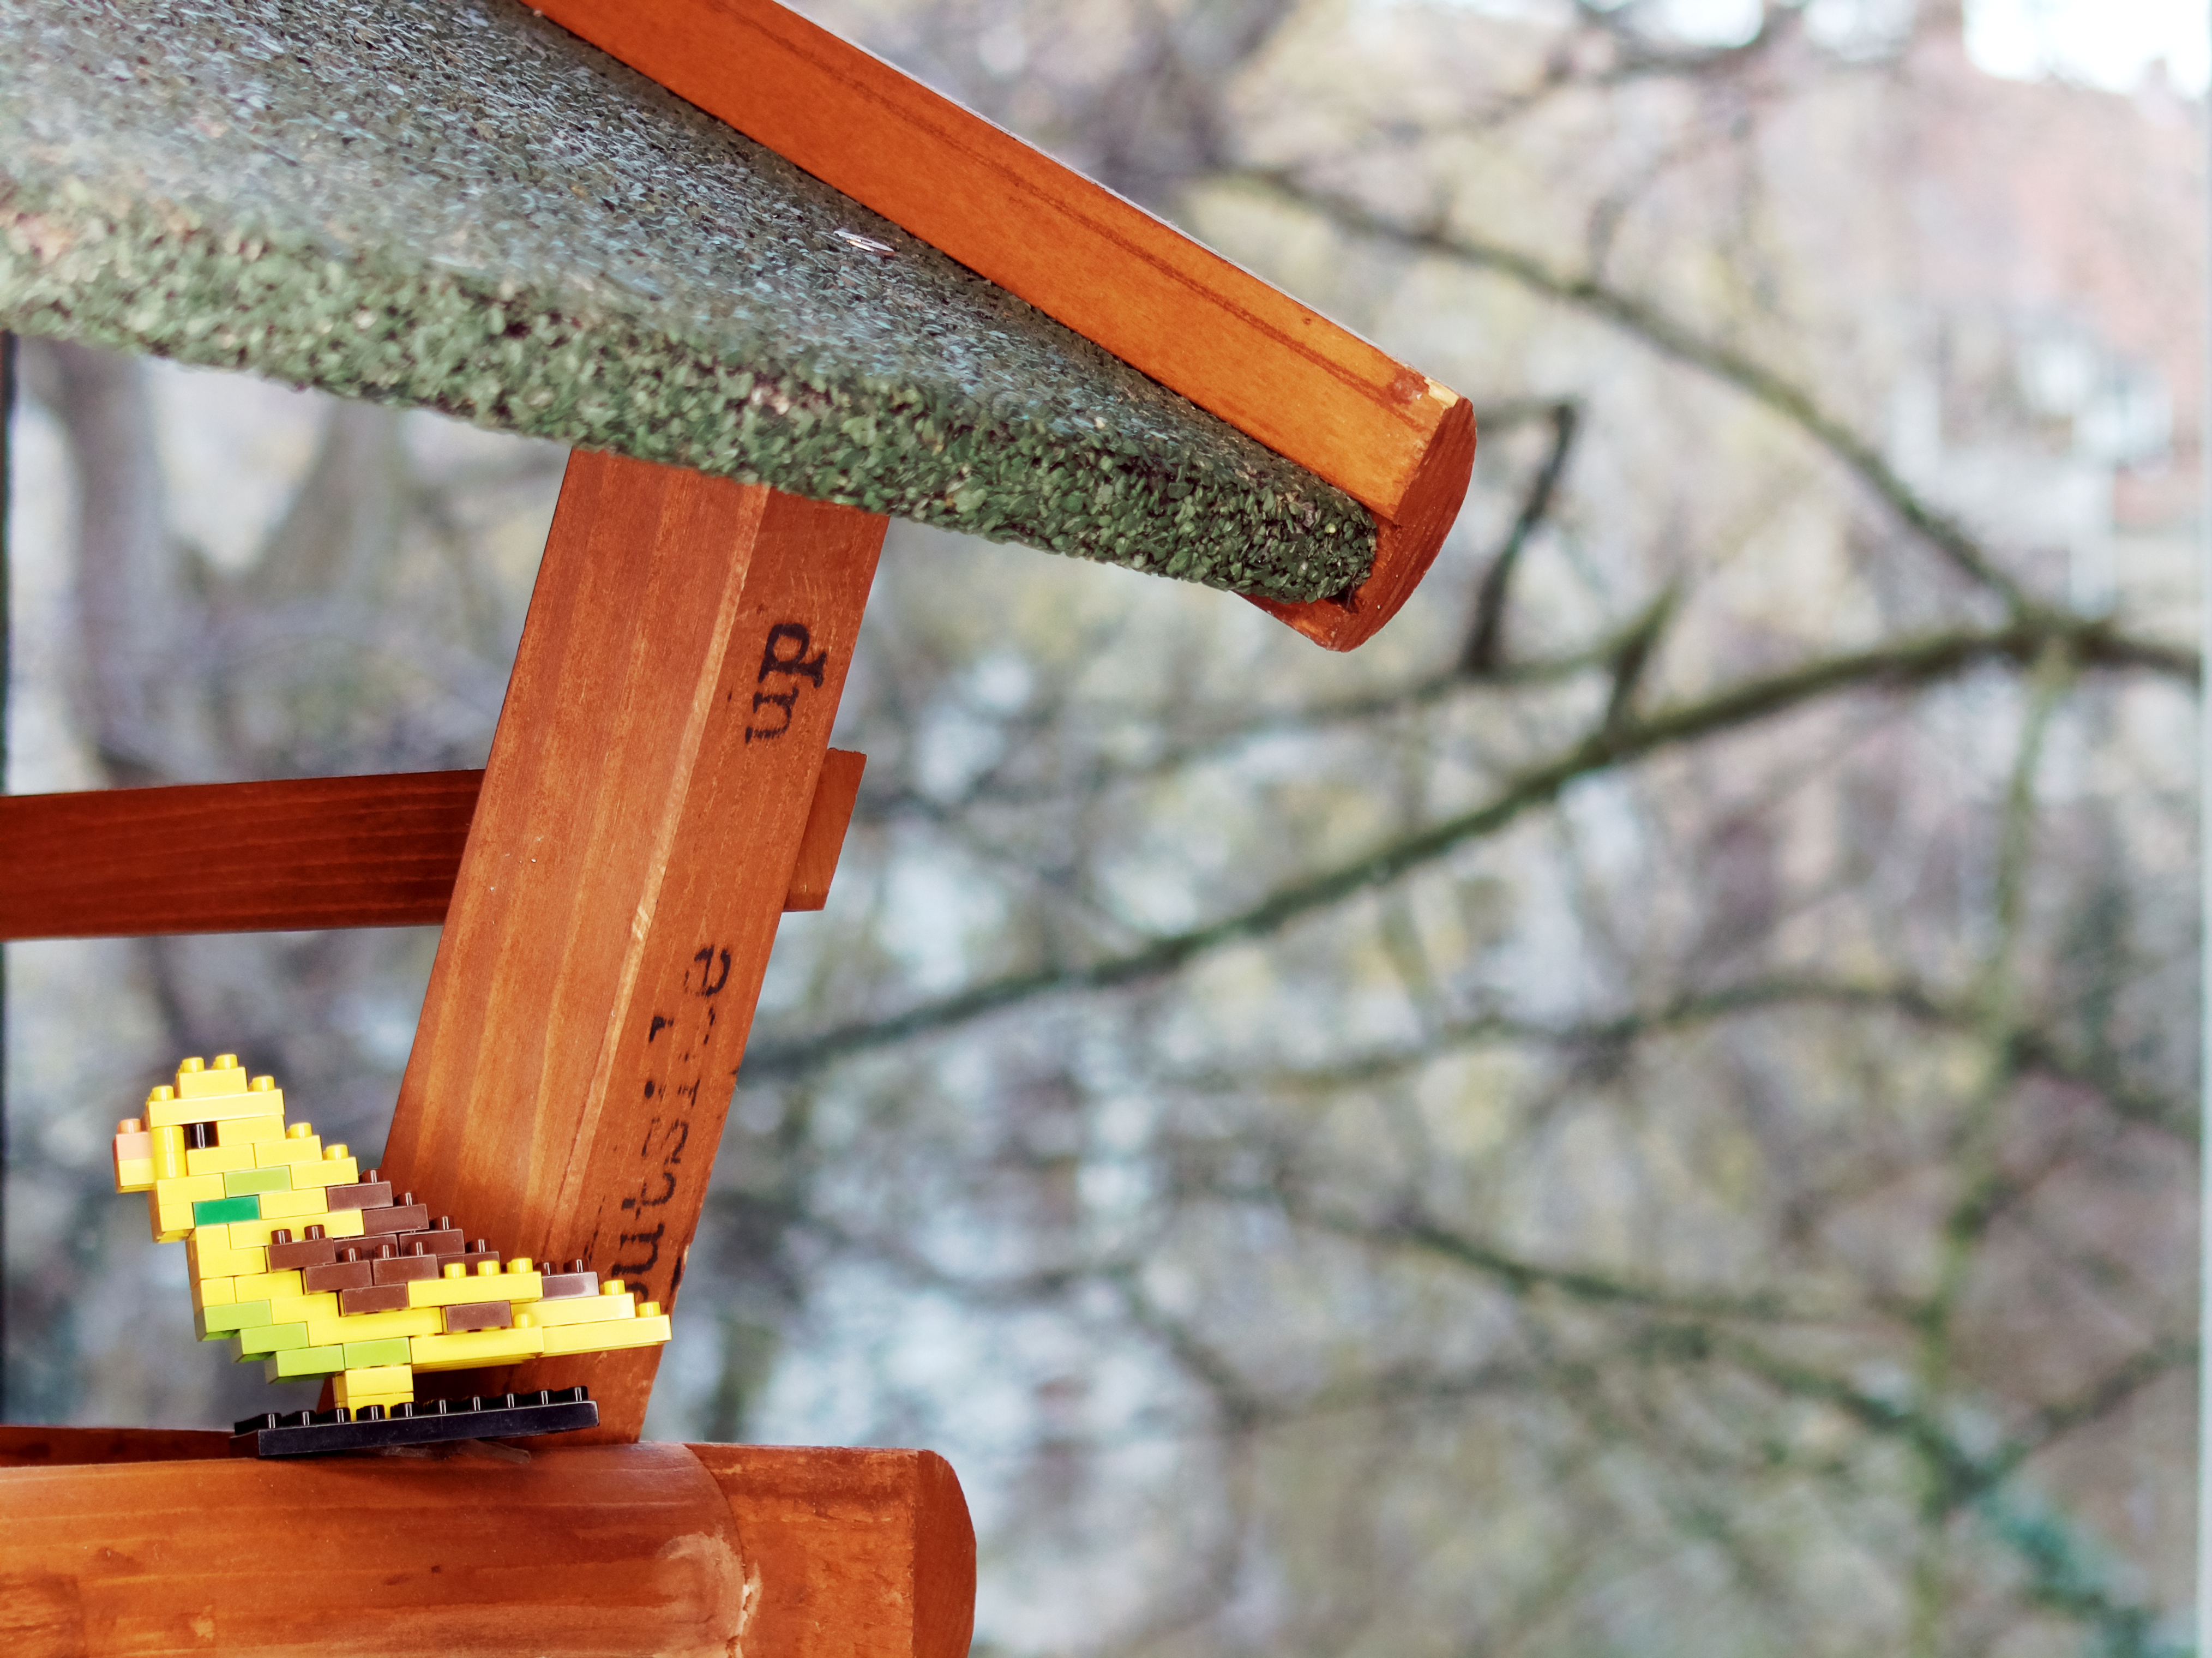
Focus Type: Box Nanoblock bird focused (download) |
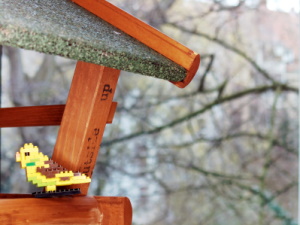
Focus Type: Box Nanoblock bird focused. Diff. illum & cam. aperture (download) |
Focus Type: Object detector Teddy bear focused (download) |
Inside the folder pcb, you'll find the board and schematic files (Eagle), to order your PCB. I also added the Gerber files that I used by jlcpcb.
The M5Stack ATOM Matrix controls the motors and offers a RestAPI to receive the commands. The M5Stack application is programmed in MicroPython. If you haven't heard about MicroPython, you can check this tutorial: Getting Started with MicroPython on ESP32, M5Stack, and ESP8266. MicroPython is a lean and efficient implementation of the Python 3 programming language that includes a small subset of the Python standard library and is optimized to run on microcontrollers and in "constrained environments". The application is located lemariva/uPyFocus.
So, follow these steps to upload the application to the M5Stack:
- Flash MicroPython to the M5Stack as described in this tutorial.
- Clone the lemariva/uPyFocus repository:
git clone https://github.com/lemariva/uPyFocus.git
- Open the folder
uPyFocuswith VSCode and rename theconfig.py.sampletoconfig.py. - Open the file and add your Wi-Fi credentials in this section:
The M5Stack needs to connect to your Wi-Fi so that the Raspberry Pi (also connected to your Wi-Fi/LAN) can find it and sends the commands to control the steppers.
wifi = {
    'ssid':'',
    'password':''
}
- Upload the application to the M5Stack.
After uploading the code, the M5Stack resets and starts with the calibration routine. Take note of the IP that the M5Stack reports while connecting to your Wi-Fi. You'll need that to configure the Microservices Application on the Raspberry Pi.