Goal: In this exercise, the participants will be asked to build the backend of a TodoReact App. The user will be exploring the functionality of FeatherHttp, a server-side framework.
What is FeatherHttp: FeatherHttp makes it easy to write web applications.
Why FeatherHttp: FeatherHttp is lightweight server-side framework designed to scale-up as your application grows in complexity.
- Install .NET Core 5.0
- Install Node.js
-
Install the FeatherHttp template using the
dotnet CLI. Copy the command below into a terminal or command prompt to install the template.dotnet new -i FeatherHttp.Templates::0.1.67-alpha.g69b43bed72 --nuget-source https://f.feedz.io/featherhttp/framework/nuget/index.jsonThis will make the
FeatherHttptemplates available in thedotnet newcommand (more below). -
Download this repository. Unzip it, and navigate to the Tutorial folder, this consists of the frontend application
TodoReactapp.If using Visual Studio Code, install the C# extension for C# support.
Please Note: The completed exercise is available in the samples folder. Feel free to reference it at any point during the tutorial.
- Once you clone the Todo repo, navigate to the
TodoReactfolder inside of theTutorialfolder and run the following commands
TodoReact> npm i
TodoReact> npm start
- The commands above
- Restores packages
npm i - Starts the react app
npm start
- Restores packages
-
The app will load but have no functionality
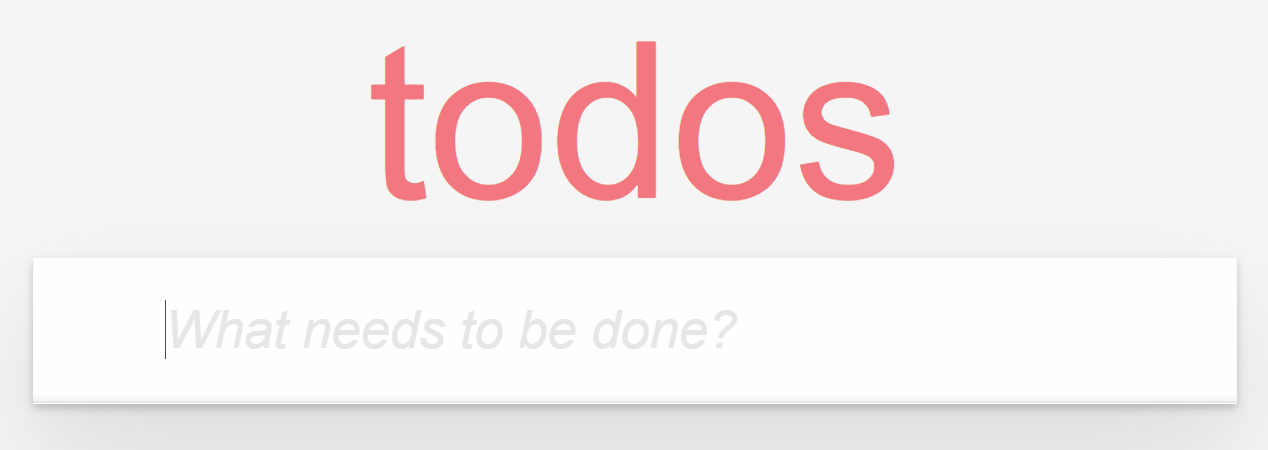
Keep this React app running as we'll need it once we build the back-end in the upcoming steps
Create a new project
- Create a new FeatherHttp application and add the necessary packages in the
TodoApifolder
Tutorial>dotnet new feather -n TodoApi
Tutorial> cd TodoApi
TodoApi> dotnet add package Microsoft.EntityFrameworkCore.InMemory
- The commands above
- create a new FeatherHttp application
dotnet new feather -n TodoApi - Adds the NuGet packages required in the next section
dotnet add package Microsoft.EntityFrameworkCore.InMemory --version 5.0.0-preview.7.20365.15
- create a new FeatherHttp application
- Open the
TodoApiFolder in editor of your choice.
-
Create a file called
TodoItem.csin the TodoApi folder. Add the content below:using System.Text.Json.Serialization; public class TodoItem { [JsonPropertyName("id")] public int Id { get; set; } [JsonPropertyName("name")] public string Name { get; set; } [JsonPropertyName("isComplete")] public bool IsComplete { get; set; } }
The above model will be used for reading in JSON and storing todo items into the database.
-
Create a file called
TodoDbContext.cswith the following contents:using Microsoft.EntityFrameworkCore; public class TodoDbContext : DbContext { public DbSet<TodoItem> Todos { get; set; } protected override void OnConfiguring(DbContextOptionsBuilder optionsBuilder) { optionsBuilder.UseInMemoryDatabase("Todos"); } }
This code does 2 things:
- It exposes a
Todosproperty which represents the list of todo items in the database. - The call to
UseInMemoryDatabasewires up the in memory database storage. Data will only be persisted as long as the application is running.
- It exposes a
-
Now we're going to use
dotnet watchto run the server side application:dotnet watch runThis will watch our application for source code changes and will restart the process as a result.
-
Add the appropriate
usingsto the top of theProgram.csfile.using System.Threading.Tasks; using Microsoft.AspNetCore.Builder; using Microsoft.AspNetCore.Http; using Microsoft.EntityFrameworkCore;This will import the required namespaces so that the application compiles successfully.
-
In
Program.cs, create a method calledGetTodosinside of theProgramclass:static async Task GetTodos(HttpContext http) { using var db = new TodoDbContext(); var todos = await db.Todos.ToListAsync(); await http.Response.WriteJsonAsync(todos); }
This method gets the list of todo items from the database and writes a JSON representation to the HTTP response.
-
Wire up
GetTodosto theapi/todosroute by modifying the code inMainto the following:static async Task Main(string[] args) { var app = WebApplication.Create(args); app.MapGet("/api/todos", GetTodos); await app.RunAsync(); }
-
Navigate to the URL http://localhost:5000/api/todos in the browser. It should return an empty JSON array.

-
In
Program.cs, create another method calledCreateTodoinside of theProgramclass:static async Task CreateTodo(HttpContext http) { var todo = await http.Request.ReadJsonAsync<TodoItem>(); using var db = new TodoDbContext(); await db.Todos.AddAsync(todo); await db.SaveChangesAsync(); http.Response.StatusCode = 204; }
The above method reads the
TodoItemfrom the incoming HTTP request and as a JSON payload and adds it to the database. -
Wire up
CreateTodoto theapi/todosroute by modifying the code inMainto the following:static async Task Main(string[] args) { var app = WebApplication.Create(args); app.MapGet("/api/todos", GetTodos); app.MapPost("/api/todos", CreateTodo); await app.RunAsync(); }
-
Navigate to the
TodoReactapplication which should be running on http://localhost:3000. The application should be able to add new todo items. Also, refreshing the page should show the stored todo items.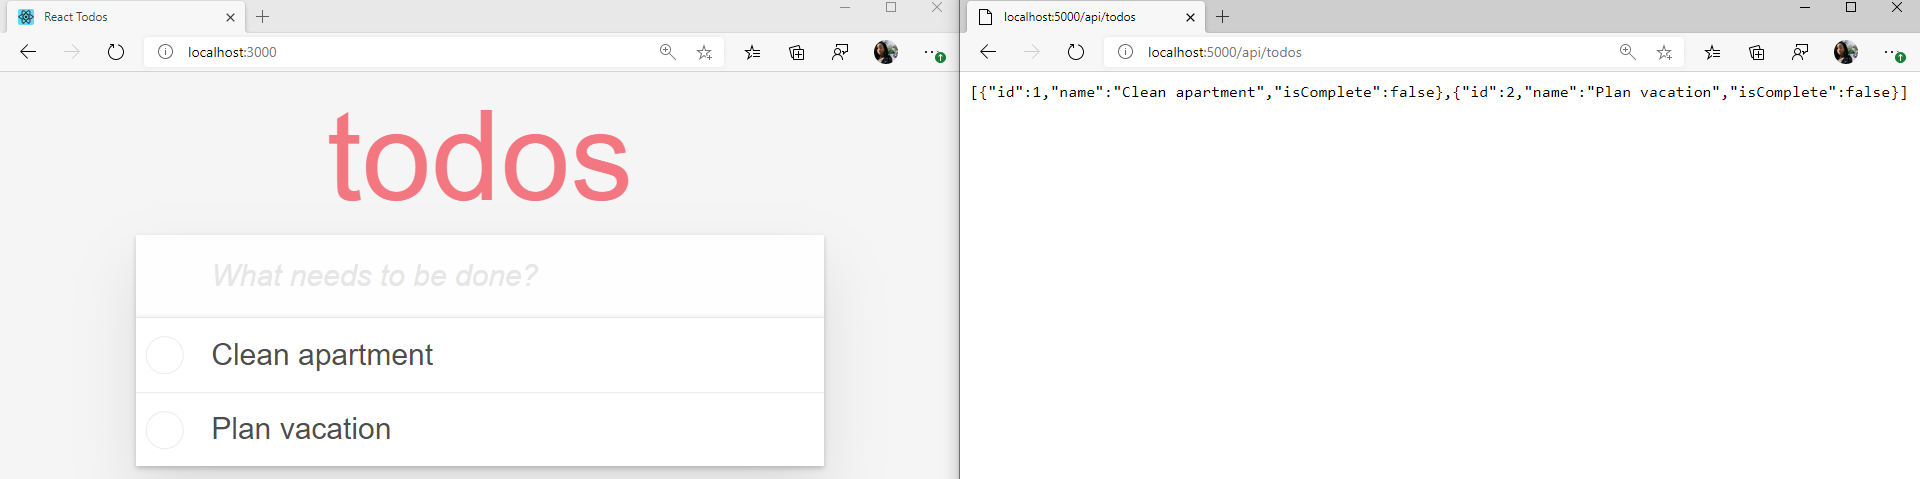
-
In
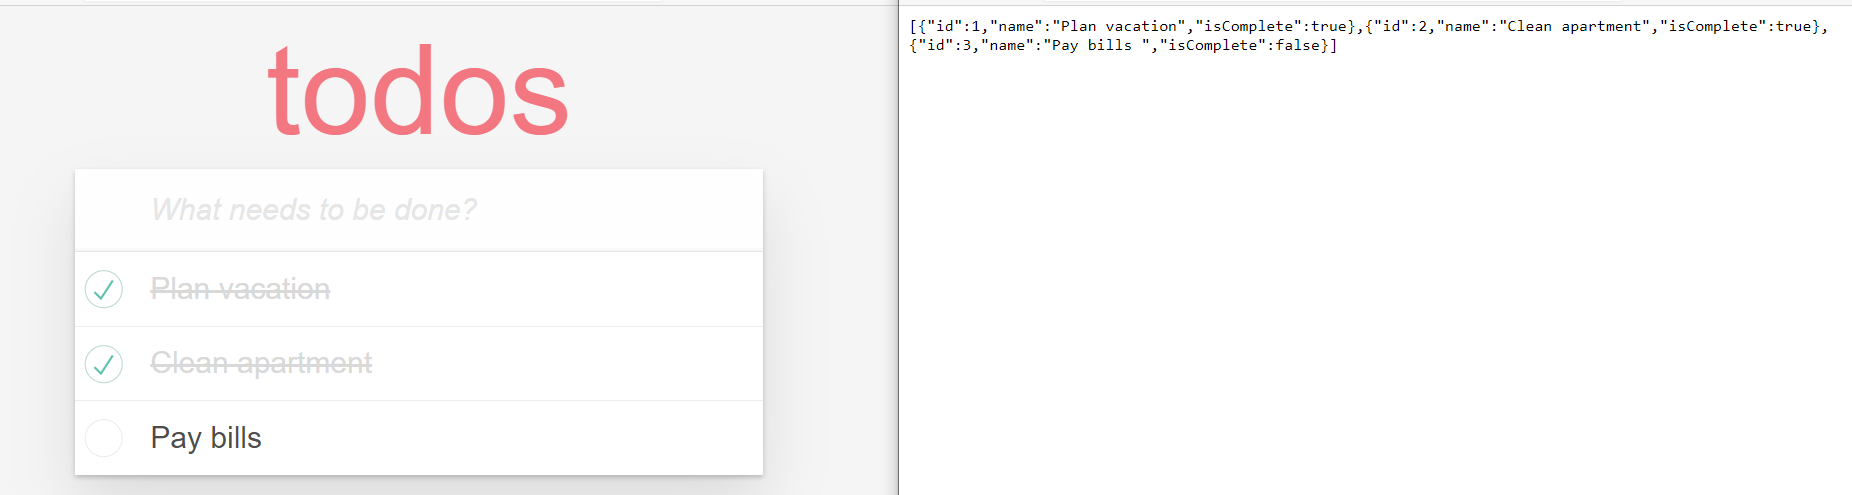
Program.cs, create another method calledUpdateCompletedinside of theProgramclass:static async Task UpdateCompleted(HttpContext http) { if (!http.Request.RouteValues.TryGet("id", out int id)) { http.Response.StatusCode = 400; return; } using var db = new TodoDbContext(); var todo = await db.Todos.FindAsync(id); if (todo == null) { http.Response.StatusCode = 404; return; } var inputTodo = await http.Request.ReadJsonAsync<TodoItem>(); todo.IsComplete = inputTodo.IsComplete; await db.SaveChangesAsync(); http.Response.StatusCode = 204; }
The above logic retrieves the id from the route parameter "id" and uses it to find the todo item in the database. It then reads the JSON payload from the incoming request, sets the
IsCompleteproperty and updates the todo item in the database. -
Wire up
UpdateCompletedto theapi/todos/{id}route by modifying the code inMainto the following:static async Task Main(string[] args) { var app = WebApplication.Create(args); app.MapGet("/api/todos", GetTodos); app.MapPost("/api/todos", CreateTodo); app.MapPost("/api/todos/{id}", UpdateCompleted); await app.RunAsync(); }
-
In
Program.cscreate another method calledDeleteTodoinside of theProgramclass:static async Task DeleteTodo(HttpContext http) { if (!http.Request.RouteValues.TryGet("id", out int id)) { http.Response.StatusCode = 400; return; } using var db = new TodoDbContext(); var todo = await db.Todos.FindAsync(id); if (todo == null) { http.Response.StatusCode = 404; return; } db.Todos.Remove(todo); await db.SaveChangesAsync(); http.Response.StatusCode = 204; }
The above logic is very similar to
UpdateCompletedbut instead. it removes the todo item from the database after finding it. -
Wire up
DeleteTodoto theapi/todos/{id}route by modifying the code inMainto the following:static async Task Main(string[] args) { var app = WebApplication.Create(args); app.MapGet("/api/todos", GetTodos); app.MapPost("/api/todos", CreateTodo); app.MapPost("/api/todos/{id}", UpdateCompleted); app.MapDelete("/api/todos/{id}", DeleteTodo); await app.RunAsync(); }
The application should now be fully functional.