The Goal is to build live video streaming application using Raspberry Pi and its Camera Module.
We will cover what ever you need to setup and all the basic steps to follow when getting started with Raspberry Pi for the very 1st time.
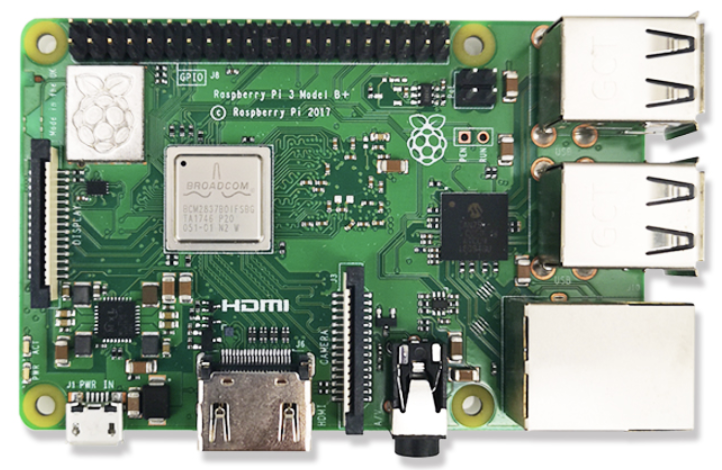
- A Raspberry Pi board. For this tutorial I have Raspberry Pi 3 Model B with built-in WIFI and Bluetooth.
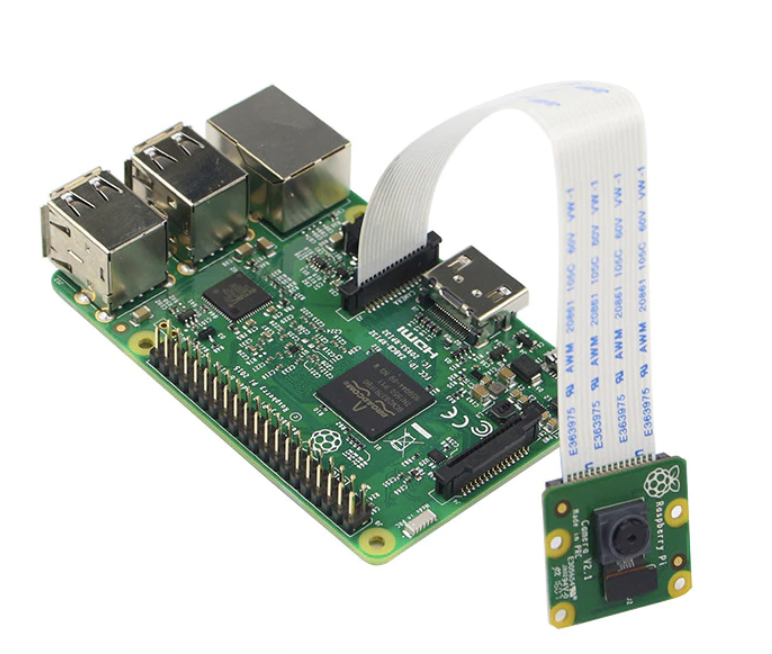
- Official Raspberry Pi Camera V2 Module. For this tutorial I ordered 'Camera V2 Module with Sony IMX219 Light-sensitive Chips 8MP Pixels 1080P Video Original RPI 3 Camera'
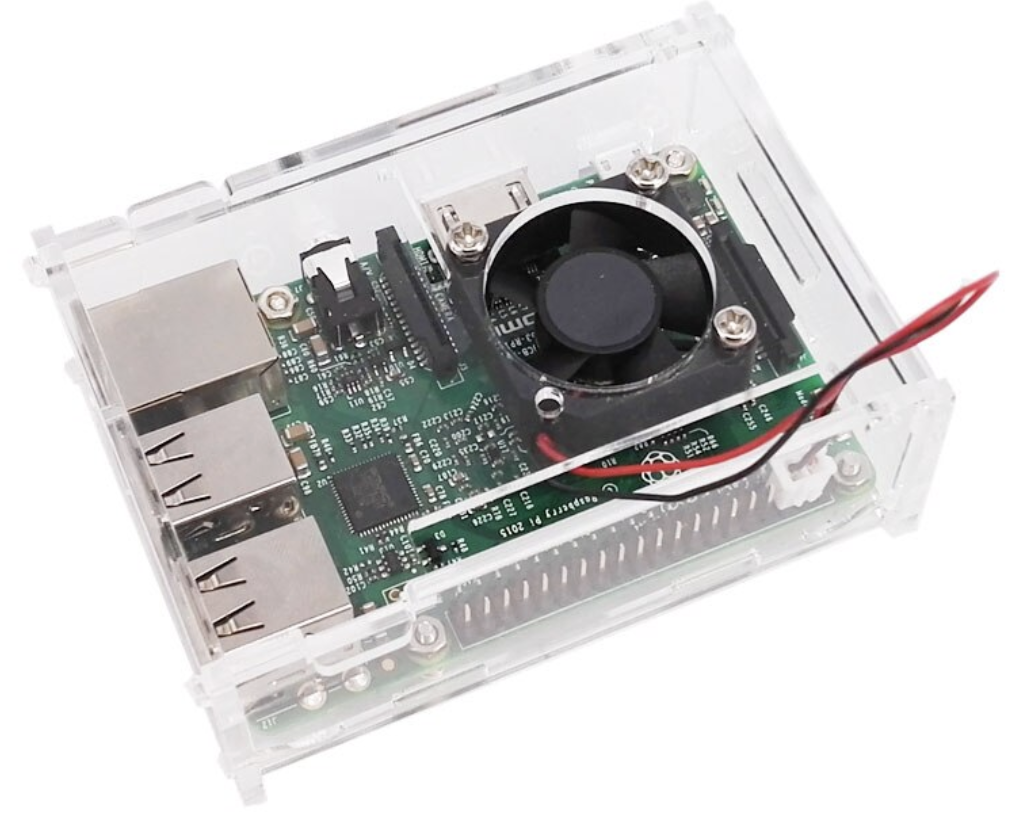
- Acrylic case transparent Shell cover with Cooling Fan (Optional - just to prevent your circuit from getting heat up)
- Micro SD card for storage
- Power adapter or usb cable to power up your Raspberry Pi

- Raspberry Pi: https://www.aliexpress.com/item/32615114907.html
- Camera Module: https://www.aliexpress.com/item/32672304634.html
- Acrylic Case: https://www.aliexpress.com/item/32562317225.html
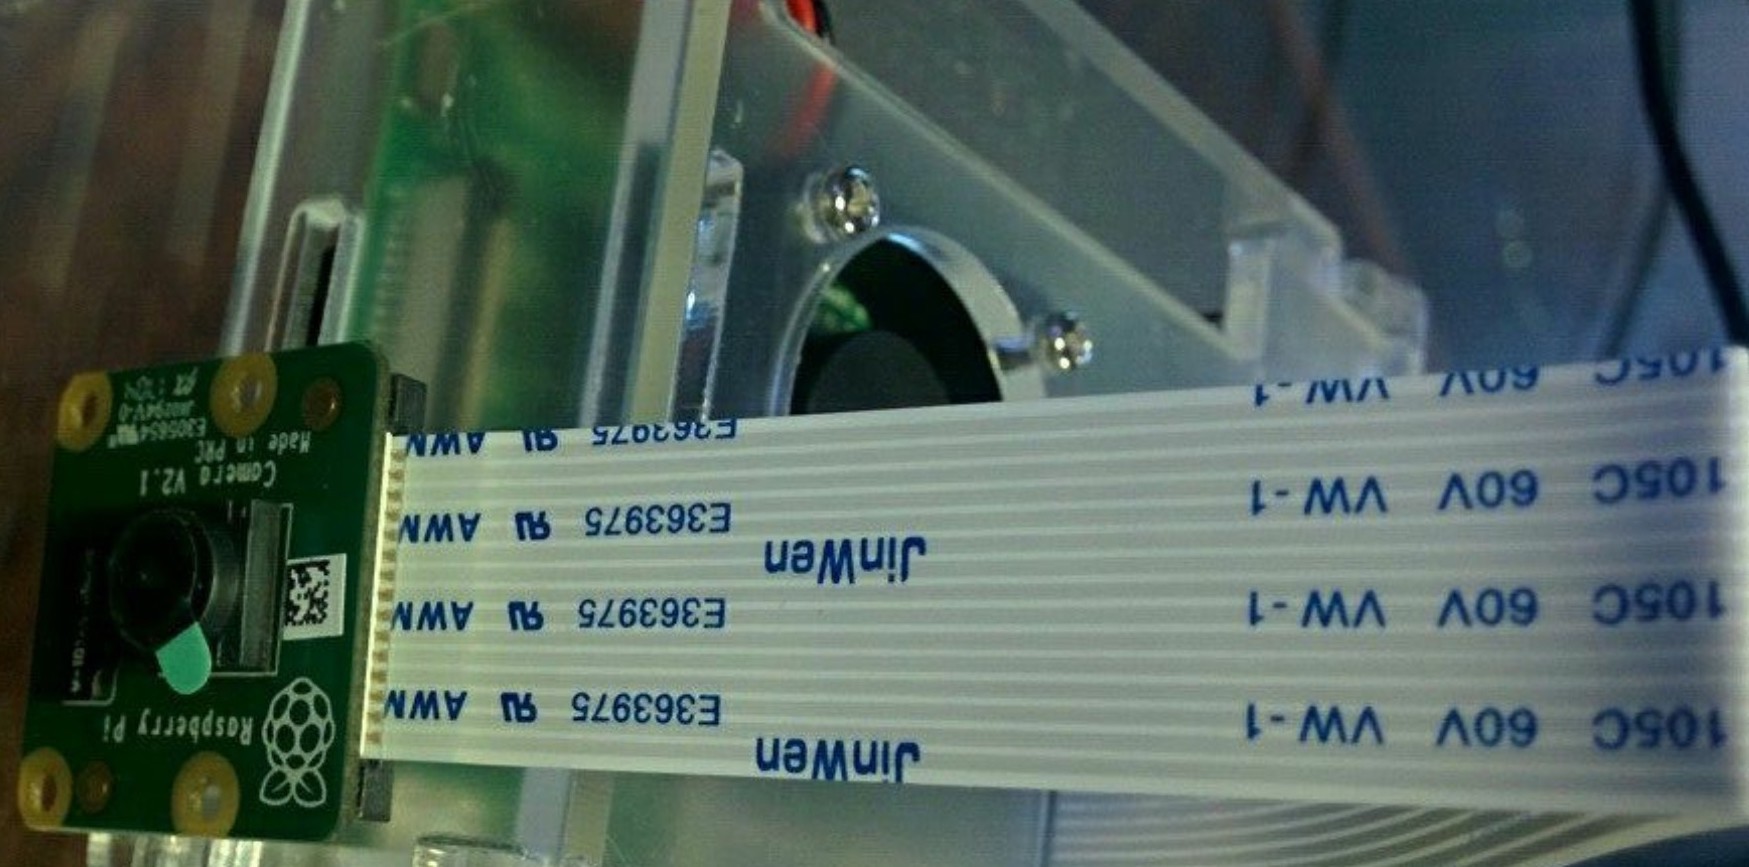
You need to assemble as follows:

For this tutorial I downloaded and installed Raspbian OS for Raspberry PI. You can see the downloads on official raspberryPi site here: https://www.raspberrypi.org/downloads/raspbian/ You will need to download and install operating system on the mounted SD card.
- Download the required OS from above mentioned link.
- Extract it and copy the files to sdcard.
- For the 1st time, Plug in your keyboard, mouse, and monitor cables.
- Insert micro SD Card into your Raspberry Pi, and plug the Pi into a power source.
- You will see an installer. You should check the box for Raspbian, and then click Install.
- The default login for Raspbian is username 'pi' with the password 'raspberry' if asked.
Details can be found here: https://projects.raspberrypi.org/en/projects/noobs-install
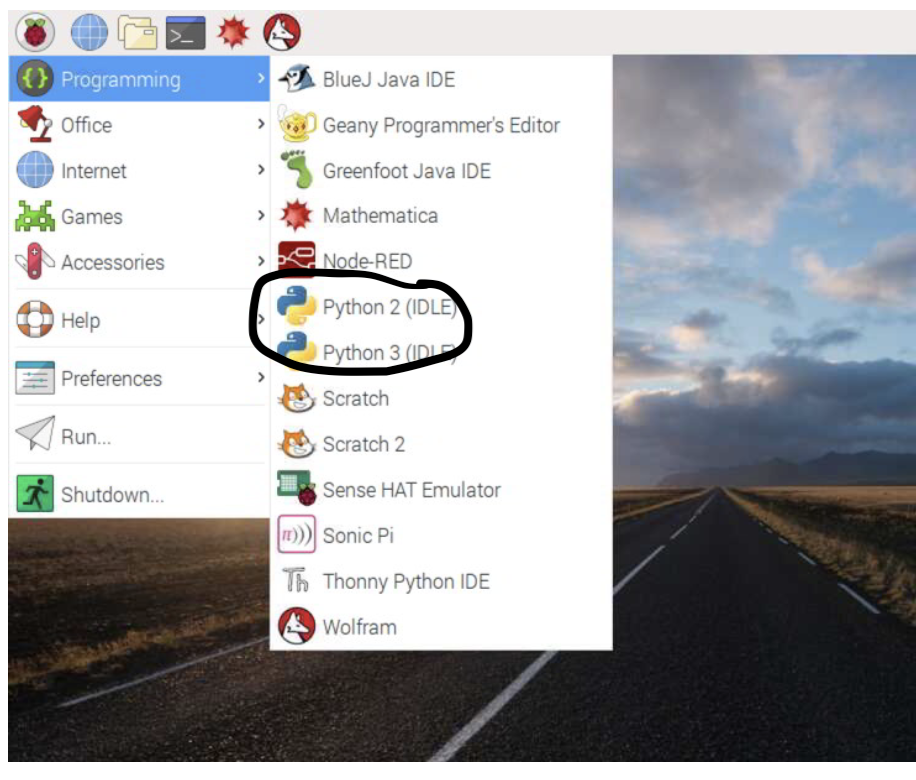
Once done you will be able to see the home screen as shown. Just notice the highlighted part i.e. make sure you have python installed, as we will be using python for writing scripts which can render live streaming straight from Camera to your display screen connected with Raspberry Pi. Normally it comes pre-installed with Raspbian.
From the prompt run
java sudo apt-get updatejava sudo apt-get upgradejava sudo raspi-config
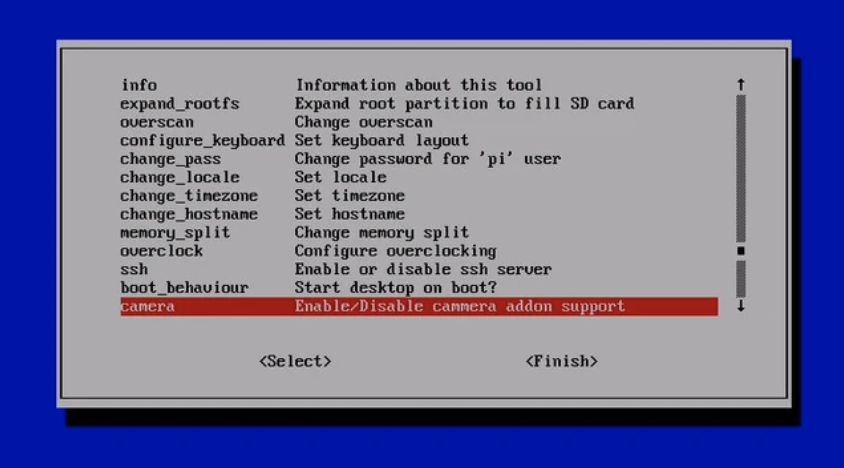
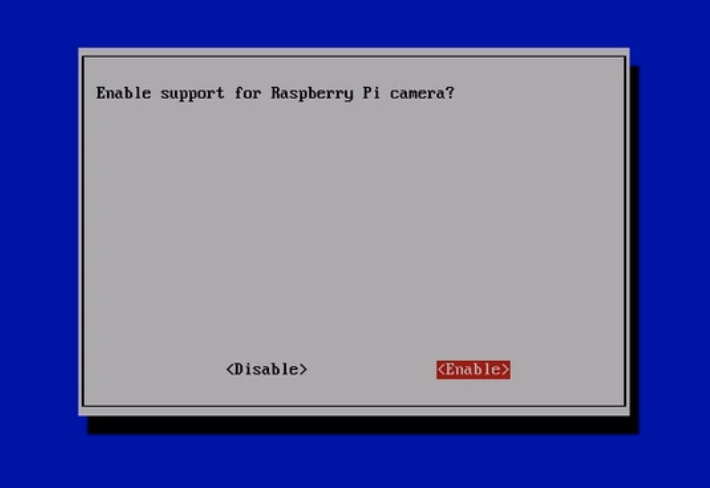
You will see following Pi Confiruation menu, and you can see camera option in the end. If you don't see camera option then may be your camera device is not properly connected with PI.
from picamera import PiCamera
from time import sleep

camera = PiCamera()
camera.start_preview()
sleep(5)  // live streaming will stop after 5 seconds
camera.stop_preview()
Save and run your program. The camera preview should be shown for five seconds and then close again.
camera.start_preview()
camera.start_recording('/home/pi/Desktop/video.h264')   // this will record audio till it stop
/* camera.capture('/home/pi/Desktop/image.jpg')
    this takes picture
*/
sleep(5)
camera.stop_recording()
camera.stop_preview()