This repository contains a simple app that enables all connected clients to navigate together inside a 3D scene and see each other positions. It uses the Teams Live Share SDK which is an abtraction layer over the Fluid Framework. You can find more Live Share SDK samples there.

To better understand this demo, you can also watch a 20 min talk I've done during this M365 Community Call.
Node 12.17+
After cloning the repository, install dependencies and start the application
npm install
npm start
Then open the app in various browsers or tabs to simulate various users. You can switch scenes by adding this query parameter at the end: http://localhost:8080/?scene=museum for instance.
- Download ngrok.
- Launch ngrok with port 8080.
ngrok http 8080 --host-header=localhost
- Open
.\manifest\manifest.jsonand update values in it, including your Application ID. - You must replace
https://<<BASE_URI_DOMAIN>>with the https path to your ngrok tunnel. - It is recommended that you also update the following fields.
- Set
developer.nameto your name. - Update
developer.websiteUrlwith your website. - Update
developer.privacyUrlwith your privacy policy. - Update
developer.termsOfUseUrlwith your terms of use.
- Set
- Create a zip file with the contents of
.\manifestdirectory so that manifest.json, color.png, and outline.png are in the root directory of the zip file.- On Windows or Mac, select all files in
.\manifestdirectory and compress them. - Give your zip file a descriptive name, e.g.
MetaverseLiveShare.
- On Windows or Mac, select all files in
- Enable the Developer Preview mode of Microsoft Teams.
- Schedule a meeting for testing from calendar in Teams.
- Join the meeting.
- In the meeting window, tap on + Apps and tap on Manage apps in the flyout that opens.
- In the Manage apps pane, tap on Upload a custom app.
- Don't see the option to Upload a custom app?! Follow instructions here to enable custom-apps in your tenant.
- Select the zip file you created earlier and upload it.
- In the dialog that shows up, tap Add to add your sample app into the meeting.
- Now, back in the meeting window, tap + Apps again and type the name of your app in the Find an app textbox.
- Select the app to activate it in the meeting.
- In the configuration dialog, just tap Save to add your app into the meeting.
- In the side panel, tap the share icon to put your app on the main stage in the meeting.
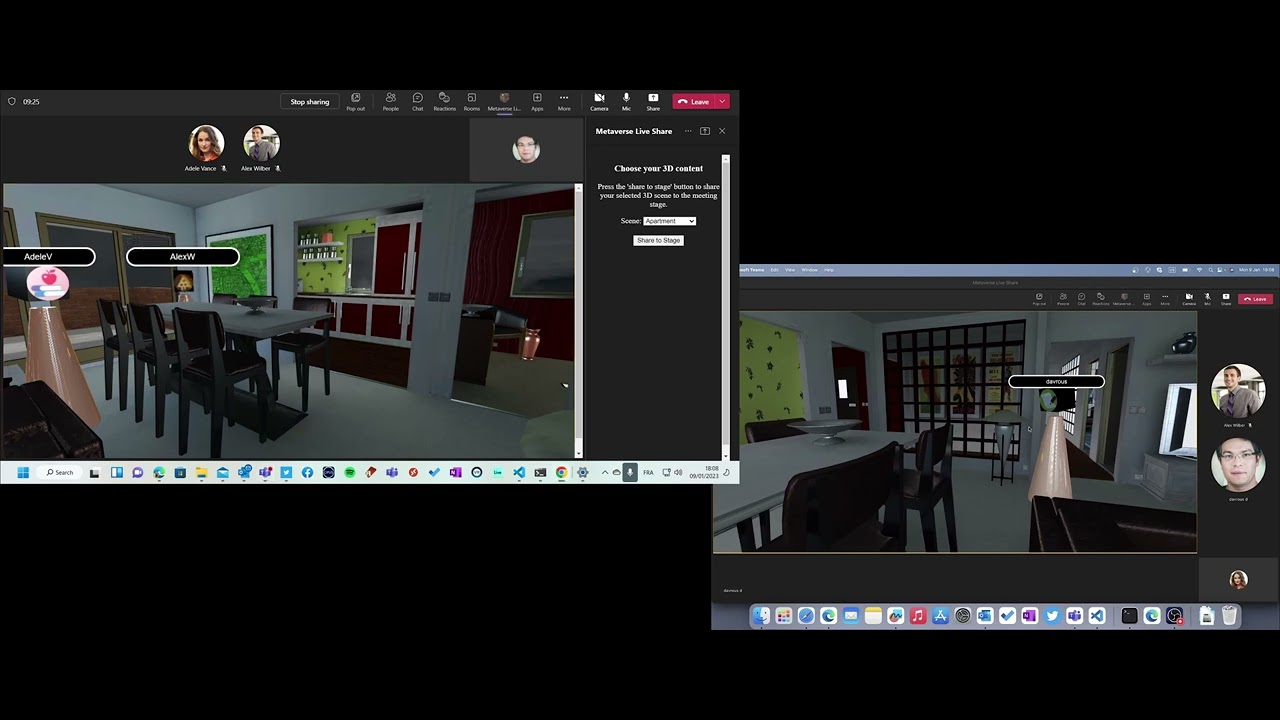
- That's it! You should now see liveshare-metaverse on the meeting stage.

- Your friends/colleagues invited to the meeting should be able to see your app on stage when they join the meeting.
Click on the picture below to watch a demo in video: