I've faced some struggle using svg files with React-Native so I decided to give my 2 cents on how to configure it without headaches. The idea for it is that with typescript I've some trouble doing the whole setup so I thought it could be a good idea to document my exact steps.
For this tutorial I'll use react-native-svg for svg files and use 0.60+ version of React-Native.
Let's start with a blank new project and setup all the way until importing and using svg modules into an app.
react-native init myappwithsvg
Now to add typescript to the project:
yarn add --dev typescript @types/jest @types/react @types/react-native @types/react-test-renderer
# or for npm
npm install --save-dev typescript @types/jest @types/react @types/react-native @types/react-test-renderer
Next we need to create a tsconfig.json file and add:
{
  "compilerOptions": {
    "allowJs": true,
    "allowSyntheticDefaultImports": true,
    "esModuleInterop": true,
    "isolatedModules": true,
    "jsx": "react",
    "lib": ["es6"],
    "moduleResolution": "node",
    "noEmit": true,
    "strict": true,
    "target": "esnext"
  },
  "exclude": [
    "node_modules",
    "babel.config.js",
    "metro.config.js",
    "jest.config.js"
  ]
}
Create a separate jest.config.js file:
module.exports = {
  preset: 'react-native',
  moduleFileExtensions: ['ts', 'tsx', 'js', 'jsx', 'json', 'node'],
};
And finally change the App.js to App.tsx. From this step forward we are done setting up typescript and we can go to the second step that is to setup the svg modules that allow us to use svg files.
We will install two libraries, react-native-svg and react-native-svg-transformer and configure one after another. Let's start installing the react-native-svg:
yarn add react-native-svg
Install the pod related to it:
cd ios && pod install
Now we need to install the react-native-svg-transformer to make react-native able to import those files:
yarn add -D react-native-svg-transformer
Replace the metro.config.js code with:
const { getDefaultConfig } = require('metro-config');

module.exports = (async () => {
  const {
    resolver: { sourceExts, assetExts },
  } = await getDefaultConfig();
  return {
    transformer: {
      babelTransformerPath: require.resolve('react-native-svg-transformer'),
    },
    resolver: {
      assetExts: assetExts.filter(ext => ext !== 'svg'),
      sourceExts: [...sourceExts, 'svg'],
    },
  };
})();
If you try to import files from here you will be able but typescript will give you ts error saying that your svg file could not be found. Create a declarations.d.ts file in the root of your project if you don't have yet. Paste the following code:
declare module "*.svg" {
  import { SvgProps } from "react-native-svg";
  const content: React.FC<SvgProps>;
  export default content;
}
Now we can import svg files just like normal javascript modules. Create a separate folder named assets in your project root and save the dragon svg. Rename the file to dragon.svg to make it easier to import.
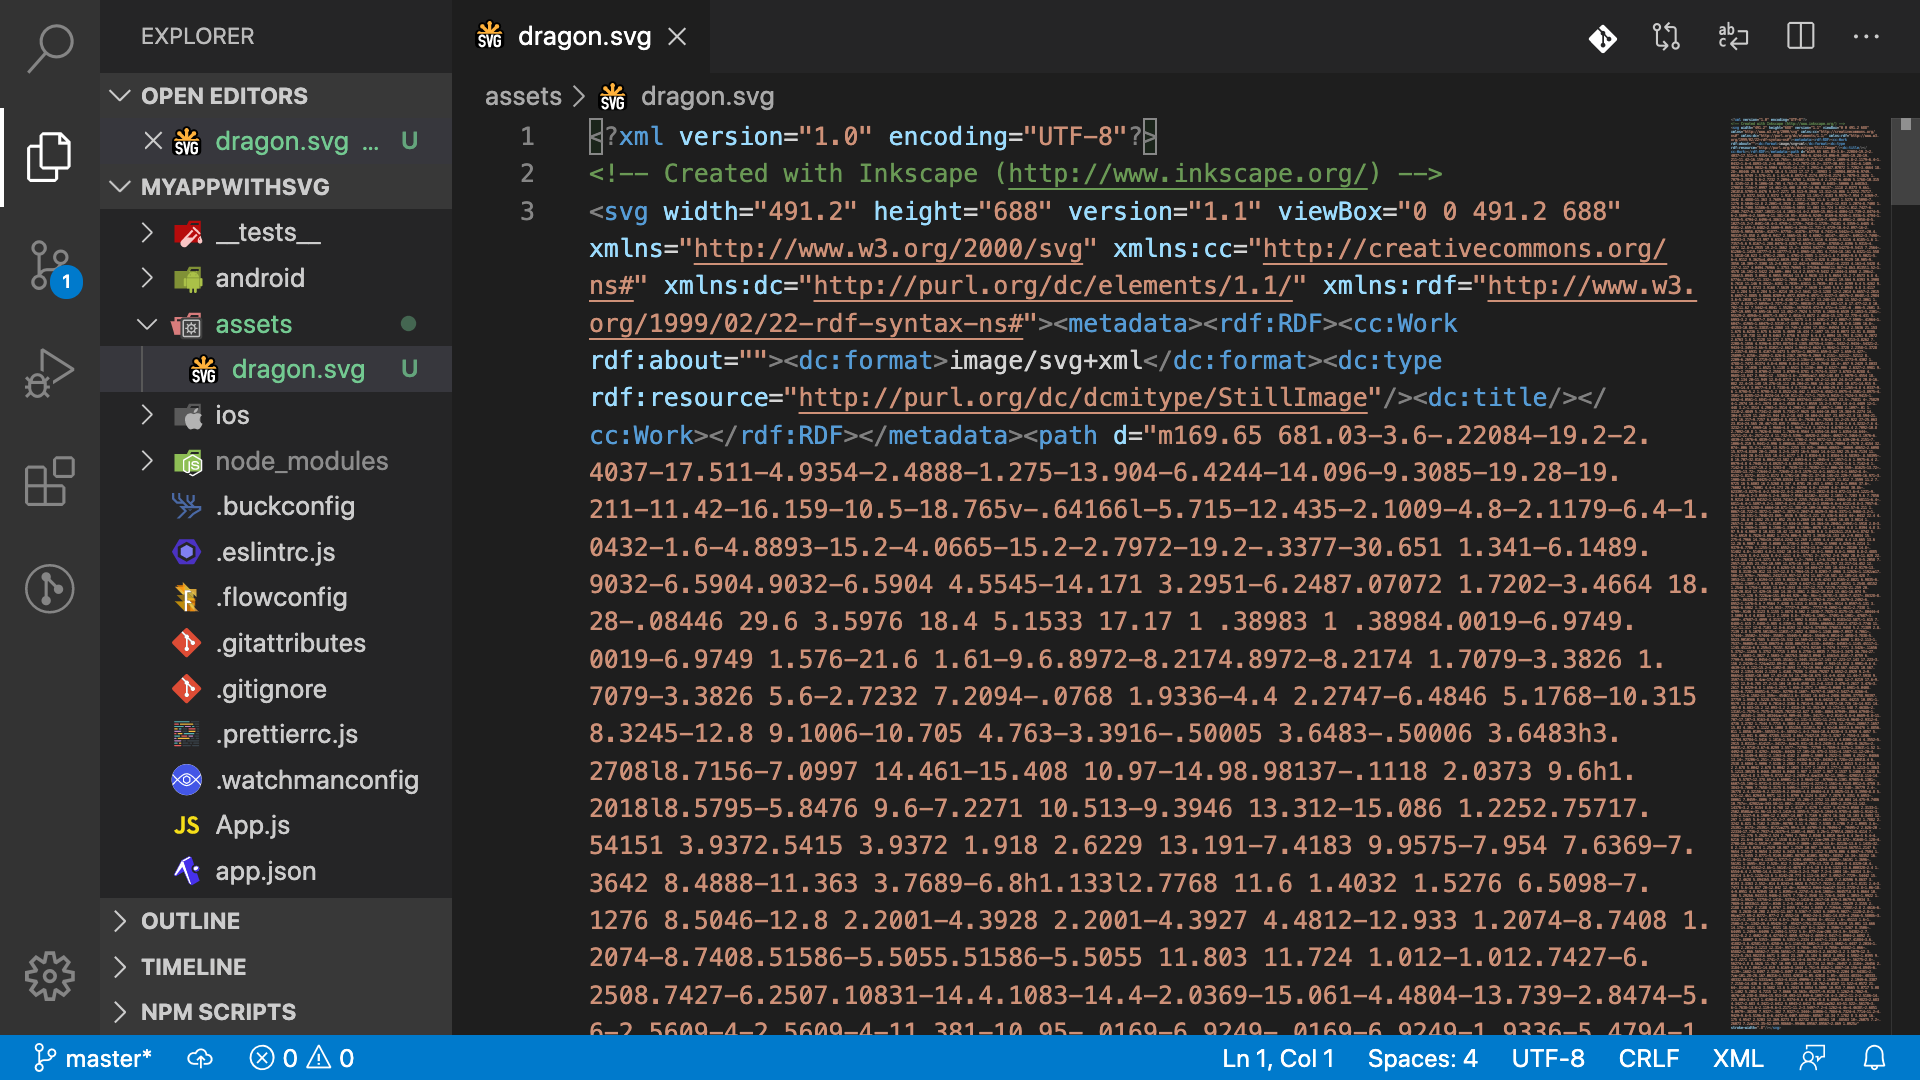
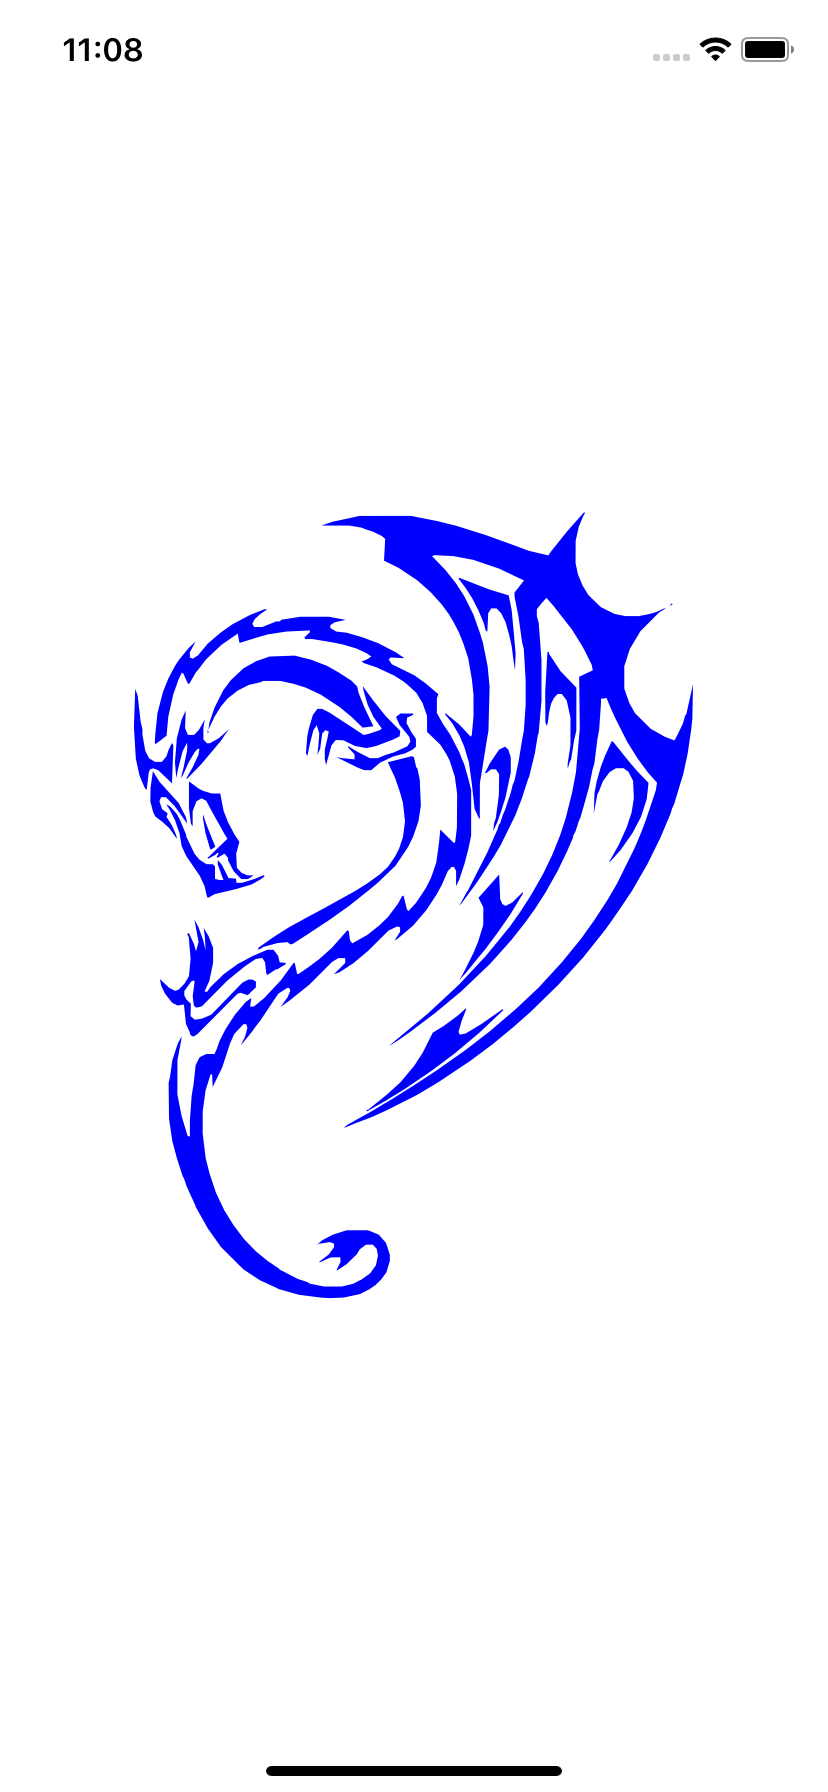
Now you can import your files and use all feature [react-native-svg] provides to svg files. Here is my example from the dragon file:
/**
 * Sample React Native App
 * https://github.com/facebook/react-native
 *
 * @format
 * @flow strict-local
 */

import React, {ReactNode} from 'react';
import {SafeAreaView, StyleSheet, View, StatusBar} from 'react-native';
import DragonSvg from './assets/dragon.svg';

const App: () => ReactNode = () => {
  return (
    <>
      <StatusBar barStyle="dark-content" />
      <SafeAreaView>
        <View style={styles.body}>
          <DragonSvg height={400} width={400} fill="blue" />
        </View>
      </SafeAreaView>
    </>
  );
};

const styles = StyleSheet.create({
  body: {
    height: '100%',
    justifyContent: 'center',
    alignItems: 'center',
    backgroundColor: 'white',
  },
});

export default App;
Running our app on a simulator should result:
The full code of this tutorial is in my github repository here. Now your app is capable of importing svg files correctly with Typescript!