This repository has been archived by the owner on Jul 29, 2023. It is now read-only.
Home
Welcome to the ispcfg3 wiki!
If you find this module useful, you are welcome to make a donation.

- Create a directory called ispcfg3 on your WHMCS server in the modules/servers directory eg: /var/www/whmcs/modules/server/ispcfg3
- Download the zip file and extract the contents to the directory you just created, or from the shell change into the directory you just created and use
git clone https://github.com/cwispy/ispcfg3.git. to download the repository. - Copy the contents of the lang/english.php file into your whmcsroot/lang/overrides/english.php file. If you need another language, change the name and edit the translations to suit your installation.
- Edit the file ispcfg3.php and make sure that you turn off the display_errors by setting it to 0
ini_set("display_errors", 0);
- Log into your ISPConfig Hosting Control Panel and add a Remote User under System, Remote Users. Click Add new User and choose a username and password and tick all the options available on that page and click Save.

- Go to Client, Limit-Templates in ISPConfig and create your Limit template(s). You will need to create at least one template before you can use this module.

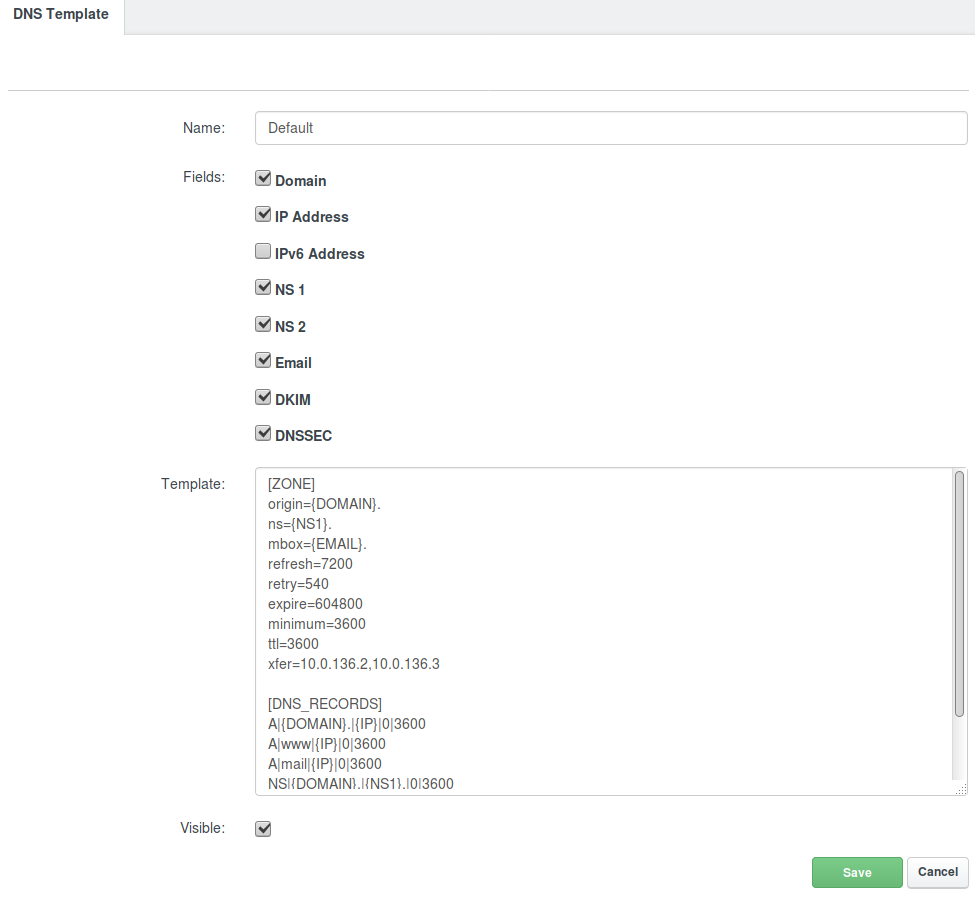
- Now go to DNS, Templates in ISPConfig and create/edit a default template. If you wish to have dns created automatically from this module, this is required. Do not forget to add the line xfer=x.x.x.x changing the ip addresses to your own dns server ip addresses.
- Now go to your WHMCS server and go to Setup -> Products/Services -> Servers. Here you only need to add your ISPConfig Server that has the web interface installed. You no longer need to add multiple servers for multi-server setups.
- Click on Add new server and fill out the Name, Hostname and IP Address. Make sure that these are exactly the same as those you have in ISPConfig on the System page.
- If you are going to be using the DNS automatic provisioning, add the Primary and Secondary Nameserver details.
- At the bottom of the page, select "ISPConfig Integration Module" as the Type and fill in the username and password that you configured in step 1. If you are using SSL on your ISPConfig server interface, check the Secure box and if you are using a different port to the default 8080, check the Port Override option and enter the port number you are using. Click the Test Connection button, and you should see Successful in green. If not, check your settings and try again.

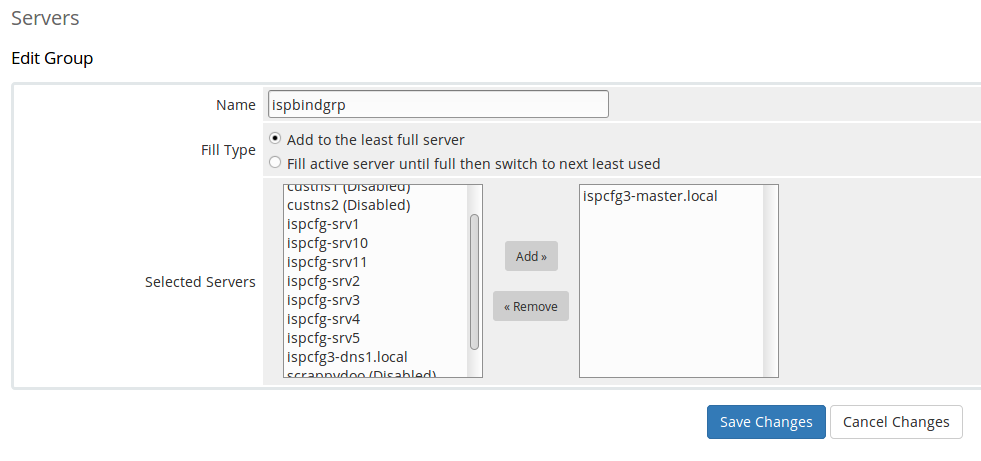
- Once you have added the server, you need to create server group . Click Create New Group. Choose a name for the server group. It is not important what you name the group as it is only used by WHMCS. Then add the server from the previous step and click save.
- Now go to Setup -> Products/Services -> Products/Services. Either create a new product, or select an existing product and click the Modules Settings tab.
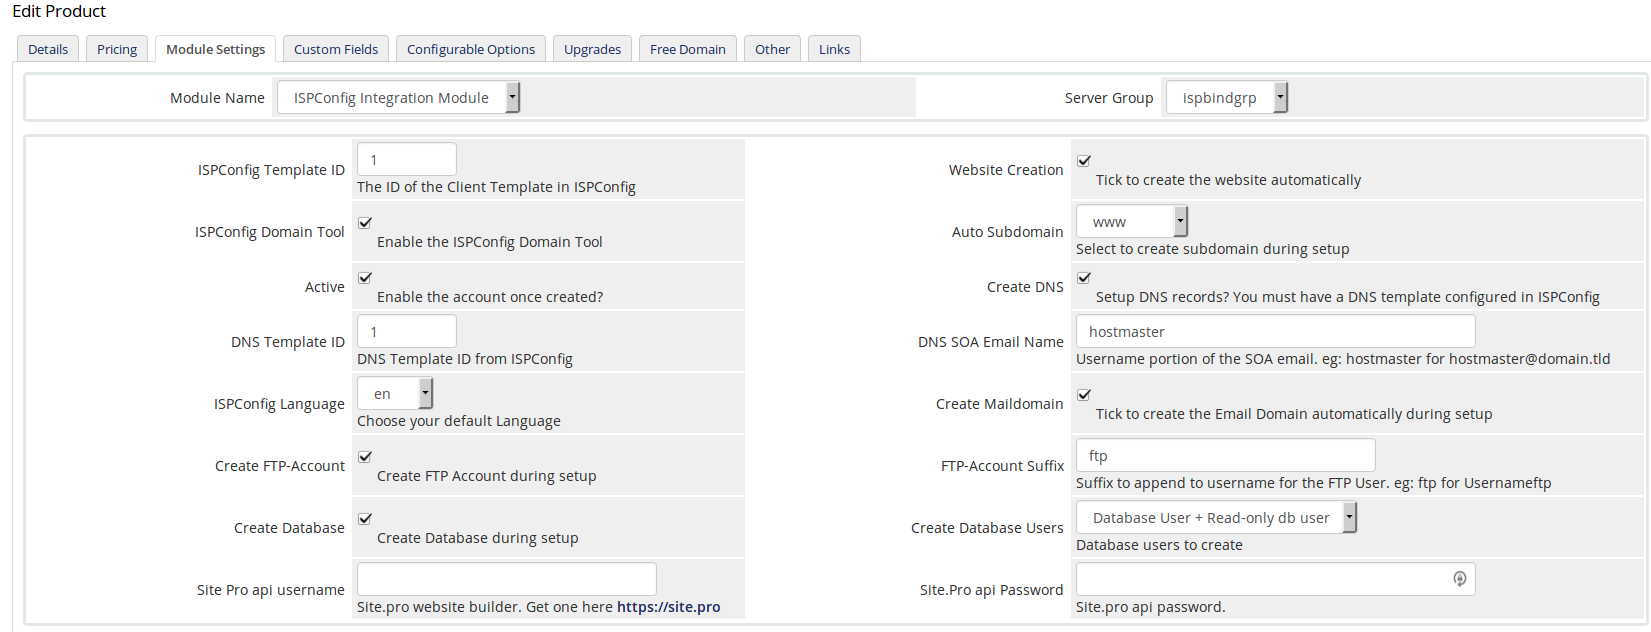
- Choose "ISPConfig Integration Module" as the Module Name and choose a server group with the ISPCfg server you are going to use for this product. Fill in the fields on the module page and save changes.
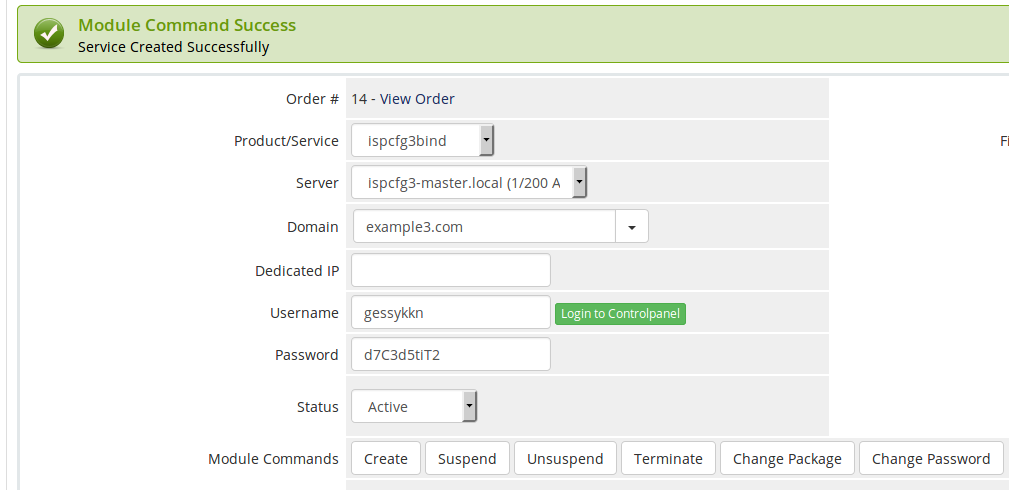
You should now be able to automatically managage services in ISPConfig from your WHMCS.
Service added by clicking Create.
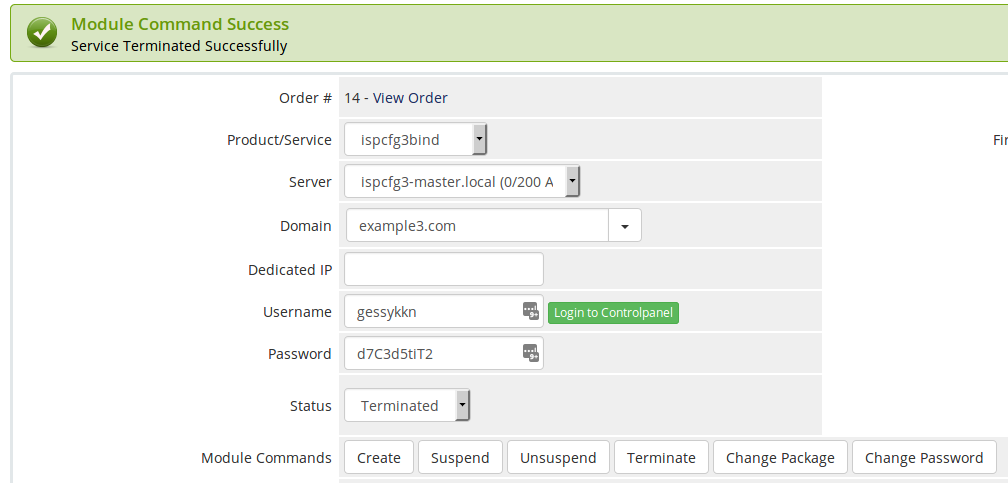
Service terminated by clicking Terminate.
For discussion and issues with this module, visit our HowToForge discusion thread
Enjoy