This project assists the collection and distribution of unused and gently used baby and child equipment. Over twenty different organizations are served by this exchange.
Docker compose provides a way to manage and orchestrate local environment services.
Currently, we use 3 services:
- firebase - Our firebase emulator which provides access to local firebase services
- functions - A convenient wrapper around our firebase functions project which aims to automate the dev build + reloading of the functions compilation.
- nextjs - Our main nextjs application
Pre-requisities
Config Setup
- Create / Acquire firebase configuration,
firebase-config.json, put in the root directory. - Acquire Service Account Credentials,
service-account.json, put in the root directory.
** Both of these files should be ignored by git **
Quick Start: docker compose build && docker compose up -d
In general, the urls that should be available after doing this:
- http://localhost:3000 - nextjs app
- http://localhost:4000 - firebase emulator ui
- http://localhost:5001 - functions api
Common Commands:
- Build
docker compose build(builds all images) - Start
docker compose up -d(starts all services) - Stop
docker compose down --remove-orphans --volumes(stops all containers and cleans up)
Other Commands:
- Logs
docker compose logs --follow(shows logs across all services) - Run
docker compose run --no-deps -T --rm <service> <command>(runs a one time on a (--no-deps dont start any other services) (--rm remove after run) (-T if running a background command that requires no input/shell))
Cleanup Commands: Over time, images, containers, volumes will need to be cleaned up.
- Everything
docker system prune -a - Images
docker image prune -a - Volumes
docker volume prune -a
Dev remote Setup (Recommended for consistency, you can dev local if you don't want to work with docker)
-
install Docker desktop (or equivalent in Mac and Linux)
-
the Docker image is hosted in a the GitHub Packages repository, you'll need to authenticate with GitHub Packages to pull and run the image.you need to authenticate using a GitHub Personal Access Token (PAT) with at least read:packages permission. If you haven't already, generate a PAT by following these steps:
- go to GitHub and log in.
- click on your profile picture in the top right corner and go to Settings.
- on the left sidebar, click Developer settings.
- click on Personal access tokens and then Generate new token.
- give your token a name, set the expiration, and select at least the read:packages scope under package permissions. - If you also want to push or delete packages, select the appropriate additional scopes.
- click Generate token at the bottom of the page and make sure to copy your new personal access token; you won't be able to see it again.
- log in to GitHub Packages Use the docker login command to authenticate with GitHub Packages, use the PAT you just created for CR_PAT:
export CR_PAT="ghp_xxxxxxxxxxxxxxxxxxxxxxxxxxxxxxxxxxxx"
echo $CR_PAT | docker login ghcr.io -u codeforbtv --password-stdin
- now that you're authenticated, you can pull and run the Docker image
docker pull ghcr.io/codeforbtv/baby-equipment-exchange:latest
- run the docker container
docker run -dit -p 3000:3000 -p 4000:4000 -p 5000:5000 -p 4400:4400 -p 4500:4500 -p 9099:9099 -p 8080:8080 -p 9150:9150 -p 9199:9199 --name baby-equipment-app ghcr.io/codeforbtv/baby-equipment-exchange:latest
- install visual studio code.
- run visual studio code and install Visual Studio Code Dev Containers extension, for documentation on this extension (https://code.visualstudio.com/docs/devcontainers/containers)
- download VScode extension called "Remote Development"
- in visual studio code press ctrl+shit+p to open command palette and select Dev Containers: Attach to Running Container (https://code.visualstudio.com/docs/devcontainers/attach-container)
- select the Attach to Container inline action on the container you want to connect to
- verify your connection by going to the remote tab in VScode
- open folder and navigate to /home/user/projects/baby-equipment-exchange/
- create a new file called serviceAccount.json, you need to contact the repo admin to get the content of this file
- open a new terminal in VScode (verify that it's connected to the container not your host machine) the following command should start the emulators and the app:
export GOOGLE_APPLICATION_CREDENTIALS="/home/user/projects/baby-equipment-exchange/serviceAccount.json"
export FIREBASE_CONFIG="$(cat /home/user/projects/baby-equipment-exchange/firebaseConfig.json)"
npm run dev
- see the output you can run in your host machine browser http://localhost:3000
Below are linux command used to setup the environment. notes for setup on Mac are in docs\setup_notes.md
- Install required packages
sudo apt install default-jdk
sudo apt update
sudo apt install git
wget -qO- https://raw.githubusercontent.com/nvm-sh/nvm/v0.39.1/install.sh | bash
nvm install 18.19.0
nvm use 18.19.0
sudo mkdir -p /home/user/projects/
sudo chown -R $(whoami) /home/user/projects/

cd /home/user/projects/
sudo git clone https://github.com/codeforbtv/baby-equipment-exchange.git

cd /home/user/projects/baby-equipment-exchange
sudo wget https://dl.google.com/linux/direct/google-chrome-stable_current_amd64.deb
sudo dpkg -i google-chrome-stable_current_amd64.deb
sudo apt-get install -f
echo 'export PUPPETEER_EXECUTABLE_PATH=/usr/bin/google-chrome' >> ~/.bashrc
source ~/.bashrc
sudo wget https://chromedriver.storage.googleapis.com/94.0.4606.61/chromedriver_linux64.zip
sudo unzip chromedriver_linux64.zip
sudo mv chromedriver /usr/bin/chromedriver
sudo chown root:root /usr/bin/chromedriver
sudo chmod +x /usr/bin/chromedriver
sudo chown -R $(whoami) /home/user/projects/
cd /home/user/projects/baby-equipment-exchange/
npm install -g firebase-tools
- Setup environment variables
sudo touch /home/user/projects/baby-equipment-exchange/.env.local
sudo echo 'GOOGLE_APPLICATION_CREDENTIALS="/home/user/projects/baby-equipment-exchange/serviceAccount.json"' >> /home/user/projects/baby-equipment-exchange/.env.local
sudo echo 'FIREBASE_EMULATORS_IMPORT_DIRECTORY="./data_directory"' >> /home/user/projects/baby-equipment-exchange/.env.local
sudo apt-get install jq
echo FIREBASE_CONFIG=\"$(jq -c . < firebaseConfig.json)\" >> .env.local
export FIREBASE_EMULATORS_IMPORT_DIRECTORY="./data_directory"
export GOOGLE_APPLICATION_CREDENTIALS="/home/user/projects/baby-equipment-exchange/serviceAccount.json"
export FIREBASE_CONFIG="$(cat /home/user/projects/baby-equipment-exchange/firebaseConfig.json)"
- install npm requirments and build project
npm install

cd /home/user/projects/baby-equipment-exchange/functions
npm install
npm run build

cd /home/user/projects/baby-equipment-exchange

npm run build

firebase experiments:enable webframeworks
firebase use --add
npm run dev
If one intends to make changes to cloud functions located in /home/user/projects/baby-equipment-exchange**/functions**/src/index.ts while using the Emulator Suite, npm run build would need to be called in the /home/user/projects/baby-equipment-exchange**/functions** directory each time a change is made.
To automatically watch for changes:
# Open a new terminal
cd /home/user/projects/baby-equipment-exchange**/functions**
npm run build:watch
Given that,
firebase.jsonexists and is valid in/home/user/projects/baby-equipment-exchange/FIREBASE_EMULATORS_IMPORT_DIRECTORYenvironment variable is set
the following command should start the emulators and the app:
npm run dev
package.json → src/utils/setup.cjs → the emulator is initialized
The command line should display the following lines:
...
i  emulators: Starting emulators: auth, functions, firestore, hosting, storage
...
✔  firestore: Firestore Emulator UI websocket is running on <PORT>.
...
✔  hosting[ab-test-with]: Local server: <HOST_PORT>
...
✔  functions: Using node@18 from host.
Serving at port <PORT>
...
✔  functions: Loaded functions definitions from source ...
...
✓ Ready in 11.11s
...
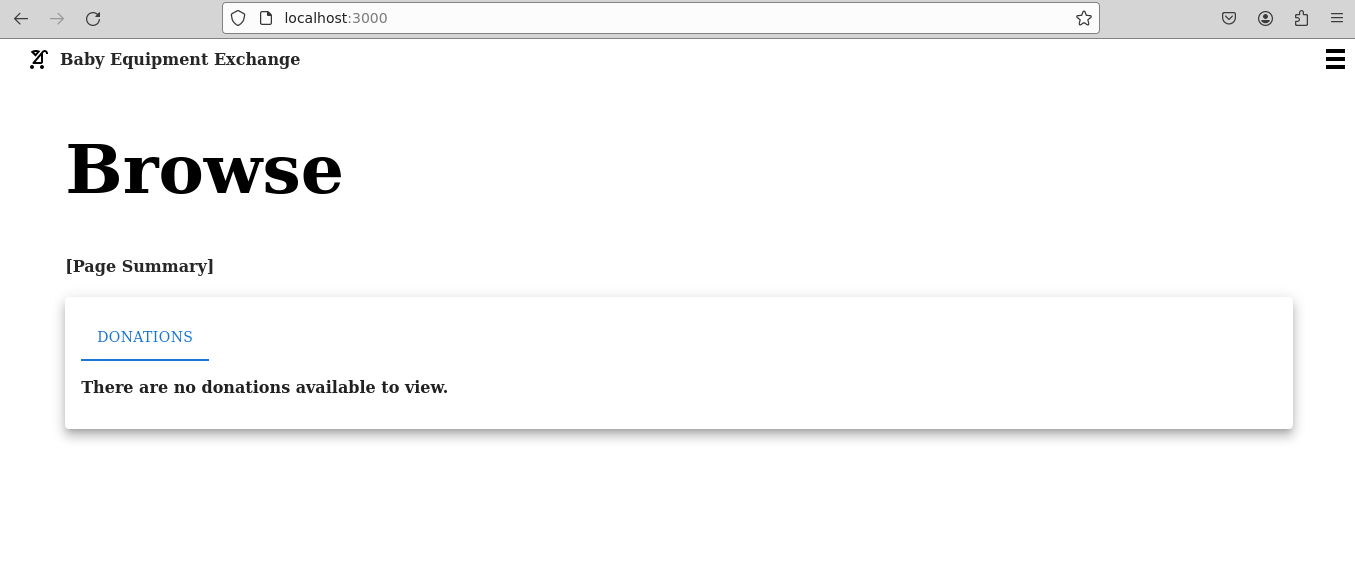
Navigate to http://localhost:3000/join and create a new user”

The landing page should display upon successful account creation.
Navigate to http://localhost:4000/auth, select the ellipses next to the newly created user, and select Edit user:

Scroll to Custom claims. Claims should already be present. If the text field is empty and if claims are already present, provide the following claims:
{ "admin" : true, "can-read-donations" : true, "donor" : true, "unverified" : true }
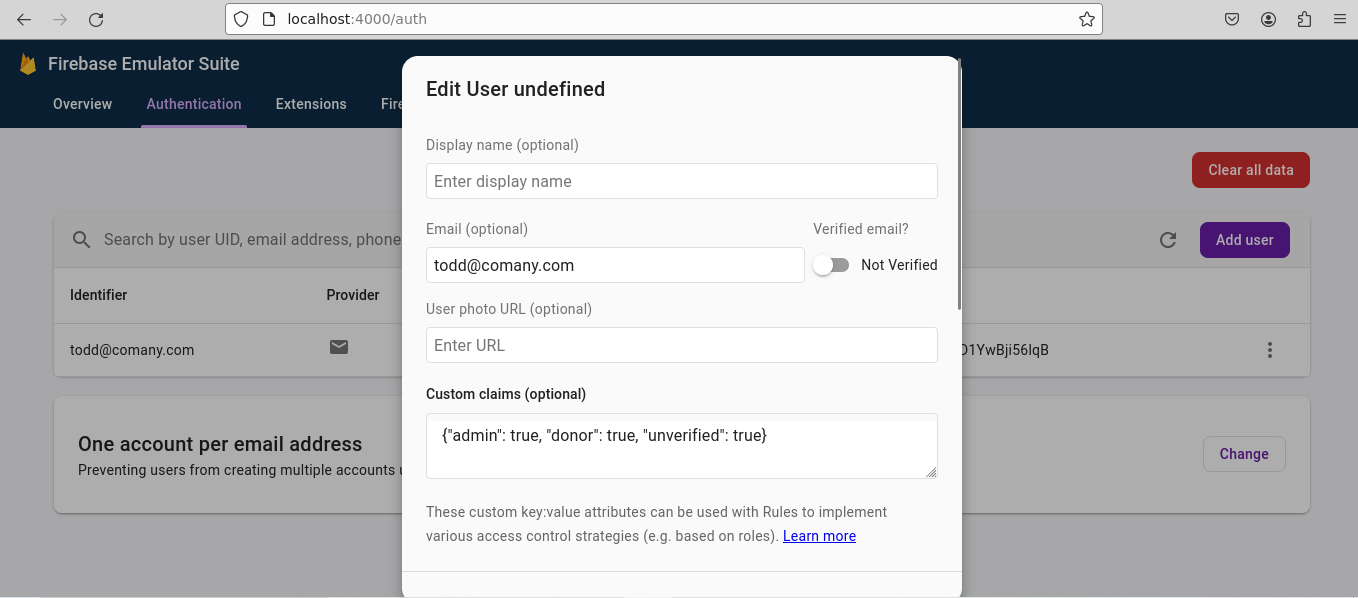
(Clicking outside the Edit user pop-up closes it) Scroll the slider down and select the Save button:

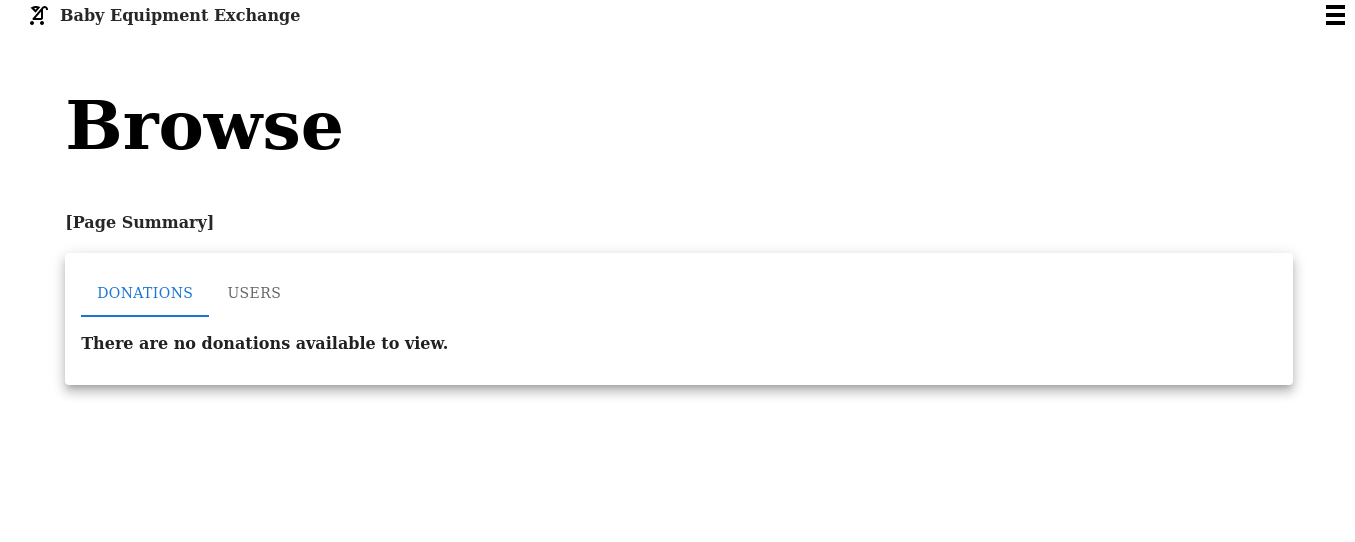
Refresh the landing page http://localhost:3000. The Users tab should be visible:
The application should have compiled and deployed to an emulated Firebase hosting environment on:
http://localhost:5000
The Next dev environment (when changes are made to the app’ code during runtime they reflect here) should be available at:
http://localhost:3000
The Firebase Emulator UI Dashboard should be accessible when navigating to:
https://localhost:4000