Infra Intern Syfe -2022
#1 - Run a Production grade Wordpress app on Kubernetes Objectives:
- Create PersistentVolumeClaims and PersistentVolumes ReadWriteMany volumes for deployment scaling
- Create DockerFile for Wordpress, Mysql and Nginx. All the request will proxy pass from nginx to wordpress. We using lua in Nginx, so compile a opensresty with lua while building docker container image for Nginx. Use below configure option in opensresty build
1 ./configure --prefix=/opt/openresty
2 --with-pcre-jit
3 --with-ipv6
4 --without-http_redis2_module
5 --with-http_iconv_module
6 --with-http_postgres_module
7 -j8
- Apply should be using Helm chart like helm install my-release my-repo/wordpress
- Clean up helm delete my-release
Step 1: setting up kubernetes (minikube ) om local ubantu machine - vertual box
- sudo apt-get update
- sudo apt-get install docker.io
Go to minikube website ---- https://minikube.sigs.k8s.io/docs/start/ Select your configuration My configuration 1 . Operating system ----- Linux 2 . Architecture ----- x86-64 3 . Release type ---- Stable 4 . Installer type --- Binary Download To install the latest minikube stable release on x86-64 Linux using binary download:
copy the command -- curl -LO https://storage.googleapis.com/minikube/releases/latest/minikube-linux-amd64 sudo install minikube-linux-amd64 /usr/local/bin/minikube
- minikube start will not start do type the below command and firsr give docker usergrp permission
- sudo usermod -aG docker $USER
- minikube start --driver=docker
Install kubectl
- sudo snap install kubectl now check for running container
- docker ps Now minikube is up and running
Step 2 : Creating a namespace Can use a default namespace as well
- kubectl create namespace wordpress
Step 3 . creating a deployment file with three containers in it Wordpress , Mysql , Nginx
- vim deployment.yaml ( check from he files section )
Now lets execute it
-
kubectl apply -f deployment.yaml Now check all the pods are running or not
-
kubectl get pods // for ( default namespace ) create a service.yaml as well to run he wordpress live or make the website accesable
-
vim wordpress-service.yaml
-
vim mysql-service.yaml
-
vim nginx-service.yaml to execute use below command kubectl apply -f wordpress-service.yaml kubectl apply -f mysql-service.yaml kubectl apply -f nginx-service.yaml
-
kubectl apply -f service.yaml
-
minikube service wwordpress-service --url
-
curl -L http://192.168.49.2:31738
step 4 . creating PersistentVolumeClaims and PersistentVolumes (pvc and pv )
In simple terms, PersistentVolumeClaims (PVCs) and PersistentVolumes (PVs) are used in Kubernetes to manage storage resources. PVs are storage resources that are provisioned by the administrator, while PVCs are used by developers to request a specific amount of storage from the PVs. This separation allows for developers to request storage without needing to know the underlying details of the storage implementation. PVCs can also dynamically provision new PVs when needed, making it easy to scale storage resources as needed.
- vim PersistentVolumes-mysql.yaml
- vim PersistentVolumesClaim-mysql.yaml
- vim PersistentVolumes-wordpress.yaml
- vim PersistentVolumesClaim-wordpress.yaml
All files are above ---- Execute all the below command
- kubectl apply -f PersistentVolumes-mysql.yaml
- kubectl apply -f PersistentVolumesClaim-mysql.yaml
- kubectl apply -f PersistentVolumes-wordpress.yaml
- kubectl apply -f PersistentVolumesClaim-wordpress.yaml
Step 5 . Create docker file for wordpress , Mysql amd Nginx
- vim wordpress.dockerfile
- vim nginx.dockerfile
- vim mysql.dockerfile
Execute all the below command to build the dockerfile
- docker build -t dockerfilewordpress -f wordpress.dockerfile .
- docker build -t dockerfilenginx -f nginx.dockerfile .
- docker build -t dockerfilemysql -f mysql.dockerfile .
Step 6 . Use Opensresty with Lua in Nginx Compile an opensresty with Lua while building a docker container image for Nginx. Use the following configure options :
./configure --prefix=/opt/openresty
--with-pcre-jit
--with-ipv6
--without-http_redis2_module
--with-http_iconv_module
--with-http_postgres_module
-j8
Step 6 . Install WordpressPress using Helm chat Use Helm chat to install Wordpress:
Run below commands Deploy Ingress Controller on GKE
- kubectl apply -f https://raw.githubusercontent.com/kubernetes/ingress-nginx/controller-v0.43.0/deploy/static/provider/cloud/deploy.yaml Deploy wordpress using Helm chart
- helm install release1 bitnami/wordpress -f values.yaml For knowing your url and ip you run the below command kubectl get ingress Now its important to clear every thing to avoid disk usage
Step 7 : To completely remove the WordPress release and all associated resources, follow the steps below:
Uninstall the Helm Release
-
helm uninstall release1
Execute all the below command
- kubectl delete PersistentVolumes-mysql.yaml
- kubectl delete PersistentVolumesClaim-mysql.yaml
- kubectl delete PersistentVolumes-wordpress.yaml
- kubectl delete PersistentVolumesClaim-wordpress.yaml
Step 8 : Verify the WordPress Deployment use the following command to get the external IP address of the Nginx service
- kubectl get svc nginx Open a web browser and enter the IP address in the address bar. You should see the WordPress installation page -----> amangupta679.wordpress.local.com
#2 Setup monitoring and alerting for wordpress app
Objectives:
- Deploy Prometheus / Grafana stack on kubernetes (Can use public helm charts)
- Setup monitoring and alerting for your application deployed earlier such as I should get below container metrics (Points for visualisation and alerting) a. Pod CPU utilisation
- Monitoring for nginx deployed in Objective-1 such as: Total Request Count Total 5xx request
- Create a document for all required metrics for wordpress, apache and nginx.
To set up monitoring and alerting for your WordPress app, we can use the Grafana stack which includes Prometheus for collecting and storing metrics data, Grafana for visualizing metrics, and Alertmanager for managing alerts.
Add the Grafana helm repository
- helm repo add grafana https://grafana.github.io/helm-charts Install the Grafana stack using Helm
- helm install grafana-stack grafana/grafana-stack
Access the Grafana dashboard by getting the Grafana URL kubectl get svc -n grafana
youripaccress and port 3000 you can run grafana :
my ipand port http://127.0.0.1:3000
user id and password --- admin and admin
and need to reset it after installation .
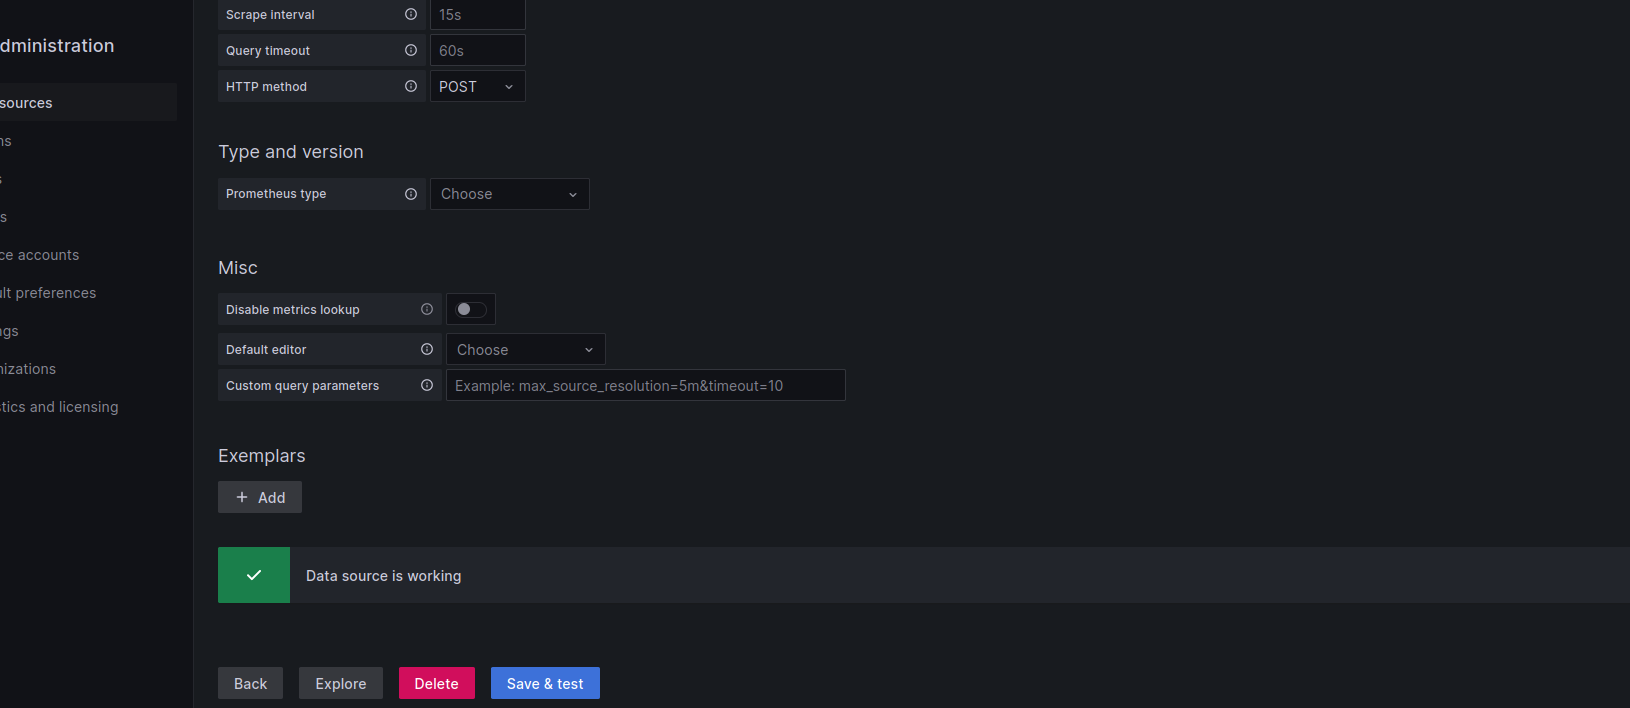

But due to some issue the data was not showing tried many ways to solve it but not able to do it .