placed under CC-BY
https://www.youtube.com/watch?v=Sblo40GJvZc
1x Esp32 or an Arduino compatible board.
1X Sipeed M1 Dock - K210 Development Board
1x PCA9685 16-Channel 12-bit PWM Servo Motor Driver I2C Module
1x 7805 TO-2205V - 1.5A Linear Voltage Regulator
1x Li-Po Battery 7.4V 2600mAh
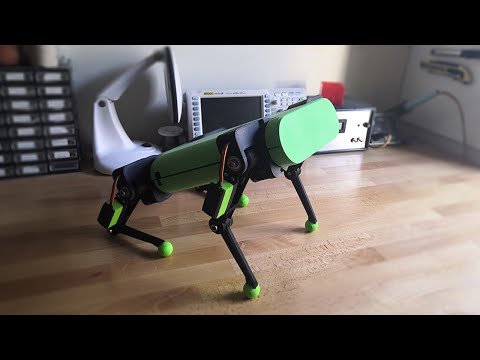
12x JX Servo PDI-HV5932MG 30KG Large Torque 180°
4x M3 Adjustable Push Rod End Ball Joint Linkage
4x 6900zz Ball Bearing 10x22x6mm
8x 626zz Ball Bearing 6x19x6mm
- various bolts & nuts
Q: Can I use other servo motors instead of the PDI-HV5932MG servos that you have used??
A: I highly recommend using the servos I used for this build. If that is not an option the torque and the servo dimensions should be as close as possible.
Q: What are the dimensions of your robot? (Fully extended height and its width)
A: The dimensions of the robot are 30cm x 25.5cm x 9-23cm (23cm with the legs fully extended) - the main body's dimensions are 30cm x 18cm x 6cm, you can also refer to the .step file I provide in GitHub: https://github.com/maestrakos/warp/tree/master/resources/CAD/3D%20Models
Q: Do the servos get hot when you operate the robot? are you using some kind of IMU ?
A: Yes, the servos get hot after a while. The robot in the video doesn't use an IMU but in uneven terrain such sensors are essential. There is certainly lot of room for improvement in this project!
Q: How much did the 12 servos cost you ?
A: About 240-260 dollars
Q: In your opinion, if someone were to design this from scratch, what would be the pre requisites in terms of knowledge? ex. what languages would you need to know, what software would you have to be familiar with, what concepts did you have to understand etc.
A: Some basic knowledge about Arduino and CAD software(such as Fusion360) is essential. Also knowing some simple trigonometry concepts, is really useful. Everything else is just experimentation, trying different things to see what works best in practice.
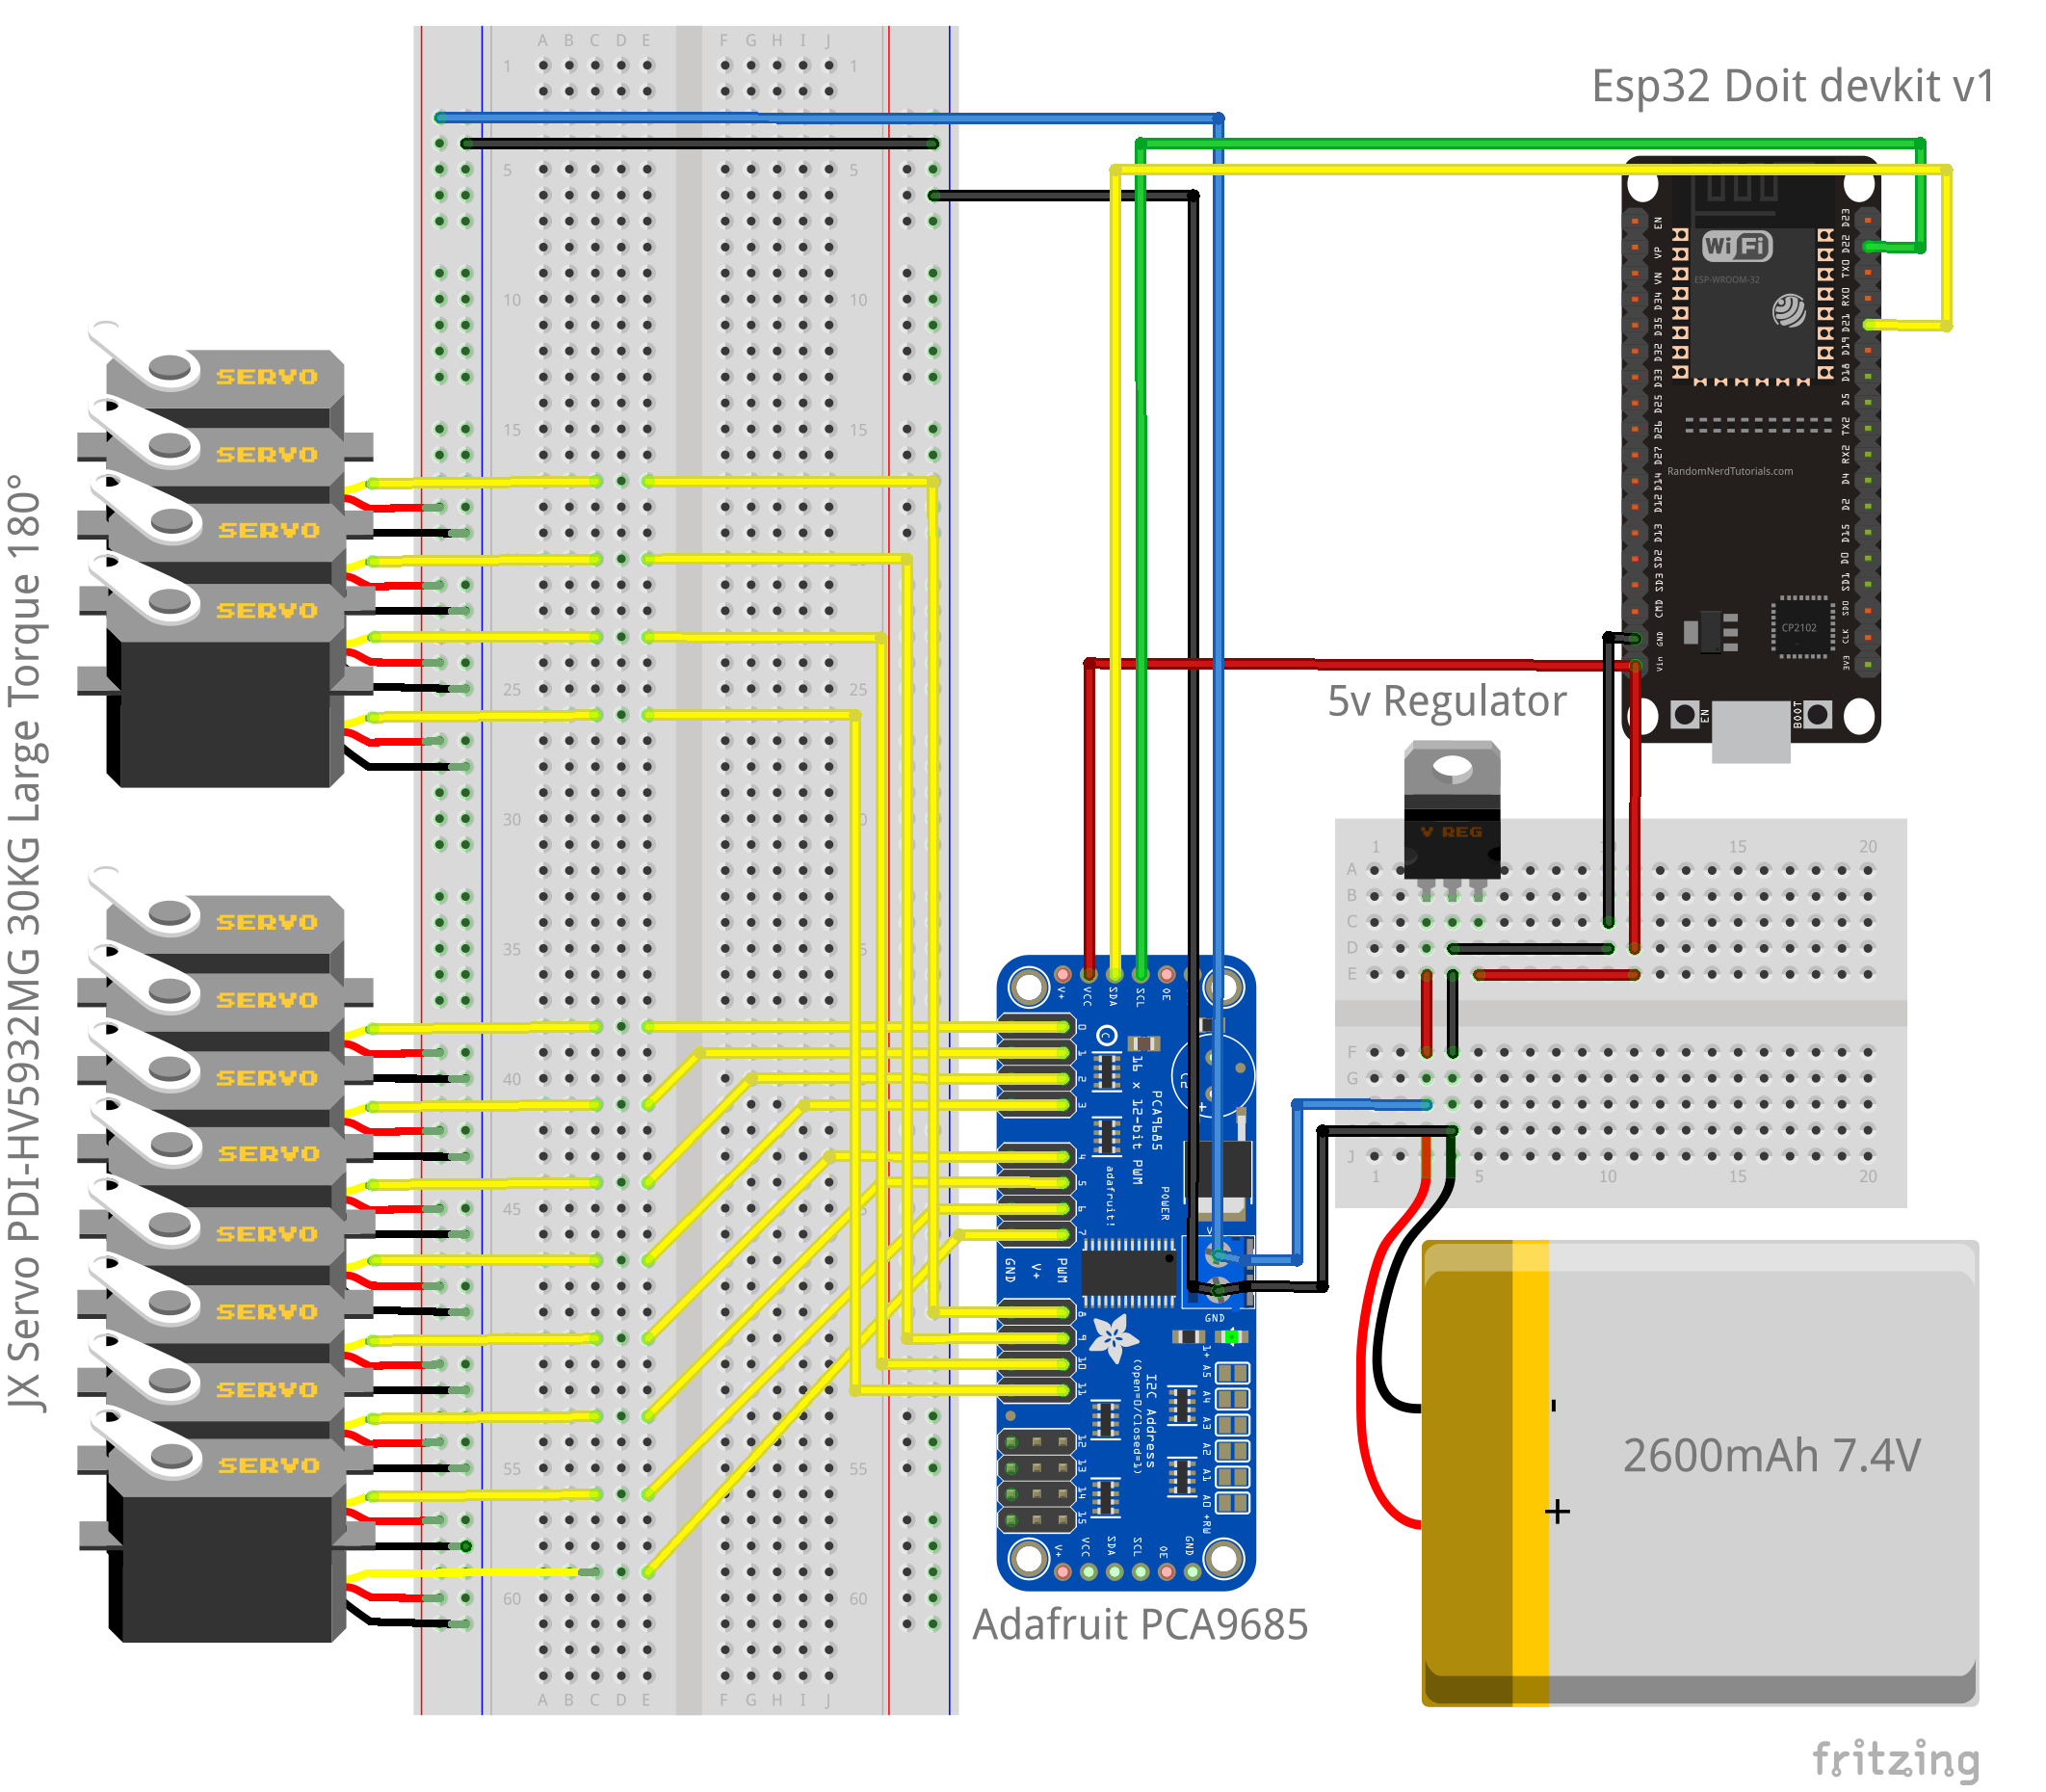
Q: How to put all the connections together... A Connection Diagram would be appreciated.
A: I provide a connection diagram for the electronics in GitHub:
https://raw.githubusercontent.com/maestrakos/warp/master/resources/CAD/Diagrams/diagram.png
I haven't made any assembly videos but I have uploaded some pictures here:
https://github.com/maestrakos/warp/tree/master/resources/Photos
Q: Can I use Raspberry Pi 3 instead of esp32?
A: That would be a great idea, you would have to write your own code from the beginning but raspberry pi 3 has some really cool features that you could implement in the project.
Q: Can i use arduino nano as microcontroller?
A: Yes, you can! But you won't be able to remote control the robot and also you have to adjust some parameters in the code.
You have to change the frequency, const float frequency = 70.0; // ## Hz | 60 - 70 Hz because the atmega328p runs slower than the esp32
and also remove this library: #include <PS4Controller.h> - since the Arduino nano doesn't support Bluetooth.
Q: What goes through the ball bearings?
A: You can use a 6mm rod or a M6 screw, using screws makes it easy to disassemble the actuators afterwards - if needed.
Q: How do the kinematics work?
A: I suggest downloading the Processing 3 simulation/demonstration I made and play around with the kinematics.pde file before using the Arduino code.
Simulation: https://github.com/maestrakos/warp/tree/master/simulation/warp_simulation_v5
Download Processing 3: https://processing.org/download/
I use simple trigonometry, I've linked some videos to understand the basic concept:
Video 1: https://www.youtube.com/watch?v=jmgKQeorfZY
Video 2: https://www.youtube.com/watch?v=4MGZvcd0xxc
Q: How do I upload the sketch to the ESP32.
A: I would recommend watching a video or reading a guide for setting up the Arduino IDE for the ESP32 doit development board:
https://www.youtube.com/watch?v=mBaS3YnqDaU
Q: How do I upload the sketch to the ESP32.
A: I would recommend watching a video or reading a guide for setting up the Arduino IDE for the ESP32 doit development board:
https://www.youtube.com/watch?v=mBaS3YnqDaU
Q: If you want to avoid controlling the robot via the Dualshock Controller can you tell me which lines of code to modify?
A: You could remove the handle_input(); from the loop and pass your own variables in the handle_kinematics(_direction, turn, height, _period);
_direction (forward-back, right-left), turn (the direction and magnitude of rotation), height (the leg extension), _period (the number of steps every second)