YB Workload Simulator is a Java application that simulates workloads against YugabyteDB and provides live metrics of latency and throughput from the application's point of view. You can create/drop tables for a workload, load data, run different simulations from the application UI. You can view latency and throughput metrics in real time for your YugabyteDB cluster when the simulations are running. This repository acts as a base and you can extend it to write your specific simulations.
- Download the jar
- Code setup and Installation
- How to build your own workload
- Start a read and write workload
- Create your own workload .java file
YB Workload Simulator requires Java 19 or later installed on your computer. JDK installers for Linux and macOS can be downloaded from Oracle, Adoptium (OpenJDK), or Azul Systems (OpenJDK). Homebrew users on macOS can install using brew install openjdk.
Download the latest YB Workload Simulator JAR file from the releases page.
To run the application locally, do the following:
-
Install a local YugabyteDB cluster. Refer to Set up your YugabyteDB cluster to start a local 3 node custer.
-
To start the application against a running local cluster, use the following command:
java -jar ./yb-workload-sim-0.0.2.jar
By default, the application connects to a local YugabyteDB cluster at 127.0.0.1.
To connect to a different address or node, use the
-Dnodeflag to specify an IP address. For example:java -Dnode=127.0.0.2 -jar ./yb-workload-sim-0.0.2.jar
-
To view the application UI, navigate to
http://localhost:8080.You can pass additional parameters as needed:
java -DXmx=16g
     -Dmax-pool-size=10
     -Dnode=<database-ip-or-name>
     -Ddbuser=<db-user-id>
     -Ddbpassword=<db-password>
     -Dspring.datasource.hikari.data-source-properties.topologyKeys=<cloud.region.zone>
     -Dspring.workload=genericWorkload
     -jar yb-workload-sim-0.0.2.jar
The parameters you can add to the java command are as follows:
-Dnode=<database-host-name> [default: 127.0.0.1]
-Ddbuser=<userid> [default: yugabyte]
-Ddbpassword=<password> [default: yugabyte]
-Dport=<port> [default: 5433 - database port if using other than 5433]
-Dmax-pool-size=<max-pool-size> [default: 100]
-Ddbname=<dbname> [default: yugabyte]
-Dworkload=<workload-id> [ default: genericWorkload ]
-Dspring.datasource.hikari.data-source-properties.topologyKeys=<cloud.region.zone> [ex. aws.us-east-2.us-east-2a,aws.us-east-2.us-east-2b,aws.us-east-2.us-east-2c]
-Dspring.profiles.active=<profile> [default: application.yaml]
-Dserver.port=<app-ui-port> [default: 8080]
-Dssl=true [default: false]
-Dsslmode=verify-full [default: disable]
-Dsslrootcert=<certificatepath>
-
To connect the application to your cluster, ensure that you have downloaded the cluster SSL certificate and your computer is added to the IP allow list. Refer to Before you begin.
-
To start the application against a running YugabyteDB Managed cluster, use the following command:
java -Dnode=<host name> \
     -Ddbname=<dbname> \
     -Ddbuser=<dbuser> \
     -Ddbpassword=<dbpassword> \
     -Dssl=true \
     -Dsslmode=verify-full \
     -Dsslrootcert=<path-to-cluster-certificate> \
     -jar ./yb-workload-sim-0.0.2.jar
Replace the following:
-
host name- the host name of your YugabyteDB cluster. For YugabyteDB Managed, select your cluster on the Clusters page, and click Settings. The host is displayed under Connection Parameters. -
dbname- the name of the database you are connecting to (the default is yugabyte). -
dbuseranddbpassword- the username and password for the YugabyteDB database. Use the credentials in the credentials file you downloaded when you created your cluster. -
path-to-cluster-certificatewith the path to the cluster certificate on your computer.
-
-
To view the application UI, navigate to
http://localhost:8080.Additional parameters for YugabyteDB Managed to start/stop nodes and scale cluster can be provided in UI by clicking settings gear option on right hand side.
From the root of the project run the following maven command:
mvn clean package -DskipTestsA jar file gets created at : /target/yb-workload-simulator.jar. You can run the application locally using YugabyteDB Managed using the jar.
-Dworkload=genericCassandraWorkload
-Dspring.data.cassandra.contact-points=<host ip>
-Dspring.data.cassandra.port=9042
-Dspring.data.cassandra.local-datacenter=<datacenter> [ex. us-east-2 ]
-Dspring.data.cassandra.userid=cassandra
-Dspring.data.cassandra.password=<cassandra-password>
-Dspring.data.cassandra.sslcertpath=<path-to-root-cert> [ex. /Users/username/root.crt] -
Download the latest archive from the releases page and unzip the file.
-
From the root of your project run the following maven command:
./mvnw spring-boot:run -Dspring-boot.run.profiles=dev
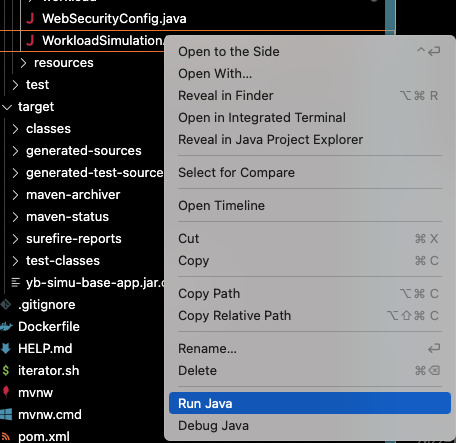
A jar file gets created at
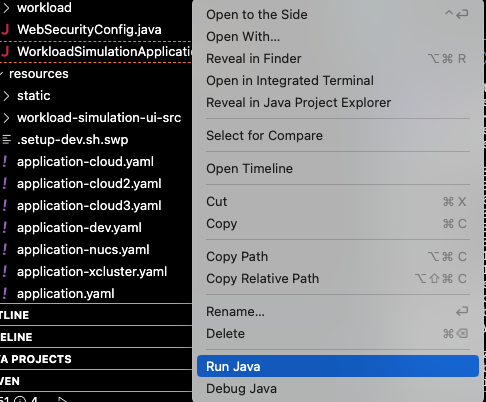
<yb-workload-sim>/target/yb-simu-base-app.jarYou can also get the jar file in VS Code by right clicking the "WorkloadSimulationApplication.java" file and selecting Run Java.
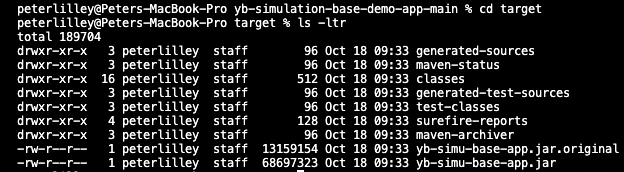
Verify the name of the jar file in the target directory, and use the name of that file wherever you see
yb-workload-sim-0.0.2.jar.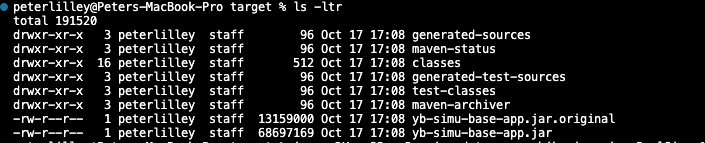
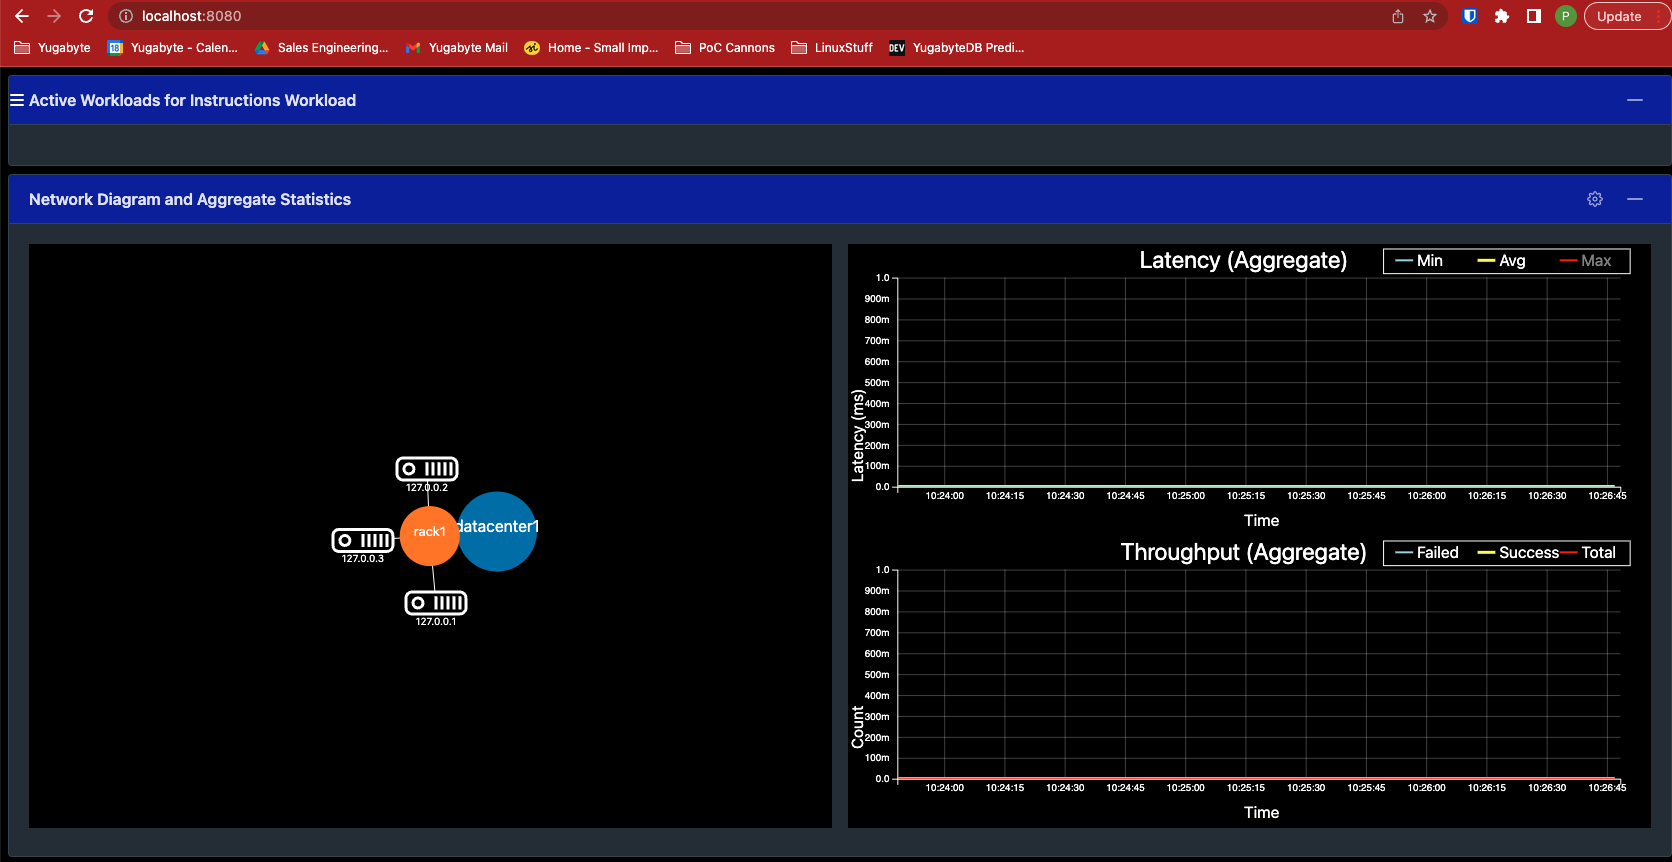
To view the application UI, navigate to http://localhost:8080
-
In the application UI, click the hamburger icon at the top of the page beside Active Workloads for Generic.
-
Select the Usable Operations tab.
-
Under Create Tables, click Run Create Tables Workload to add tables to the database.
-
Under Seed Data, click Run Seed Data Workload to add data to the tables.
-
Under Simulation, select the Include new Inserts option, and click Run Simulation Workload.
-
Click Close.
The Latency and Throughput charts show the workload running on the cluster.
To create your workload file, do the following:
-
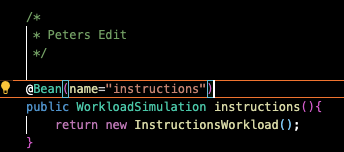
Copy the
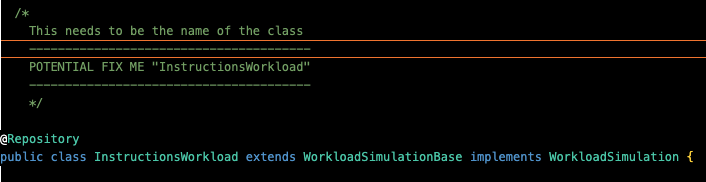
GenericWorkload.javafile into a file with a new name. The file in this example is named "InstructionsWorkload.java".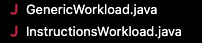
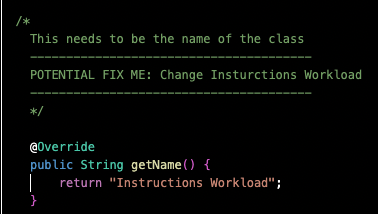
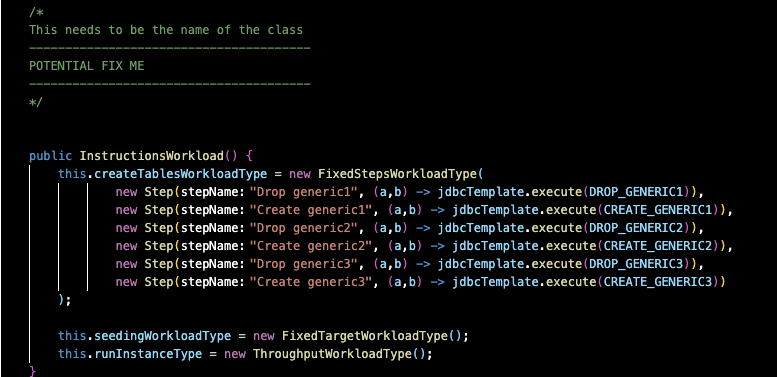
There are 3 "FIX ME" sections to change the name of the class after you copy and paste the "GenericWorkload.java" file.
-
To be able to call the new workload, you have to modify the
WorkloadConfig.javafile in src/main/java/com/yugabyte/simulation/config/.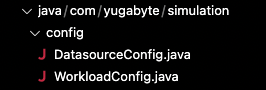
-
Run the "WorkloadSimulationApplication.java" as a java file.

A new "jar" file gets created in your target directory.
-
You should be able to run the code with the following command (code from line 136 above):

-
Navigate to http://localhost:8080 and you will see the IP address of the machine you are using: