Workflow: Existing Bitmap Image
Find an existing image / draw an image in the application of your choosing
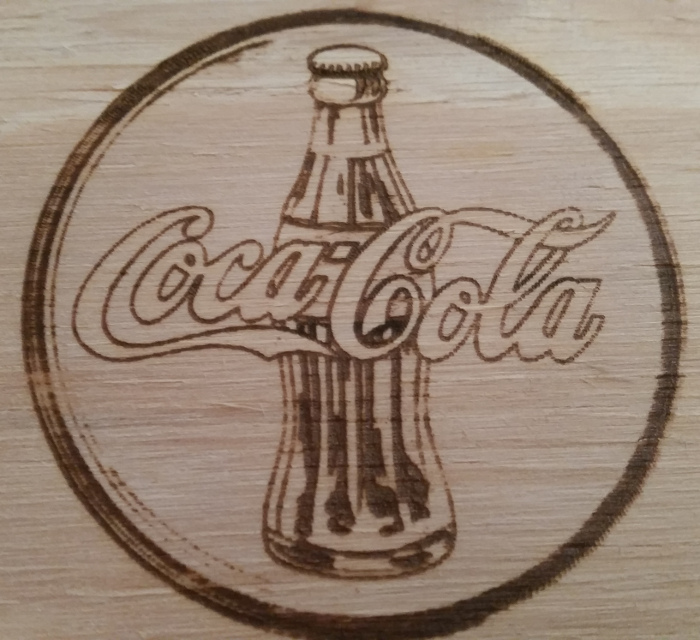
Here I'm just grabbing a random image of Google Images (no copyright infringement meant)

JPEG, GIF, BMP and PNG file types are all supported
Open the file in LaserWeb
- Adjust the "bitmap resolution" to the correct DPI for the image (understanding DPI falls beyond the scope of this guide). But lets say you draw a picture 100 mm x 100 mm in size and save it at 150 DPI. The resulting rastered image (PNG, BMP, JPEG, GIF) will be (100 mm / 25.4mm * 150 DPI = 886 pixels) 886 x 886 pixels big. To get the pixels back to MM we scale it by the appropriate DPI. You can also cheat a little and play with the DPI till the size is achieved that you want the picture to be.

-
Adjust speed and power settings appropriate for your machine.
-
Click Generate GCode: It will take a few seconds to convert the bitmap into a raster.

- Run the job: The result of a raster job, is a finely grayscaled image. Usually better suited to photographs and gradients. Unfortunately, lasering a raster is a time consuming job, since it scans over the image creating it line by line.
Vector tracing uses the popular open-source "Potrace" library to convert bitmap images to vector data. It works best with high contrast images, since its internal algorithm uses the differences in darkness to differentiate between areas belonging to the same path.
- After opening the bitmap, click the CAM tab, and then expand the relevant file. Click the orange "Trace to Vector" button.

-
You should see an extra tab appear, as well as an extra entry in the CAM tab, named .svg (the trace file is presented to LaserWeb as an SVG).
-
At this point you can click the close button on the tab of the original image, as we no longer need it. We just want to work with the vector going forward. Expand the traced file on the CAM tab, and adjust your cut settings.
-
Adjust the "SVG Resolution" to the correct DPI for the image (understanding DPI falls beyond the scope of this guide. But lets say you draw a picture for 100x100mm at 150DPI, the resulting PNG will be (100mm / 25.4mm * 150 = 886x886 pixels big. To get the pixels back to MM we scale it by the appropriate DPI. You can also cheat a little and play with the DPI till the size is achieved that you want the picture to be.

- Run the job: The result of a Vector job is a quick and easy cut, but with less detail than a raster. It is however very useful for text / outline based work as well as things where the level of detail is not as important. The speed of vector jobs are a huge win though.

NB: Compare the two images (Vector and Raster) to each other: Big difference right?