This integration allows you to add albums from your Google Photos account as a camera entity to your Home Assistant setup. The entity will be showing media from your Google Photo album so you can add some personalization to your dashboards.
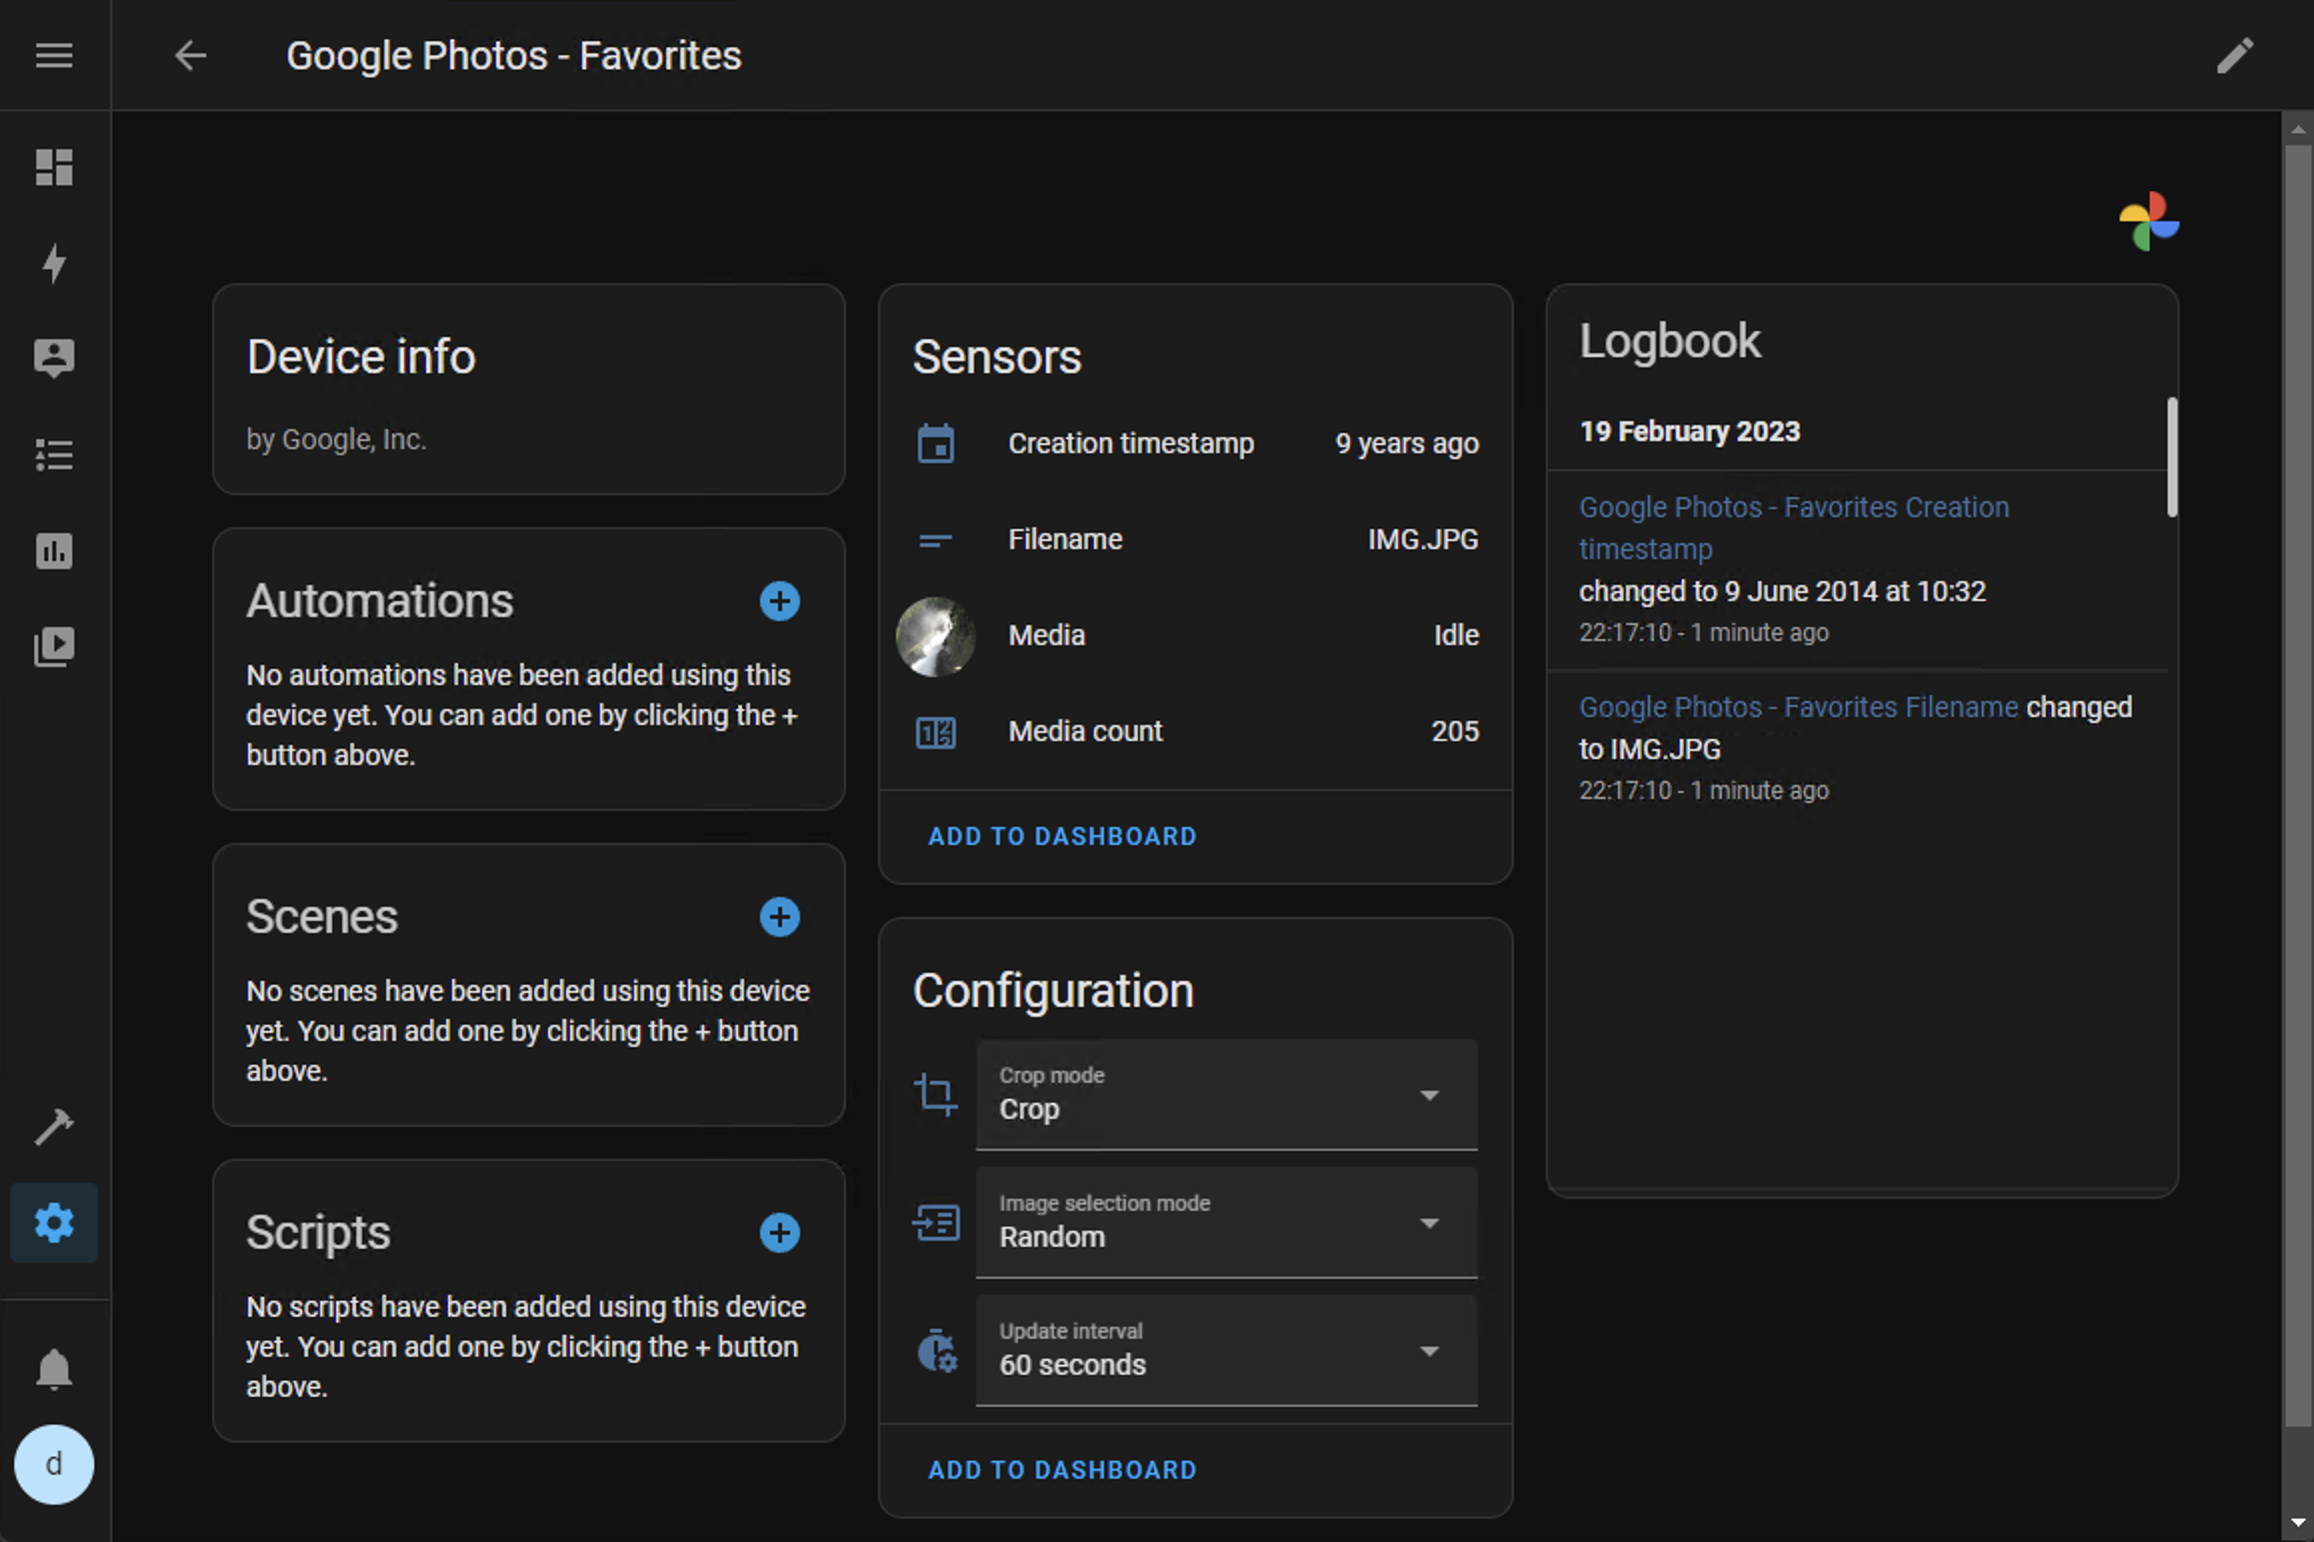
This component will set up the following platforms.
For each selected album:
| Platform | Name | Description |
|---|---|---|
camera |
media |
An image from the Google Photos Album. |
sensor |
filename |
Filename of the currently selected media item. |
sensor |
creation_timestamp |
Timestamp of the currently selected media item. |
sensor |
media_count |
Counter showing the number of media items in the album (photo + video). It could take a while to populate all media items, to check if the integration is still loading an attribute is_updating is available. |
select |
image_selection_mode |
Configuration setting on how to pick the next image. |
select |
crop_mode |
Configuration setting on how to crop the image, either Original, Crop or Combine images (explanation). |
select |
update_interval |
Configuration setting on how often to update the image, if you have a lot of albums running on your instance it is adviseable to not set this to low. |
- Find the integration as
Google Photos - Click install.
- Restart Home Assistant.
- Using the tool of choice open the directory (folder) for your HA configuration (where you find
configuration.yaml). - If you do not have a
custom_componentsdirectory (folder) there, you need to create it. - In the
custom_componentsdirectory (folder) create a new folder calledgoogle_photos. - Download all the files from the
custom_components/google_photos/directory (folder) in this repository. - Place the files you downloaded in the new directory (folder) you created.
- Restart Home Assistant
- In the HA UI go to "Configuration" -> "Integrations" click "+" and search for "Google Photos".
- Generate a Client ID and Client Secret on Google Developers Console. The authentication procedure in this integration is based of the Google Mail integration.
- First, go to the Google Developers Console to enable Photos Library API
- The wizard will ask you to choose a project to manage your application. Select a project and click continue.
- Verify that your Photos Library API was enabled and click ‘Go to credentials’
- Navigate to APIs & Services (left sidebar) > Credentials
- Click on the field on the left of the screen, OAuth Consent Screen.
- Select External and Create.
- Set the App Name (the name of the application asking for consent) to anything you want, e.g., Home Assistant.
- You then need to select a Support email. To do this, click the drop-down box and select your email address.
- You finally need to complete the section: Developer contact information. To do this, enter your email address (the same as above is fine).
- Scroll to the bottom and click Save and Continue. You don’t have to fill out anything else, or it may enable additional review.
- You will then be automatically taken to the Scopes page. You do not need to add any scopes here, so click Save and Continue to move to the Optional info page. You do not need to add anything to the Optional info page, so click Save and Continue, which will take you to the Summary page. Click Back to Dashboard.
- Click OAuth consent screen again and set Publish Status to Production otherwise your credentials will expire every 7 days.
- Make sure Publishing status is set to production.
- Click Credentials in the menu on the left-hand side of the screen, then click Create credentials (at the top of the screen), then select OAuth client ID.
- Set the Application type to Web application and give this credential set a name (like “Home Assistant Credentials”).
- Add https://my.home-assistant.io/redirect/oauth to Authorized redirect URIs then click Create. 1/ You will then be presented with a pop-up saying OAuth client created showing Your Client ID and Your Client Secret. Make a note of these (for example, copy and paste them into a text editor), as you will need these shortly. Once you have noted these strings, click OK. If you need to find these credentials again at any point, then navigate to APIs & Services > Credentials, and you will see Home Assistant Credentials (or whatever you named them in the previous step) under OAuth 2.0 Client IDs. To view both the Client ID and Client secret, click on the pencil icon; this will take you to the settings page for these credentials, and the information will be on the right-hand side of the page.
- Double-check that the Photos Library API has been automatically enabled. To do this, select Library from the menu, then search for Photos Library API. If it is enabled you will see API Enabled with a green tick next to it. If it is not enabled, then enable it.
- Provide the integration with a client id and client secret to use with th Google Photos Library api. If you want to change the credentials, go to
.
- Continue through the steps of selecting the account you want to authorize.
- NOTE: You may get a message telling you that the app has not been verified and you will need to acknowledge that in order to proceed.
- You can now see the details of what you are authorizing Home Assistant to access with two options at the bottom. Click Continue.
- The page will now display Link account to Home Assistant?, note Your instance URL. If this is not correct, please refer to My Home Assistant. If everything looks good, click Link Account.
- You may close the window, and return back to Home Assistant where you should see a Success! message from Home Assistant.
After the setup is complete a device will be created with entity for your favorite photos. To add more albums from you account, click configure on the integration card.
Screenshots:
- OAuth consent screen setup
- OAuth consent screen edit, step1
- OAuth consent screen edit, step2
- OAuth consent screen edit, step3
- OAuth consent screen edit, step4
- Credentials
Provides scaled down images that would fit in the requested view in the original aspect ratio. If your dashboard configuration does not specify the aspect ratio, the card size could change for every image.
Crop image to fit into the requested view.
In combine images mode, the integration will combine two images of the same orientation if it calculates that showing two images side by side would lead to a lower loss in square pixels than cropping a single image. For example; two portrait images on a landscape view.
show_state: false
show_name: false
camera_view: auto
type: picture-entity
entity: camera.google_photos_library_favorites
aspect_ratio: '1:1'
tap_action:
  action: call-service
  service: google_photos.next_media
  data:
    mode: RANDOM
  target:
    entity_id: camera.google_photos_library_favorites
You can combine this integration with the lovelace-wallpanel (min version 4.8) extension by j-a-n to show your photos as a screensaver on your dashboards. For the best results set the crop mode of the album to Crop or Combine images.
Home Assistant Dashboard configuration yaml (raw config):
wallpanel:
  enabled: true
  hide_toolbar: true
  hide_sidebar: true
  fullscreen: true
  image_fit: cover
  image_url: media-entity://camera.google_photos_favorites_media,
  cards:
      # Note: For this markdown card to work you need to enable write metadata in the integration settings.
    - type: markdown
      content: >-
        {{states.camera.google_photos_favorites_media.attributes.media_metadata.photo.cameraMake}},
        {{states.camera.google_photos_favorites_media.attributes.media_metadata.photo.cameraModel}}
Important Make sure to align the image crop modes with the configuration of the wall panel, if not set correctly images might appear blurry. For crop mode original, set the image_fit property to contain.
It is possible to control the album using the service exposed by google_photos.
service: google_photos.next_media
data:
  entity_id: camera.google_photos_library_favorites
  mode: Random
| Key | Required | Default | Description |
|---|---|---|---|
| entity_id | Yes | Entity name of a Google Photo album camera. | |
| mode | No | Random |
Selection mode next image, either Random or Album order |
Go to 
This is the cover photo of you album, you can change it in Google Photos, or trigger a next_media on the service after start-up.
- Currently the album media list is cached for 3 hours.
- Directly after loading the integration / starting HA, the album will only contain 100 items. This is done to reduce server load on the Google Photos servers, every 30 seconds a new batch of media is requested.
- Give end user more control over album cache time
- Support for videos
- Support loading media using content categories
- Support loading media filtered by date/time
- Custom photo carousel fronted component
- Add trigger on new media
To enable debug log, add the following lines to your configuration.yaml and restart your HomeAssistant.
logger:
  default: info
  logs:
    custom_components.google_photos: debug
googleapiclient: debugIf you want to contribute to this please read the Contribution guidelines