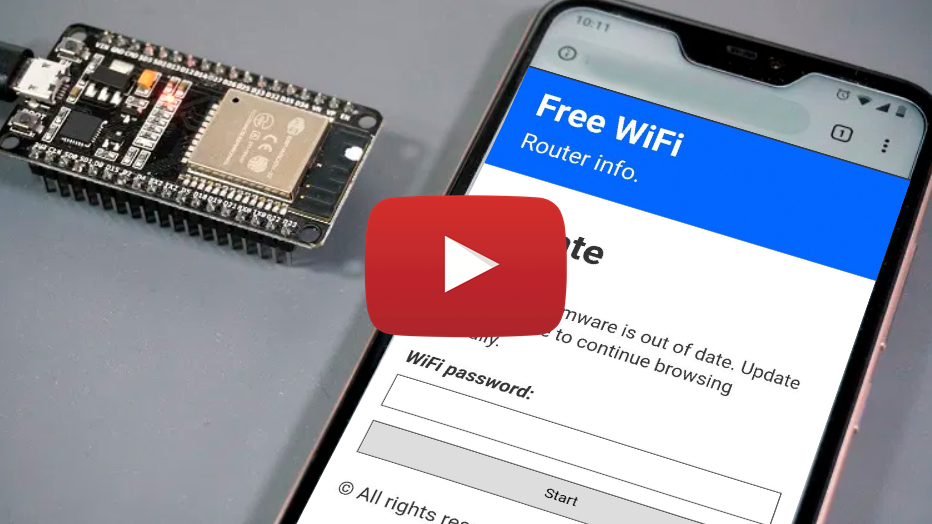
WiFi captive portal for the NodeMCU (ESP8266 Module) with DNS spoofing.

This project is for testing and educational purposes. Use it only against your own networks and devices. I don't take any responsibility for what you do with this program.
-
💪 The LED will blink 5 times when a password is posted.
-
💪 All captured password will be stored in the ESP8266 itself.
-
💪Your saved passwords will not disappear when you:
▶️ Restart/power off the ESP8266.▶️ Change the SSID.
-
💪 You can clear saved password when necessary.
-
💪 You can change the SSID name from the portal itself.
- Passwords and SSID will be stored in the EEPROM of the ESP8266.
- EEPROM Memory location:
- 0-19
▶️ For storing SSID. - 20-24
▶️ To check the first boot of ESP8266. - 30-END
▶️ For storing password.
- 0-19
- When ESP8266 boots for the first time, it checks the data in memory location (20-24) in EEPROM.
- After the first boot, it only loads the SSID and all passwords in the EEPROM.
- If there is no SSID in the EEPROM, default SSID will be set.
- ✏️ Changing the SSID:
▶️ 172.0.0.1/ssid◀️ - 💥Clearing the passwords:
▶️ 172.0.0.1/clear◀️ - 🙈 To see saved passwords:
▶️ 172.0.0.1/pass◀️ - 📜 Testing victim page:
▶️ 172.0.0.1/index◀️
| 172.0.0.1/index | 172.0.0.1/post | 172.0.0.1/pass | 172.0.0.1/ssid |
|---|---|---|---|
| This is the main page. Here the user will write his password and send it. | This is the post page. The user will be redirected here after posting the password. | This is where the attacker can retrieve all the passwords that has been posted and saved passwords can be cleared. | Here the attacker can change the SSID name of the Access Point on the go. |
 |
 |
 |
 |
-
Download ESP8266 Flasher.
-
Download the esp-wifi-captive-portal-v1.0.bin file.
-
Open the ESP8266 Flasher and select the Node MCU port

- Then, go to the config tab and select the .bin file you've just downloaded.

-
Finally, go back to the first tab and press "Flash"
-
Your Node MCU is ready!
- Open your Arduino IDE and go to File 🔎 Preferences 🔎 Boards Manager URLs and paste the following link:
https://arduino.esp8266.com/stable/package_esp8266com_index.json - Go to Tools 🔎Board 🔎 Boards Manager, search "esp8266" and install esp8266.
- Go to Tools 🔎 Board and select you board.
- Download and open the sketch "esp-wifi-captive-portal.ino".
- You can optionally change some parameters like the SSID name and texts of the page like title, subtitle, text body...
- Upload the code into your board.
- You are done!
- After uploading the code, first clear the passwords already in the EEPROM.
- If any error happens, kindly report the issue.