This is the place to start if you want to give Cactus a spin on your local machine or if you are planning on contributing.
This is not a guide for
usingCactus for your projects that have business logic but rather a guide for people who want to make changes to the code of Cactus. If you are just planning on using Cactus as an npm dependency for your project, then you might not need this guide at all.
The project uses Typescript for both back-end and front-end components.
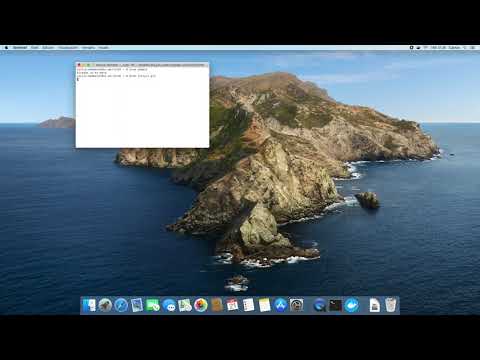
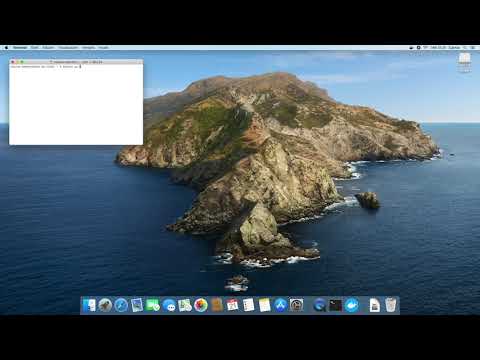
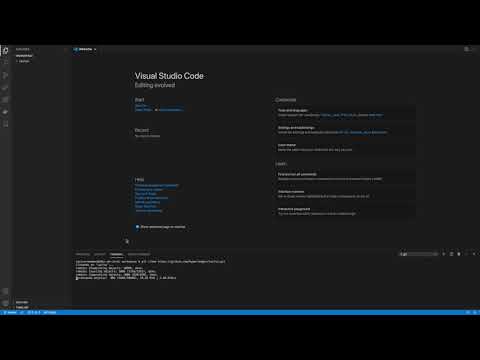
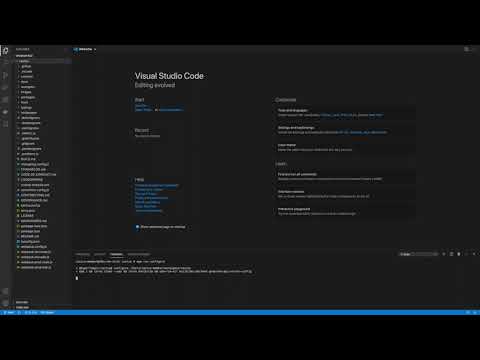
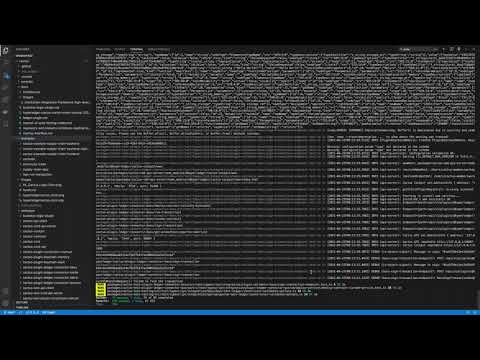
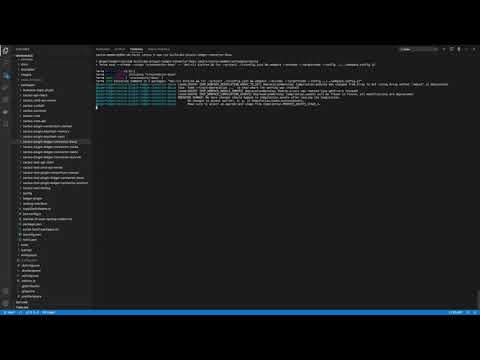
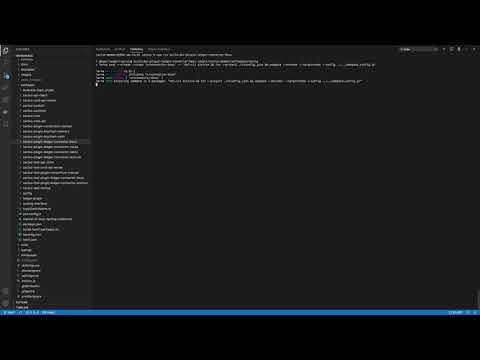
This is a video guide to setup Hyperledger Cactus on your local machine.

We put a lot of thought and effort into making sure that fast developer iterations can be achieved (please file a bug if you feel otherwise) while working on the framework.
If you find yourself waiting too much for builds to finish, most of the time
that can be helped by using the npm run watch script which can automatically
recompile packages as you modify them (and only the packages that you have
modified, not everything).
It also supports re-running the OpenAPI generator when you update any
openapi.json spec files that we use to describe our endpoints.
The npm run watch script in action:

-
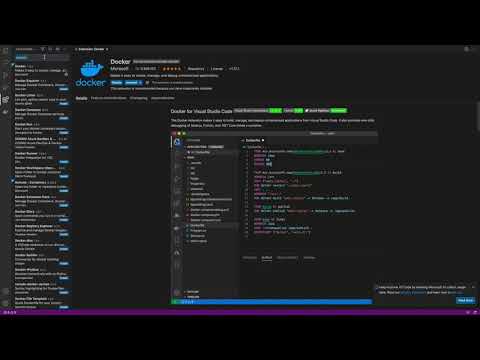
Use preset environment:
-
... or install OS level dependencies manually:
- Windows Only
- WSL2 or any virtual machine running Ubuntu 20.04 LTS
- Git
- NodeJS v18.18.2, npm v8.5.0 (we recommend using the Node Version Manager (nvm) if available for your OS)
nvm install 18.18.2 nvm use 18.18.2 - Yarn
npm run enable-corepack(from within the project directory)
- Docker Engine. Make sure that Docker is working and running, for example, running
docker ps -aq - Docker Compose
- OpenJDK (Corda support Java 8 JDK but do not currently support Java 9 or higher)
sudo apt install openjdk-8-jdk-headless
- Indy SDK (optional)
- Windows Only
-
Clone the repository
git clone https://github.com/hyperledger/cactus.gitWindows specific gotcha: File paths too long error when cloning. To fix:
Open PowerShell with administrative rights and then run the following:
git config --system core.longpaths true- Change directories to the project root
cd cactus- Run this command to enable corepack (Corepack is included by default with all Node.js installs, but is currently opt-in.)
npm run enable-corepack- Run the initial configuration script (can take a long time, 10+ minutes on a low-spec laptop)
yarn run configureAt this point you should have all packages built for development.
You can start making your changes (use your own fork and a feature branch) or just run existing tests and debug them to see how things fit together.
For example you can run a ledger single status endpoint test via the REST API with this command:
npx tap --ts --timeout=600 packages/cactus-test-plugin-htlc-eth-besu/src/test/typescript/integration/plugin-htlc-eth-besu/get-single-status-endpoint.test.tsYou can also start the API server and verify more complex scenarios with an arbitrary list of plugins loaded into Cactus. This is useful for when you intend to develop your plugin either as a Cactus maintained plugin or one on your own.
npm run generate-api-server-configNotice how this task created a .config.json file in the project root with an example configuration that can be used a good starting point for you to make changes to it specific to your needs or wants.
The most interesting part of the .config.json file is the plugins array which
takes a list of plugin package names and their options (which can be anything
that you can fit into a generic JSON object).
Notice that to include a plugin, all you need is specify it's npm package name. This is important since it allows you to have your own plugins in their respective, independent Github repositories and npm packages where you do not have to seek explicit approval from the Cactus maintainers to create/maintain your plugin at all.
Once you are satisfied with the .config.json file's contents you can just:
npm run start:api-serverAfter starting the API server, you will see in the logs that plugins were loaded and that the API is reachable on the port you specified (4000 by default). The Web UI (Cockpit) is disabled by default but can be enabled by changing the property value 'cockpitEnabled' to true and it is reachable through port on the port your config specified (3000 by default).
You may need to enable manually the CORS patterns in the configuration file. This may be slightly inconvenient, but something we are unable to compromise on despite valuing developer experience very much. We have decided that the software should be
secure by defaultabove all else and allow for customization/degradation of security as an opt-in feature rather than starting from that state.
At this point, with the running API server, you can
- Test the REST API directly with tools like cURL or Postman
- Develop your own applications against it with the
Cactus API Client(s) - Create and test your own plugins
We recommend that you use WSL2 or any Linux VM (or bare metal). We test most frequently on Ubuntu 20.04 LTS
The npm run watch script should cover 99% of the cases when it comes to working
on Cactus code and having it recompile, but for that last 1% you'll need to
get your hands dirty with the rest of the build scripts. Usually this is only
needed when you are adding new dependencies (npm packages) as part of something
that you are implementing.
There are a lot of different build scripts in Cactus in order to provide contributors fine(r) grained control over what parts of the framework they wish build.
Q: Why the complexity of so many build scripts?
A: We could just keep it simple with a single build script that builds everything always, but that would be a nightmare to wait for after having changed a single line of code for example.
To figure out which script could work for rebuilding Cactus, please follow
the following decision tree (and keep in mind that we have npm run watch too)

Upload your public key onto github if not done so already. A public key is necessary to join the ssh connection to use upterm. For a comprehensive guide, see the Generating a new SSH key and adding it to the ssh-agent.
Locate the ci.yml within .github/workflows and add to the ci.yml code listed below:
- name: Setup upterm session uses: lhotari/action-upterm@v1 with: repo-token: ${{ secrets.GITHUB_TOKEN }}
Keep in mind that the SSH upterm session should come after the checkout step (uses: actions/checkout@v4.1.1) to ensure that the CI doesn't hang without before the debugging step occurs. Editing the ci.yml will create a new upterm session within .github/workflows by adding a new build step. For more details, see the Debug your GitHub Actions by using ssh.
By creating a PR for the edited ci.yml file, this will the CI to run their tests. There are two ways to navigate to CIs.
- Go to the PR and click the
checkstab - Go to the
Actionstab within the main Hyperledger Cactus Repository
Click on the CI Cactus workflow. There should be a new job you've created be listed underneath the build (ubuntu-22.04) jobs. Click on the the new job (what's you've named your build) and locate the SSH Session within the Setup Upterm Session dropdown. Copy the SSH command that start with ssh and ends in .dev (ex. ssh **********:***********@uptermd.upterm.dev). Open your OS and paste the SSH command script in order to begin an upterm session.