Learn how to work alongside the open source communities that build software you're already using, and put your business at the forefront of the world's most innovative and secure code.
Tags: Open source, Enterprise, Licensing, Templates, Guidelines
Did you know that many organizations including industry innovators like Microsoft, Google, and Facebook, have established open source programs? Immersing your company in open source culture is a competitive advantage that will allow you to hire the best talent, decrease risk, and innovate by increasing your shipping speed.
An open source program empowers anyone within your organization to determine when code should be made public and helps them safely navigate the process of doing so. This course will guide you as you create that open source program. You'll establish guidance and governance for your open source program, examine what current innovators are doing, and leverage existing templates and resources. This hands-on lab will help you tackle some big questions and give you a clear path forward for becoming an open source enterprise.
In this course, we'll answer common questions like:
- How do I create an open source program at my organization?
- Why is an open source program beneficial?
- How do I create discoverable repositories?
- What's a code of conduct?
- How do I create a communication plan for my open source program?
- What is a maintainer guide and how do I create one?
- How should we license our projects?
- What licenses should we consume?
- What should be in a template
READMEfor my organization's repositories?
After taking this course, you'll be able to:
- Assess your organization's existing open source efforts
- Establish the goals of an open source program
- Create a repository for your open source program, complete with contributing and communication guidelines, codes of conduct, templates, and maintainer guides
- Abide by existing open source licenses
- Choose a license for releasing an open source project
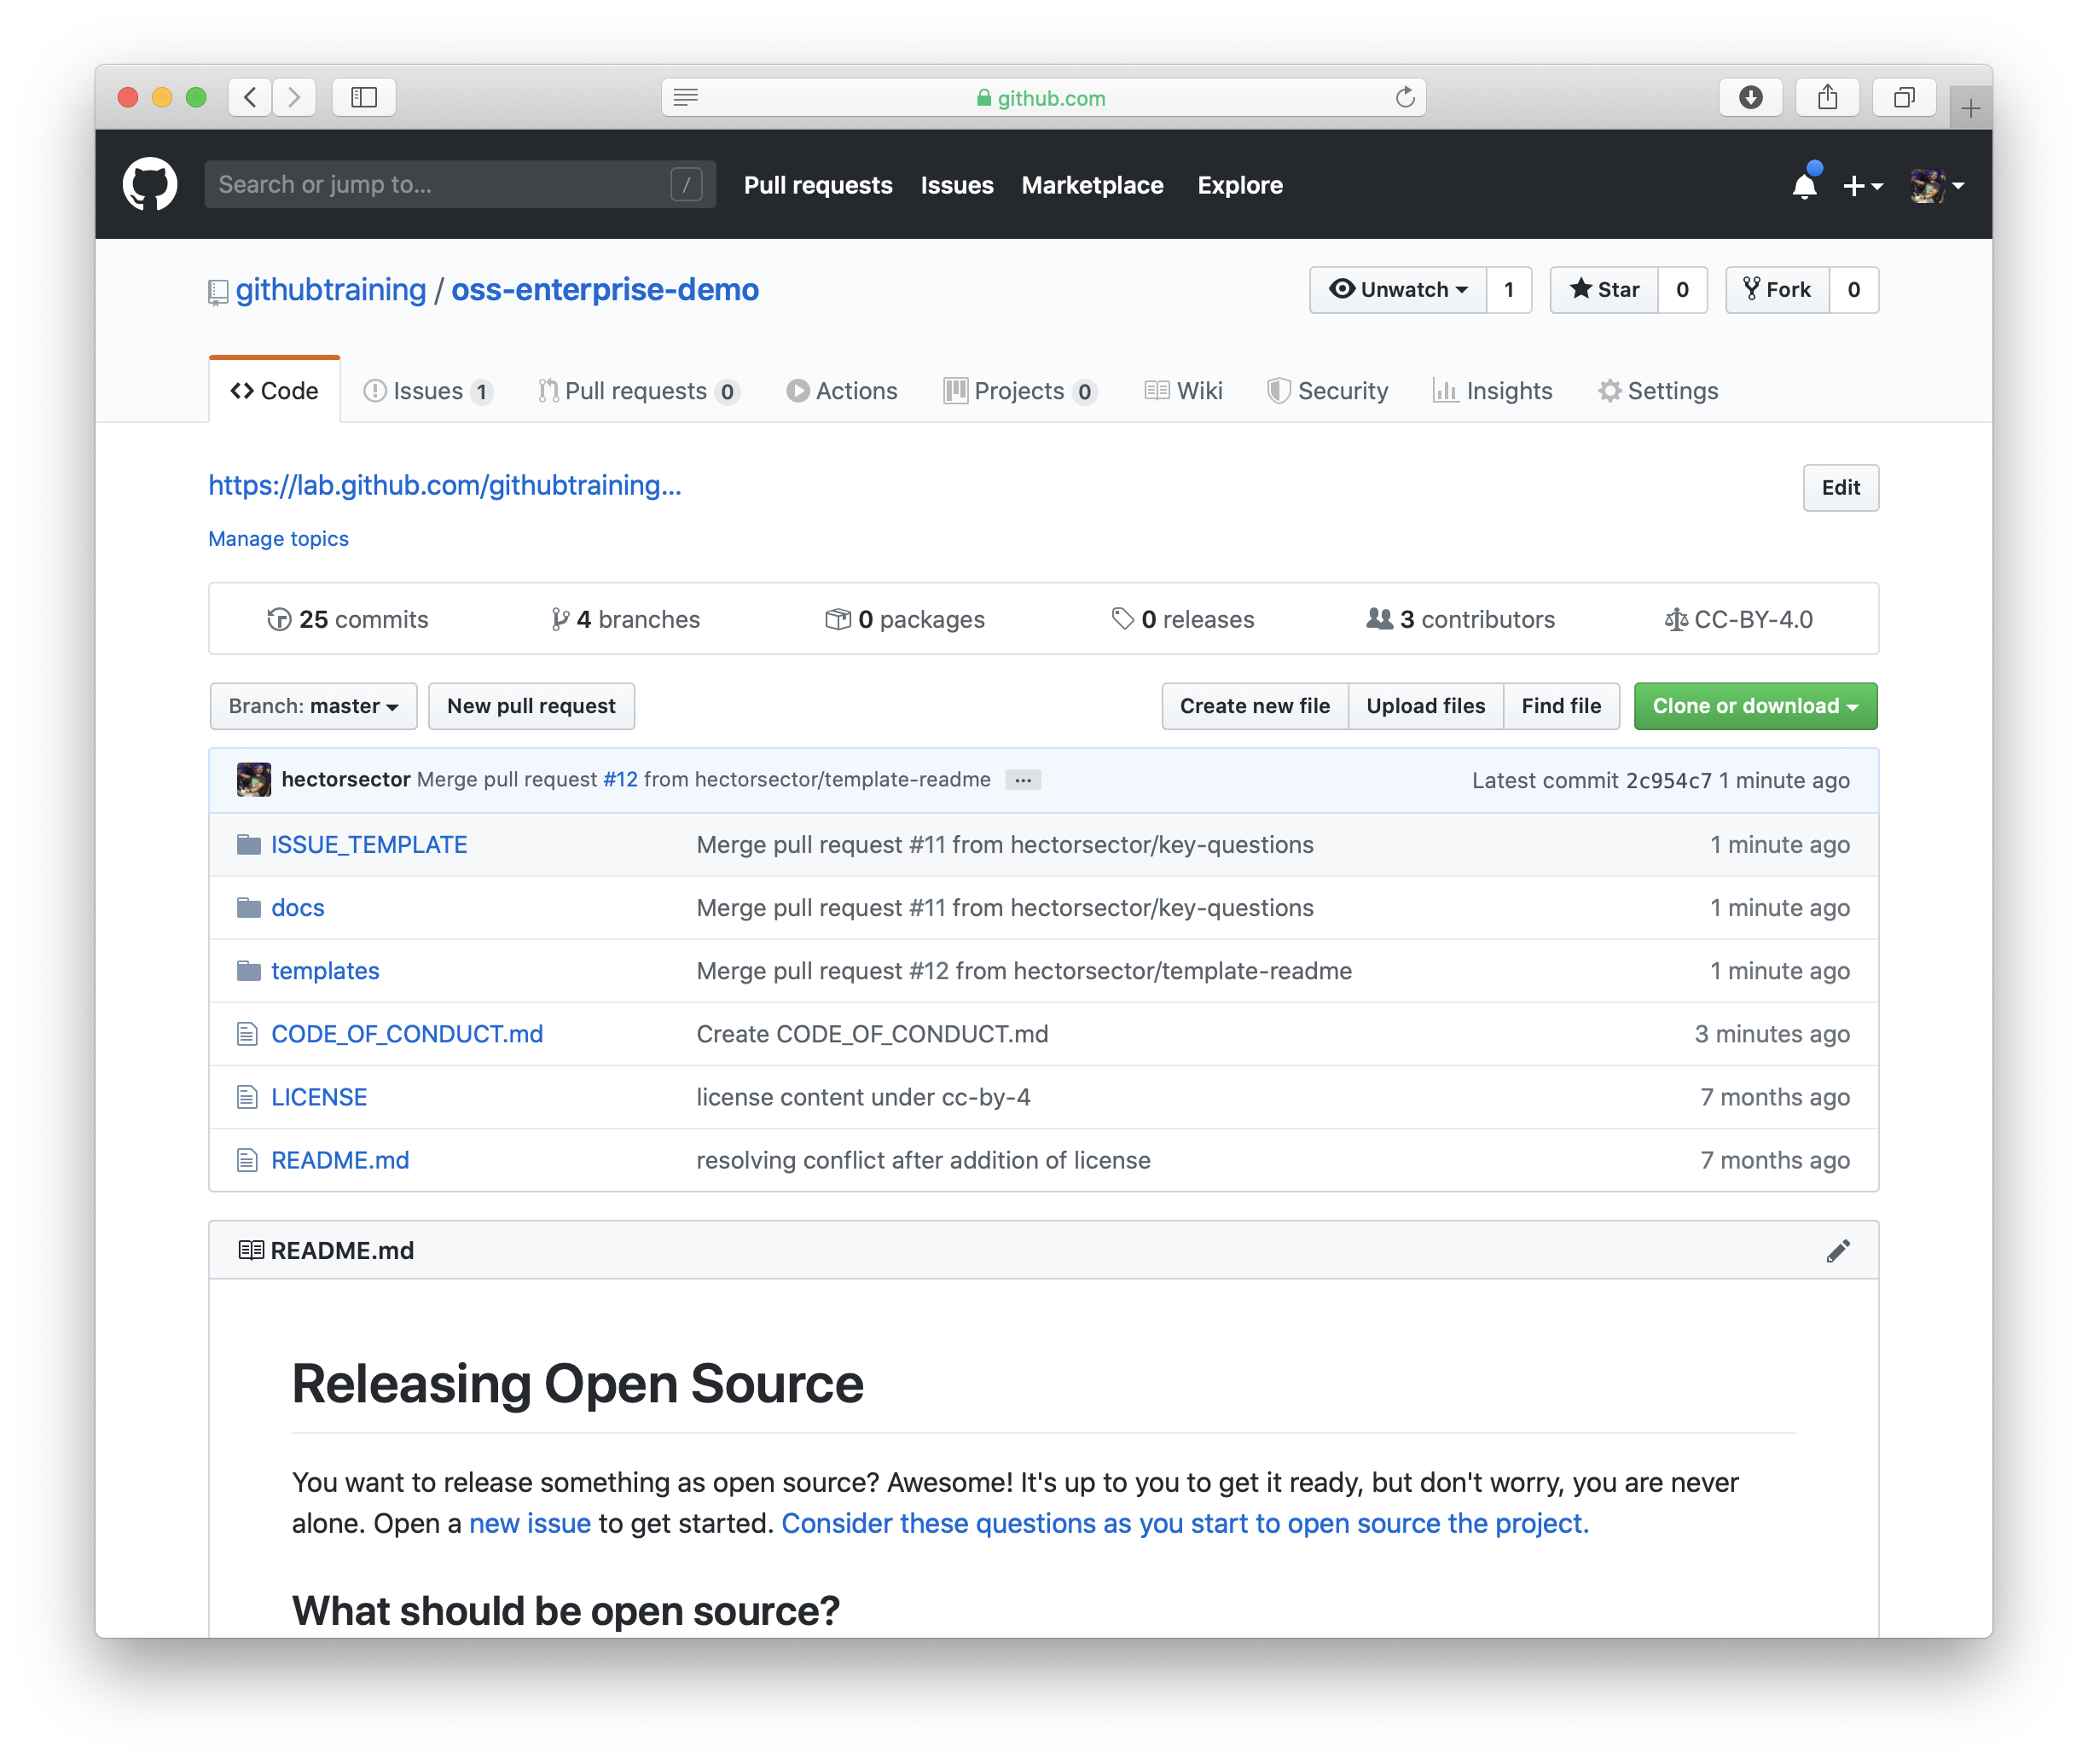
- Completed source repository showing the templates added throughout the course.
We recommend you first complete the following courses:
- InnerSource fundamentals to learn how InnerSource and open source are different but related concepts. A strong InnerSource culture could be the perfect precursor to a successful open source program.
- Reviewing pull requests to learn how to work in GitHub pull requests, which are used throughout this course.
This course uses all original content, we didn't use any open source projects to create it.
Developers, Managers, Teams
Congratulations on taking the first steps to becoming an open source enterprise! This course will be your companion as you explore and develop the resources necessary to ramp up your teams and transform your organization's culture. Through a series of issues and pull requests, you'll create an open source kit: a repository that will house all resources for an open source program.
Throughout the course, you'll be prompted to have offline conversations with departments, teams, and individuals across your organization. To get the most out of this course, consider pausing as the bot prompts you to have these conversations and returning when you're ready. At the end of this course you'll have a fully functional repository with a trove of templates and guides you can use to kickstart your program.
As we begin our journey into preparing for open source, let's start with a few self assessments of where your open source program stands today.
- Navigate to the open source self assessments.
- Take each of the assessments.
- Jot down your level within each dimension.
After completing the self assessment, the next step is to establish a clear set of goals for your open source program. Use the following matrix to guide the discussion:
| Dimension | Current Level | Goals |
|---|---|---|
| Consuming open source software | ||
| Contributing back to the open source projects you consume | ||
| Producing your own open source software |

Ad-hoc - a new or undocumented process is uncontrolled, reactive and unpredictable, typically driven by individuals without coordination or communication. Success depends on individual heroics.
Managed - a process is partially documented, possibly leading to consistent results. Success depends on discipline.
Defined - a process is documented, standardized, and integrated into other processes. Success depends on automation.
Measured - the process is quantitatively managed. Success depends on measuring metrics against business goals.
Optimized - the process is continually and reliably improving through both incremental and innovative changes. Success depends on reducing the risk of change.
The goals you set here are preliminary, you'll have an opportunity to formalize them later.
- Write your goals in this issue, or just type "done" to move on.
You took an action I didn't expect. I was looking for you to {{ expected }}.
This pull request adds a file called README.md to this open source kit. This repository is where people will come for help and information when they want to open source projects within your organization. The information in the README.md should help give those people what they're looking for.
This README.md is not a template for others when open sourcing their projects. Instead, this provides guidelines for when to open source projects and how to do it.
The README.md already has some great information. Customize the document with more recommendations for your company and then merge.
It's a good idea to include links to other documents that you've created (or will create in the future). For example, add other links to things like your CODE_OF_CONDUCT.md and CONTRIBUTING.md. Then, others will know that the templates exist and should be used.
- Answer all of these questions:
- What is the purpose of this repository?
- Who should someone contact if they have questions?
- How should someone make contact if they have questions?
- What are the first steps to getting started open sourcing a project?
- How does this repository relate to other projects and business goals?
- Update the
README.mdin this pull request to reflect the information you want to include about your project. - When you're ready to move on, merge this pull request.
Great! Let's go to the [next pull request]({{ url }}).
It looks like you closed this pull request without merging, but I wasn't expecting that! Even if you want to edit the contents later, let's merge the pull request for now so we can continue with the course.
Reopen the pull request and merge it. I'll respond then.
You took an action I didn't expect. I was looking for you to {{ expected }}.
This pull request introduces a CONTRIBUTING.md template file.
This template should be used in all of your organization's repositories and be customized by the maintainers. The CONTRIBUTING.md file communicates expectations with contributors about how they can help contribute to the project.
The CONTRIBUTING.md file should be customized for each project as much as possible to be clear and helpful. If contributors aren't sure what to do, their contributions won't be as useful to the project. This often results in inconsistent contributions and longer than needed review time from maintainers before merging.
If you're looking for inspiration, here are some great examples of CONTRIBUTING.md files from notable projects. ✨
- Electron
- Atom
- freeCodeCamp
- Bitcoin
- facebook/react links out to separate documentation, but still gives the same important information
- Microsoft/sqlopsstudio
- Look through the examples listed above, and make note of qualities you like (or don't like) about each document.
- Change the document in this pull request so it is a good template for all other repositories in your organization.
- Commit directly to this branch. When you're ready to move on, merge this pull request.
Great! Let's go to the [next pull request]({{ url }}).
It looks like you closed this pull request without merging, but I wasn't expecting that! Even if you want to edit the contents later, let's merge the pull request for now so we can continue with the course.
Reopen the pull request and merge it. I'll respond then.
You took an action I didn't expect. I was looking for you to {{ expected }}.
We'll create a CODE_OF_CONDUCT.md template file.
This template will be recommended for all of your organization's repositories. Unlike the CONTRIBUTING.md, it should not be customized by the maintainers.
A user's experience in your open source project will become a reflection of your brand. How will you protect contributors from harassing or belittling behavior? What will you do when someone is behaving inappropriately? Adding a code of conduct to your projects will promote and facilitate healthy behavior within your community.
You may want to @ mention the individuals responsible for Diversity, Inclusion and Communication to be your partners in this step.
For more information on why a code of conduct is a good idea, check out the article opensource.guide: Your Code of Conduct.
Thought leaders on establishing healthy behaviors in the open source community have joined forces to develop some fantastic drop-in codes of conduct. GitHub makes it easy to drop these established documents in to any project. To read directions on how to use this drop-in code, check out this help documentation.
Here are the drop-in codes of conduct currently supported by GitHub:
If you already have an open source project, it is easy to add a code of conduct:

If you consume or contribute to a project that does not have a code of conduct, you should not be shy about suggesting one to the project maintainers.
It is generally acceptable to customize the code of conduct to meet your organization's needs, however we find the examples developed by the open source community are very good and will meet the needs of the majority of organizations. If you are interested in creating your own, check out some of these examples for inspiration:
- Django Code of Conduct
- Python Community Code of Conduct and Diversity Statement
- Ubuntu Code of Conduct
- Geek Feminism Code of Conduct
Decision Time Decide which code of conduct you will use for your projects. Will you promote the use of an established template or create your own? Based on your decision, follow the path outlined below:
If you want to use an established code of conduct
- [Create a new code of conduct from a template]({{ repoUrl }}/community/code-of-conduct/new).
- Fill in your information on the right side.
- Click Review and submit.
- Review the code of conduct and scroll to the bottom of the page.
- Write a descriptive commit message.
- Make sure that the option to "create a new branch" is selected, and click Commit new file.
- Create a new pull request to add a code of conduct.
If you want to use a custom code of conduct
- [Create a new pull request for your custom code of conduct]({{ repoUrl }}/new/master?filename=CODE_OF_CONDUCT.md).
- Enter your code of conduct in the text area.
- Write a descriptive commit message.
- Select Create a new branch for this commit and start a pull request.
- Click Propose new file.
- Enter the following title for your pull request:
Create CODE_OF_CONDUCT.md
Great! Let's go to the [next step]({{ url }}).
Thanks for opening this PR! I wasn't expecting this PR, instead I was expecting a pull request titled: {{ expected }}.
Please review the last set of instructions and try opening a new pull request.
This pull request introduces a file for you to outline and define the communication guidelines. This goes beyond the normal code-of-conduct and CONTRIBUTING.md.
You will want to @ mention your communications department to craft the guidelines in this pull request. You will also want to share these communication guidelines with others as they open source and maintain their own projects.
There are a lot of nuanced behaviors that go into managing open source software. Use this document to explore how to handle more difficult and unclear territory, such as code-of-conduct violations or positive recognition to prolific contributors.
- Edit this document to reflect the expectations for communication with open source software at your organization
- Commit directly to this branch.
- When you're ready to move on, merge this pull request.
Your code of conduct looks fantastic! Feel free to merge it if you like.
When you're ready to move on, go to the [next pull request]({{ url }}).
It looks like you closed this pull request without merging, but I wasn't expecting that! Even if you want to edit the contents later, let's merge the pull request for now so we can continue with the course.
Reopen the pull request and merge it. I'll respond then.
You took an action I didn't expect. I was looking for you to {{ expected }}.
tl;dr When an individual or team is contemplating releasing a project as open source, there will be a number of steps for them to complete. The first step will be to open an issue in this repository. In this pull request, we will create an ISSUE_TEMPLATE which will contain the tracking checklist for releasing a project as open source and some key questions for them to consider.
You may want to @ mention the individuals responsible for legal, compliance, security and marketing to be your partners in this step.
This checklist should be the one-stop-shop for open sourcing repositories in your organization.
A great open source checklist:
- Is the canonical source of truth for the steps to be taken before open sourcing a project
- Contains appropriate links to enable project maintainers to complete the process with minimal support
- Includes appropriate information on the teams or individuals to mention at each stage of the process
- Demands 100% compliance. All of the boxes should be checked or an issue comment added about why a specific step isn't necessary BEFORE a project is released as open source.
This checklist will be a work in progress as you complete the other steps in this repository. We recommend that you keep this pull request open and add new links/steps as indicated in the process:
- Directly on this branch, update the placeholder text in the
ISSUE_TEMPLATEas appropriate for your organization. - Add links to documents that are external to this repository, like an employee IP agreement.
- Add steps you will require maintainers to complete.
- Remove steps you will not require maintainers to complete.
- When you're ready to move on, merge this pull request.
Great! Let's go to the [next pull request]({{ url }}).
It looks like you closed this pull request without merging, but I wasn't expecting that! Even if you want to edit the contents later, let's merge the pull request for now so we can continue with the course.
Reopen the pull request and merge it. I'll respond then.
You took an action I didn't expect. I was looking for you to {{ expected }}.
This pull request adds a maintainer_guide.md to guide maintainers of open source projects. This could be included in a public-facing way, but may be best kept privately in this repository.
Use this document to formalize expectations for maintainers and help everyone learn how to maintain well.
- Update the
maintainer-guide.mdon this branch to reflect the support and guidance you want to give project maintainers at your organization. - When you're ready to move on, merge this pull request.
Great! Let's go to the [next pull request]({{ url }}).
It looks like you closed this pull request without merging, but I wasn't expecting that! Even if you want to edit the contents later, let's merge the pull request for now so we can continue with the course.
Reopen the pull request and merge it. I'll respond then.
You took an action I didn't expect. I was looking for you to {{ expected }}.
Licensing can be one of the most challenging aspects of open source for enterprises. Successful open source organizations have policies that clarify their position on licenses for projects they are consuming, contributing to, and maintaining.
You will want to @ mention your legal team here as your partners in this step.
The opensource.guide article on The Legal Side of Open Source is an excellent resource to share on why licensing is important.
In short, if a project does not have a license, it is considered copyrighted work and cannot truly be open source. Investing some time in the early stages of your program to identify the licenses you will use or accept will pay off down the line.
Your license policy will consist of three distinct groups of licenses:
- Consuming: These are the licenses on the open source projects you consume internally.
- Contributing: These are the licenses you are willing to accept on projects your employees may contribute to as part of their work. This is likely to be a subset of those in the consuming category.
- Releasing: These are the license types approved for use on projects owned by your organization. There are typically different licenses for different types of content. For example, written documentation may use different licenses than software.
We have created a template license policy for you in this pull request. Work with your legal team to complete the following steps:
- Identify your organization's preferred open source license for projects it is releasing and add these to the
license-policy.mddocument in this pull request. - Evaluate common open source licenses and decide which you are willing to accept for projects consumed and contributed to. Add these to the license-policy.md.
- Define and document the process you will use to enforce your license policy.
- When you're ready to move on, merge this pull request.
Great! Let's go to the [next pull request]({{ url }}).
It looks like you closed this pull request without merging, but I wasn't expecting that! Even if you want to edit the contents later, let's merge the pull request for now so we can continue with the course.
Reopen the pull request and merge it. I'll respond then.
You took an action I didn't expect. I was looking for you to {{ expected }}.
This pull request adds an issue template that can be customized for use when team members wish to begin using a new open source project in their work. Not all organizations will want to track these requests and may choose instead to convert this to a self serve checklist.
- Customize the template in this pull request to reflect the aspects of project health that are important for your team members to consider.
- Add a checklist per your internal processes.
- When you're ready to move on, merge this pull request.
Great! Let's go to the [next pull request]({{ url }}).
It looks like you closed this pull request without merging, but I wasn't expecting that! Even if you want to edit the contents later, let's merge the pull request for now so we can continue with the course.
Reopen the pull request and merge it. I'll respond then.
You took an action I didn't expect. I was looking for you to {{ expected }}.
This pull request adds a template README file that serves as a starting point for team members who are open sourcing their projects. Creating a template is a great way to add some subtle branding elements!
- In this pull request, add appropriate branding elements.
- Work with your editorial team to draft welcoming content for this template README.
- When you're ready to move on, merge this pull request.
Great! Let's go to the [next pull request]({{ url }}).
It looks like you closed this pull request without merging, but I wasn't expecting that! Even if you want to edit the contents later, let's merge the pull request for now so we can continue with the course.
Reopen the pull request and merge it. I'll respond then.
You took an action I didn't expect. I was looking for you to {{ expected }}.
You finished this course! Now, you have an open source tool-kit with the documentation you need to start helping others with open source within your organization.
- If you'd like to just save the contents to your machine, you can:
- Use this shortcut link to [download the files]({{ downloadURL }})
- Download the files by clicking on the Code tab, clicking on Clone or download and clicking Download ZIP
- Clone the repository to your machine
- If you'd like to transfer the repository to an organization on GitHub:
- If your organization is on GitHub.com, [fork it]({{ forkURL }})
- If your organization is on GitHub Enterprise Server, transfer the repository
I won't track any further events in this repository.
Great! Let's go to the [final issue]({{ url }}).