In this short tutorial, we will guide you through setting up the system environment for running the FastPhotoStyle software and then show several usage examples.
Existing style transfer algorithms can be divided into categories: artistic style transfer and photorealistic style transfer. For artistic style transfer, the goal is to transfer the style of a reference painting to a photo so that the stylized photo looks like a painting and carries the style of the reference painting. For photorealistic style transfer, the goal is to transfer the style of a reference photo to a photo so that the stylized photo preserves the content of the original photo but carries the style of the reference photo. The FastPhotoStyle algorithm is in the category of photorealistic style transfer.
FastPhotoStyle takes two images as input where one is the content image and the other is the style image. Its goal is to transfer the style of the style photo to the content photo for creating a stylized image as shown below.
FastPhotoStyle divides the photorealistic stylization process into two steps.
- PhotoWCT: Generate a stylized image with visible distortions by applying a whitening and coloring transform to the deep features extracted from the content and style images.
- Photorealistic Smoothing: Suppress the distortion in the stylized image by applying an image smoothing filter.
The output is a photorealistic image as it were captured by a camera.
- Hardware: PC with NVIDIA Titan GPU.
- Software: Ubuntu 16.04, CUDA 9.1, Anaconda3, pytorch 0.4.0
- Environment variables.
- export ANACONDA=PATH-TO-YOUR-ANACONDA-LIBRARY
- export CUDA_PATH=/usr/local/cuda
- export PATH=${ANACONDA}/bin:${CUDA_PATH}/bin:$PATH
- export LD_LIBRARY_PATH=${ANACONDA}/lib:${CUDA_PATH}/bin64:$LD_LIBRARY_PATH
- export C_INCLUDE_PATH=${CUDA_PATH}/include
- System package
sudo apt-get install -y axel imagemagick(Only used for demo)
- Python package
conda install pytorch=0.4.0 torchvision cuda91 -y -c pytorchpip install scikit-umfpackpip install -U setuptoolspip install cupypip install pynvrtcconda install -c menpo opencv3(OpenCV is only required if you want to use the approximate version of the photo smoothing step.)
In the following, we will provide 3 usage examples. In the 1st example, we will run the FastPhotoStyle code without using segmentation mask. In the 2nd example, we will show how to use a labeling tool to create the segmentation masks and use them for stylization. In the 3rd example, we will show how to use a pretrained segmetnation network to automatically generate the segmetnation masks and use them for stylization.
You can simply type ./demo_example1.sh to run the demo or follow the steps below.
- Create image and output folders and make sure nothing is inside the folders:
mkdir images && mkdir results - Go to the image folder:
cd images - Download content image 1:
axel -n 1 http://freebigpictures.com/wp-content/uploads/shady-forest.jpg --output=content1.png - Download style image 1:
axel -n 1 https://vignette.wikia.nocookie.net/strangerthings8338/images/e/e0/Wiki-background.jpeg/revision/latest?cb=20170522192233 --output=style1.png - These images are huge. We need to resize them first. Run
convert -resize 25% content1.png content1.pngconvert -resize 50% style1.png style1.png
- Go back to the root folder:
cd .. - Test the photorealistic image stylization code
python demo.py --output_image_path results/example1.png - You should see output messages like
-
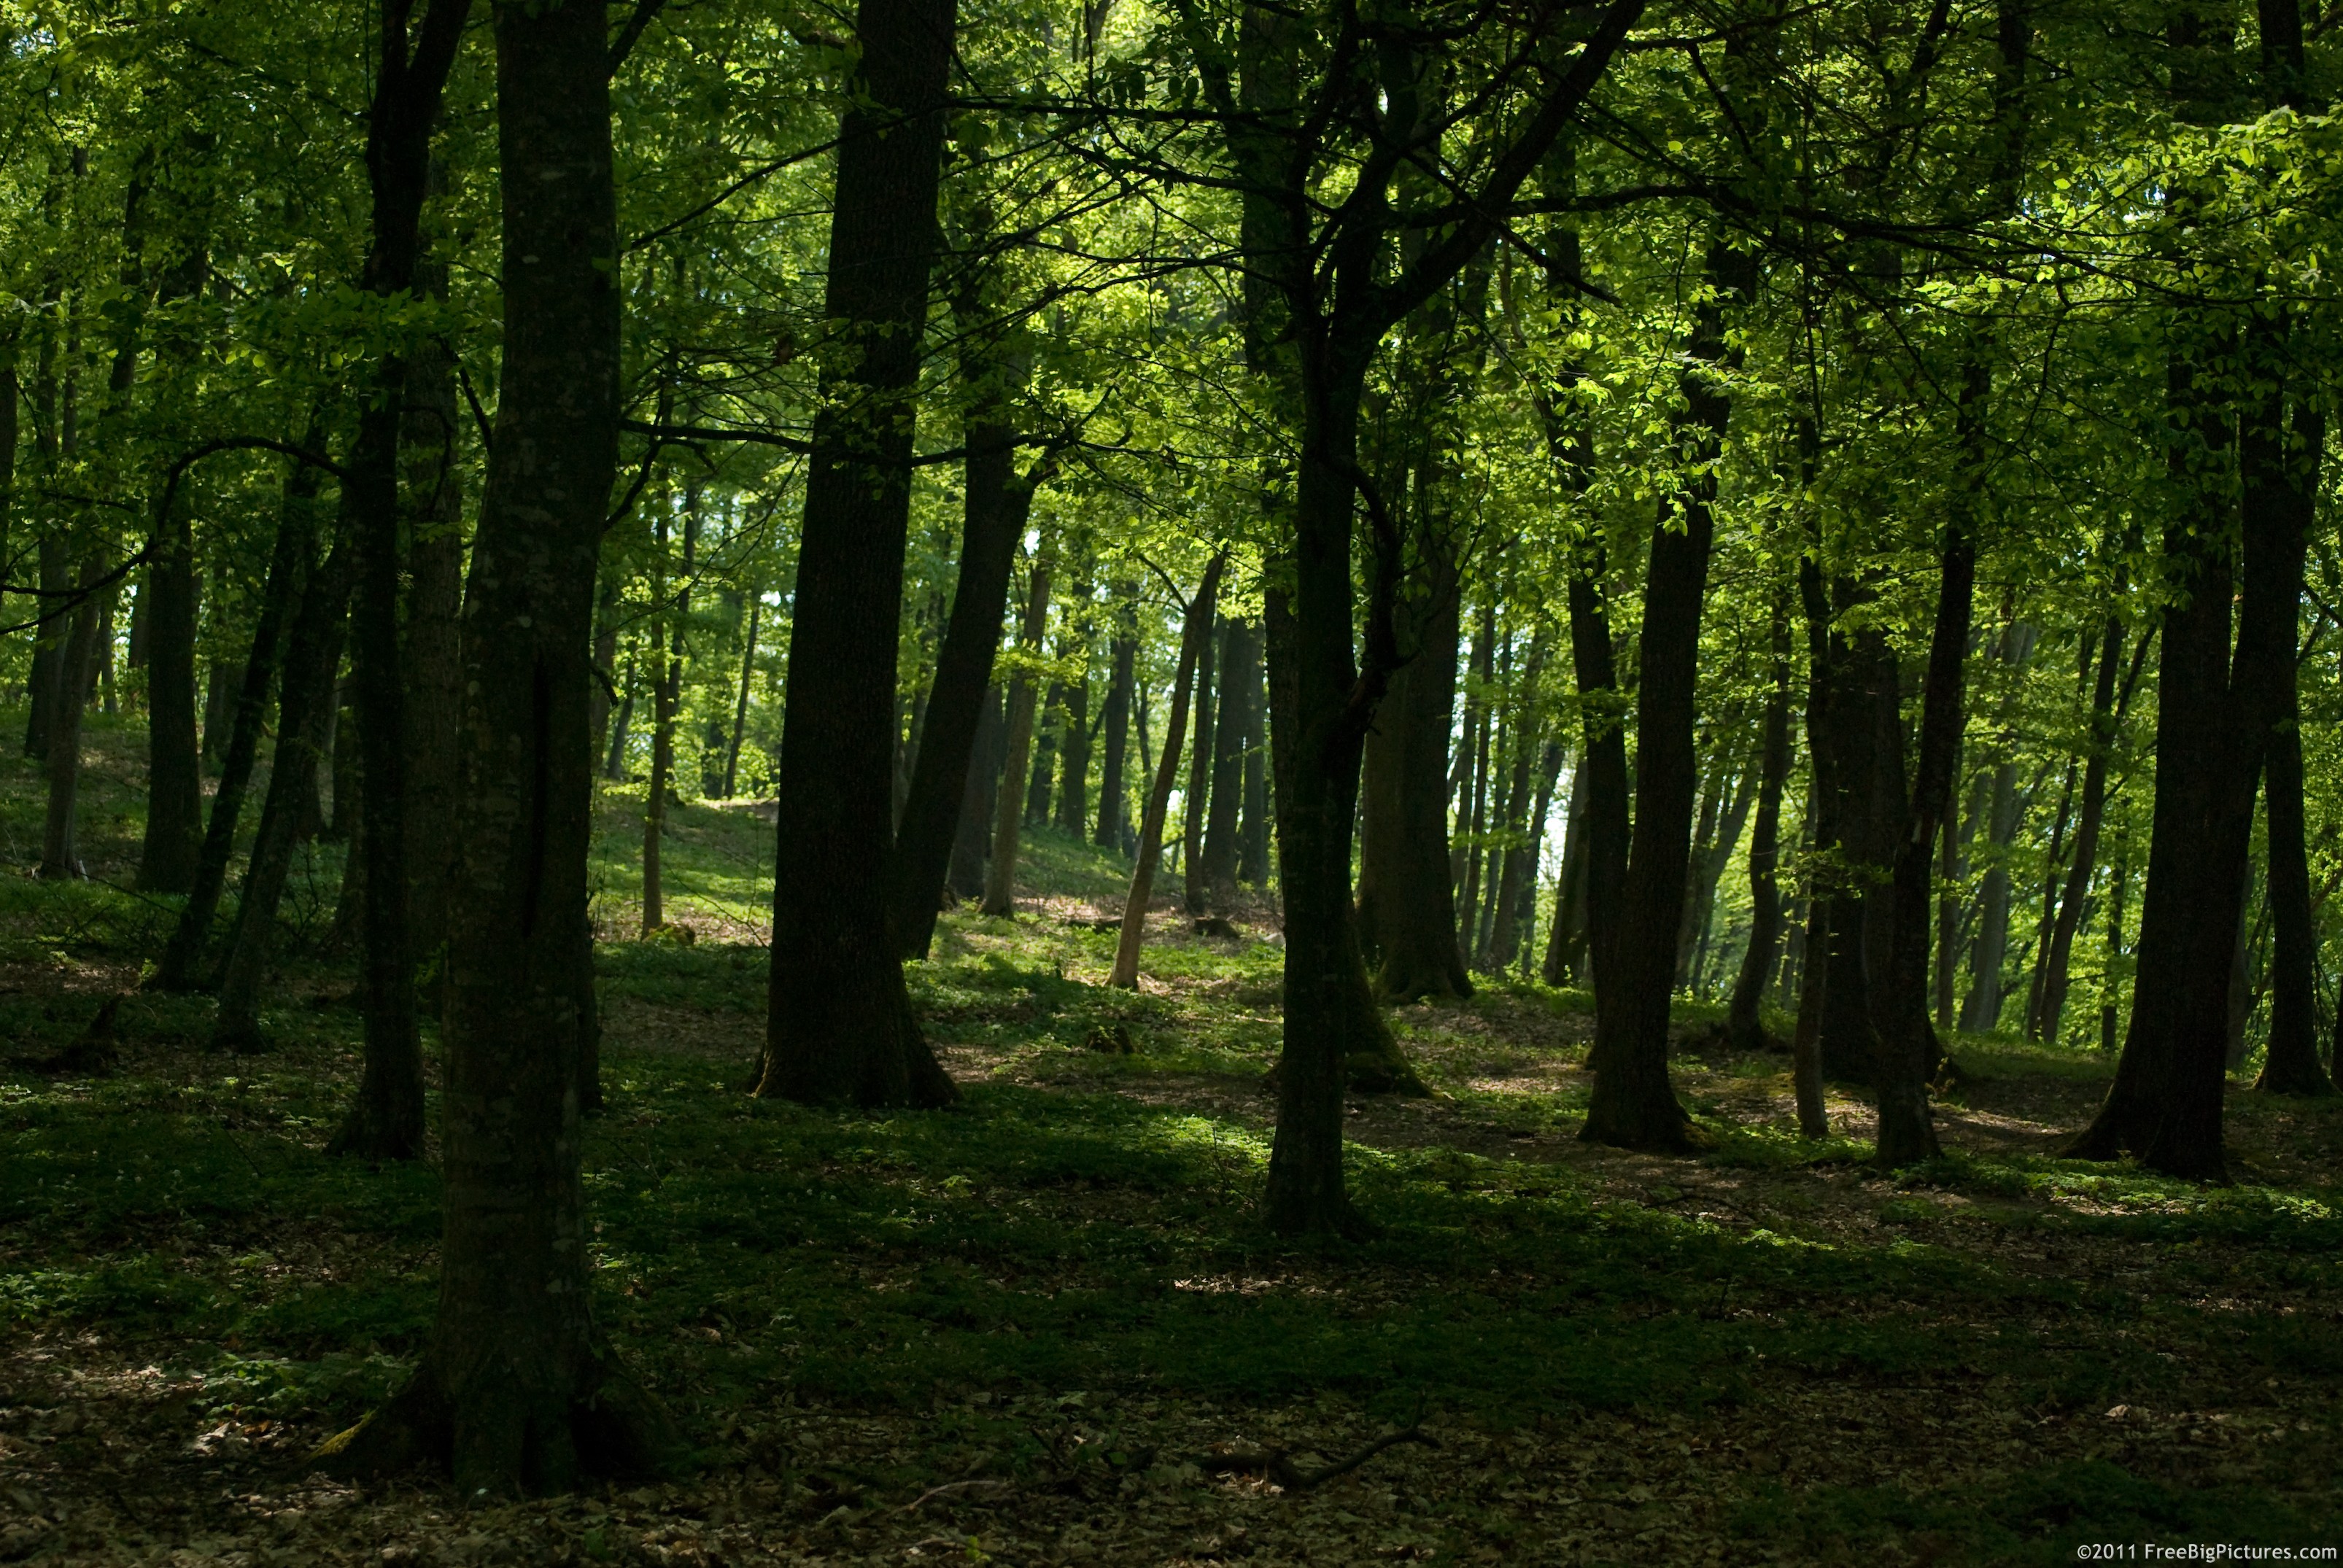
Resize image: (803,538)->(803,538) Resize image: (960,540)->(960,540) Elapsed time in stylization: 0.398996 Elapsed time in propagation: 13.456573 Elapsed time in post processing: 0.202319 - You should see an output image like
| Input Style Photo | Input Content Photo | Output Stylization Result |
|---|---|---|
 |
 |
 |
- As shown in the output messages, the computational bottleneck of FastPhotoStyle is the propagation step (the photorealistic smoothing step). We find that we can make this step much faster by using the guided image filtering algorithm as an approximate. To run the fast version of the demo, you can simply type
./demo_example1_fast.shor run. python demo.py --fast --output_image_path results/example1_fast.png- You should see output messages like
-
Resize image: (803,538)->(803,538) Resize image: (960,540)->(960,540) Elapsed time in stylization: 0.342203 Elapsed time in propagation: 0.039506 Elapsed time in post processing: 0.203081 - Check out the stylization result computed by the fast approximation step in
results/example1_fast.png. It should look very similar toresults/example1.pngfrom the full algorithm.
Example 2: Transfer style of a style photo to a content photo with manually generated semantic label maps.
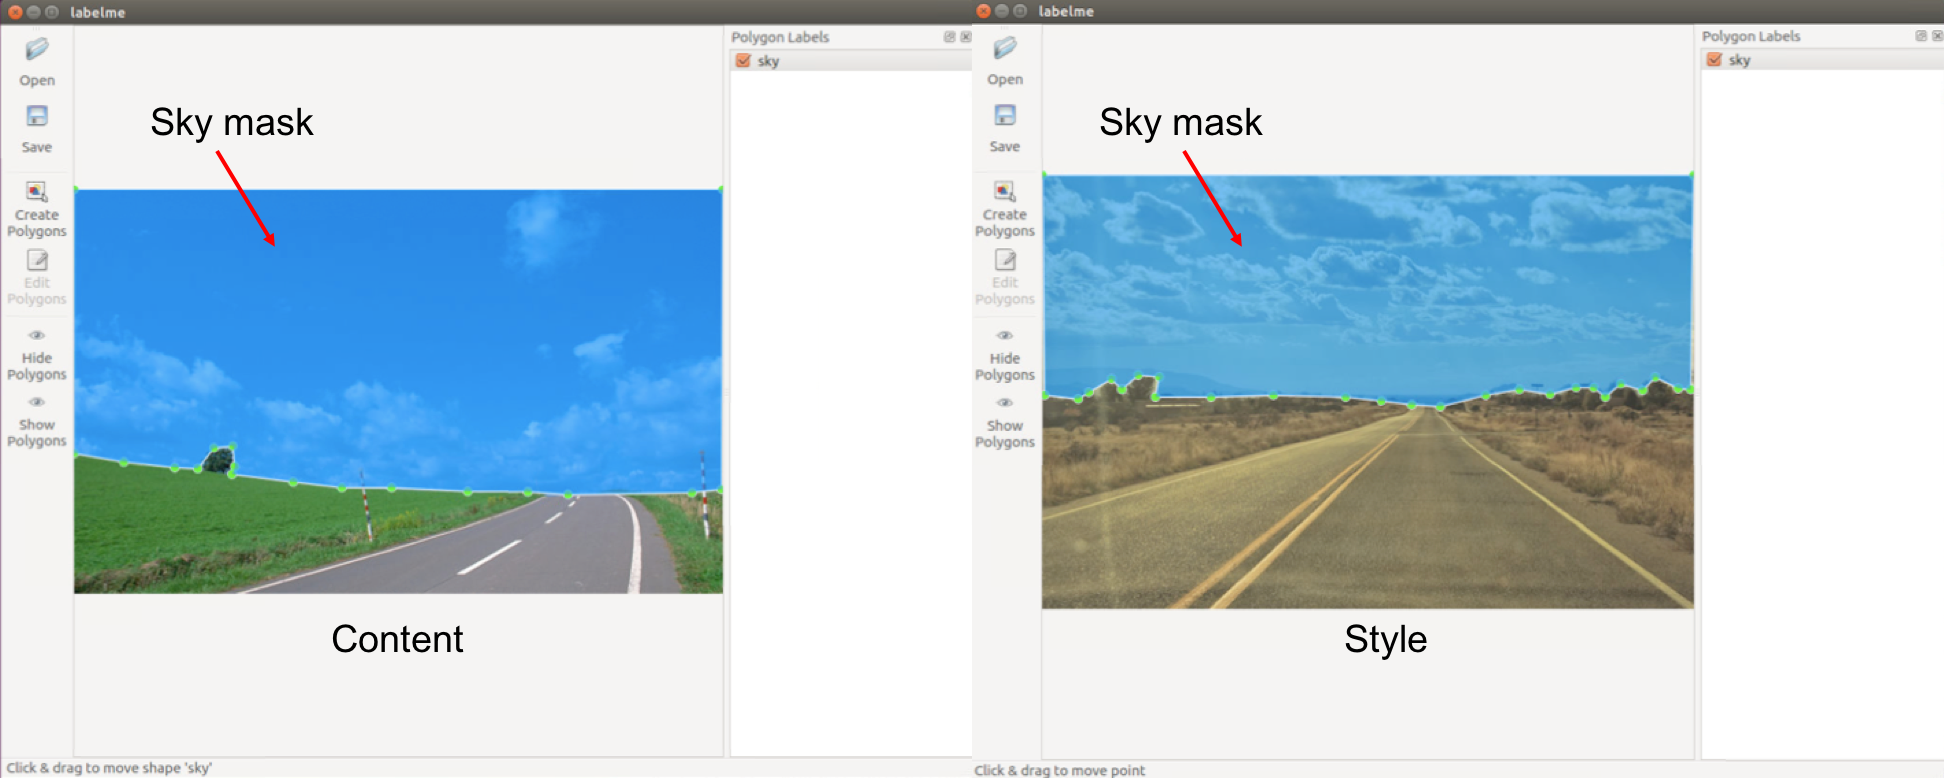
When segmentation masks of content and style photos are available, FastPhotoStyle can utilize content–style correspondences obtained by matching the semantic labels in the segmentation masks for generating better stylization effects. In this example, we show how to manually create segmentation masks of content and style photos and use them for photorealistic style transfer.
- Install the tool labelme and run the following command to start it:
labelme - Please refer to labelme for details about how to use this great UI. Basically, do the following steps:
- Click
Openand load the target image (content or style) - Click
Create Polygonsand start drawing polygons in content or style image. Note that the corresponding regions (e.g., sky-to-sky) should have the same label. All unlabeled pixels will be automatically labeled as0. - Optional: Click
Edit Polygonsand polish the mask. - Save the labeling result.
- Click
- The labeling result is saved in a ".json" file. By running the following command, you will get the
label.pngunderpath/example_json, which is the label map used in our code.label.pngis a 1-channel image (usually looks totally black) consists of consecutive labels starting from 0.
labelme_json_to_dataset example.json -o path/example_json
python demo.py \
   --content_image_path PATH-TO-YOUR-CONTENT-IMAGE \
   --content_seg_path PATH-TO-YOUR-CONTENT-LABEL \
   --style_image_path PATH-TO-YOUR-STYLE-IMAGE \
   --style_seg_path PATH-TO-YOUR-STYLE-LABEL \
   --output_image_path PATH-TO-YOUR-OUTPUT
Below is a 3-label transferring example (images and labels are from the DPST work by Luan et al.):
Example 3: Transfer the style of a style photo to a content photo with automatically generated semantic label maps.
In this example, we will show how to use segmentation masks of content and style photos generated by a pretrained segmentation network to achieve better stylization results. We will use the segmentation network provided from CSAILVision/semantic-segmentation-pytorch in this example. To setup up the segmentation network, do the following steps:
-
Clone the CSAIL segmentation network from this fork of CSAILVision/semantic-segmentation-pytorch using the following command
git clone https://github.com/mingyuliutw/semantic-segmentation-pytorch segmentation -
Run the demo code in CSAILVision/semantic-segmentation-pytorch to download the network and make sure the environment is set up properly.
cd segmentation./demo_test.sh- You should see output messages like
2018-XX-XX XX:XX:XX-- http://sceneparsing.csail.mit.edu//data/ADEChallengeData2016/images/validation/ADE_val_00001519.jpg Resolving sceneparsing.csail.mit.edu (sceneparsing.csail.mit.edu)... 128.30.100.255 Connecting to sceneparsing.csail.mit.edu (sceneparsing.csail.mit.edu)|128.30.100.255|:80... connected. HTTP request sent, awaiting response... 200 OK Length: 62271 (61K) [image/jpeg] Saving to: ‘./ADE_val_00001519.jpg’ ADE_val_00001519.jpg 100%[=====================================>] 60.81K 366KB/s in 0.2s 2018-07-25 16:55:00 (366 KB/s) - ‘./ADE_val_00001519.jpg’ saved [62271/62271] Namespace(arch_decoder='ppm_bilinear_deepsup', arch_encoder='resnet50_dilated8', batch_size=1, fc_dim=2048, gpu_id=0, imgMaxSize=1000, imgSize=[300, 400, 500, 600], model_path='baseline-resnet50_dilated8-ppm_bilinear_deepsup', num_class=150, num_val=-1, padding_constant=8, result='./', segm_downsampling_rate=8, suffix='_epoch_20.pth', test_img='ADE_val_00001519.jpg') Loading weights for net_encoder Loading weights for net_decoder Inference done! - Go back to the root folder
cd ..
-
Now, we are ready to use the segmentation network trained on the ADE20K for automatically generating the segmentation mask.
-
To run the fast version of the demo, you can simply type
./demo_example3.shor run. -
Create image and output folders and make sure nothing is inside the folders.
mkdir images && mkdir results -
Go to the image folder:
cd images -
Download content image 3:
axel -n 1 https://pre00.deviantart.net/f1a6/th/pre/i/2010/019/0/e/country_road_hdr_by_mirre89.jpg --output=content3.png -
Download style image 3:
axel -n 1 https://nerdist.com/wp-content/uploads/2017/11/Stranger_Things_S2_news_Images_V03-1024x481.jpg --output=style3.png; -
These images are huge. We need to resize them first. Run
convert -resize 50% content3.png content3.pngconvert -resize 50% style3.png style3.png
-
Go back to the root folder:
cd .. -
Update the python library path by
export PYTHONPATH=$PYTHONPATH:segmentation -
We will now run the demo code that first computing the segmentation masks of content and style images and then performing photorealistic style transfer.
python demo_with_ade20k_ssn.py --output_visualizationorpython demo_with_ade20k_ssn.py --fast --output_visualization -
You should see output messages like
Loading weights for net_encoder Loading weights for net_decoder Resize image: (546,366)->(546,366) Resize image: (485,273)->(485,273) Elapsed time in stylization: 0.890762 Elapsed time in propagation: 0.014808 Elapsed time in post processing: 0.197138 -
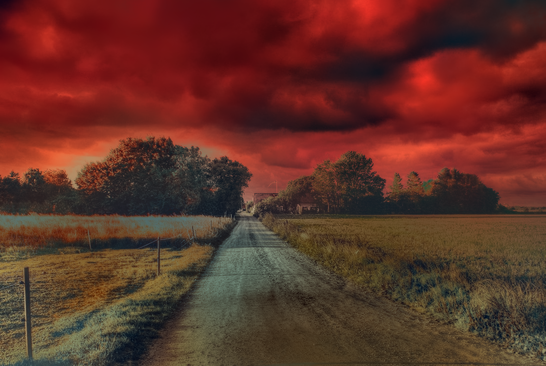
You should see an output image like
| Input Style Photo | Input Content Photo | Output Stylization Result |
|---|---|---|
 |
 |
 |
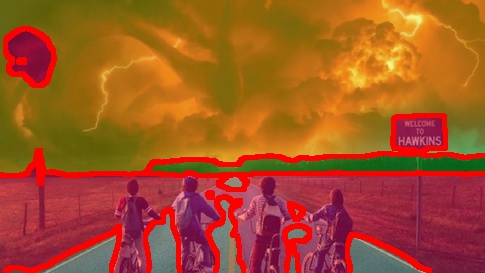
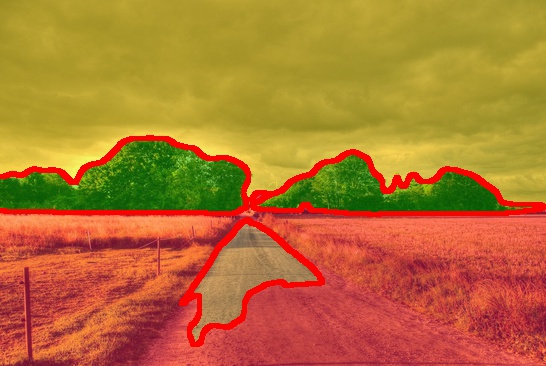
- We can check out the segmentation results in the
resultsfolder.
| Segmentation of the Style Photo | Segmentation of the Content Photo |
|---|---|
 |
 |
We provide a docker image for testing the code.
- Install docker-ce. Follow the instruction in the Docker page
- Install nvidia-docker. Follow the instruction in the NVIDIA-DOCKER README page.
- Build the docker image
docker build -t your-docker-image:v1.0 . - Run an interactive session
docker run -v YOUR_PATH:YOUR_PATH --runtime=nvidia -i -t your-docker-image:v1.0 /bin/bash cd YOUR_PATH./demo_example1.sh
- We express gratitudes to the great work DPST by Luan et al. and their Torch and Tensorflow implementations.


