We now know a thing or two about classes. We know how to implement them and understand how valuable they are to write safe and efficient code as well as the great benefits that they bring for readability and abstraction.
There is only one thing missing. We still can't properly use them in our CMake projects, largely because we don't know how to create a library that holds the code that lives in classes.
What we do know is how to create such a library from functions... Are classes any different?
And here I have good news for you - no, no they are not! In fact, the situation is very much alike to how we create a library out of functions! The differences are pretty minor.
Lots of things stay exactly as we had them before:
- We still declare stuff in a header (
*.hpp) file - We still define stuff in a source (
*.cpp) file - We still create static, shared or header-only libraries from these files
- We still use these libraries just like before. For a refresher, see headers and libraries lecture
That being said, some things are different.
- We now have data, not only methods, so we'll have to learn where they land
- The definitions in the source file must show that they belong to a class
- Our methods also have some attributes, like the trailing
constmodifier. We must somehow deal with those
Let's see all of this in detail. As always, we will be looking at an example. As the various AI chat bots are so popular now, we'll write a very stupid one 😉 And by very stupid, I mean very stupid!
Largely speaking, any AI system is just a black box that "trains" by looking at lots of training data, stores them in some internal representation and then uses this representation to predict certain answers when new unseen test data arrives.
Given that, our "chatbot" can be simply a class. To design such a class, let's talk about the public interface this class must have:
- It should return an
Answerthrough a methodGetAnswerthat gets a question as astd::stringparameter - In order to be able to answer the provided question, we would have to train our chat bot. Therefore, it must be able to ingest some training
Datainto a methodTrainand do some magic to become smarter (don't get your hopes high)
That's about all the interface we need here. Now we would have to fill in some details:
- The
Answeris going to be a very simple struct holding the actual answer and its probability (here is how you know our example is fictional, no chatbot is going to provide this to us anytime soon). Oh, and we can put this struct to be class-internal for ourChatbotclass. - The
Datais also going to be a class-internal struct with its own data in the form of questions and correct answers to them as well as some function to check its validity. I know it should be a class, but let's just stick with struct here for simplicity. - The
Chatbotclass must have some internal parameters that we train with ourTrainfunction and that influence its answers. We will just call our internal parametersmartnessand represent it as anint🤷 What? I did promise a very stupid chatbot. 😉 - We need some implementation for all of the methods we discussed above. The implementation is going to be really trivial, this is a lecture about C++, not machine learning after all.
Finally, we need a main function to test that the chatbot does something.
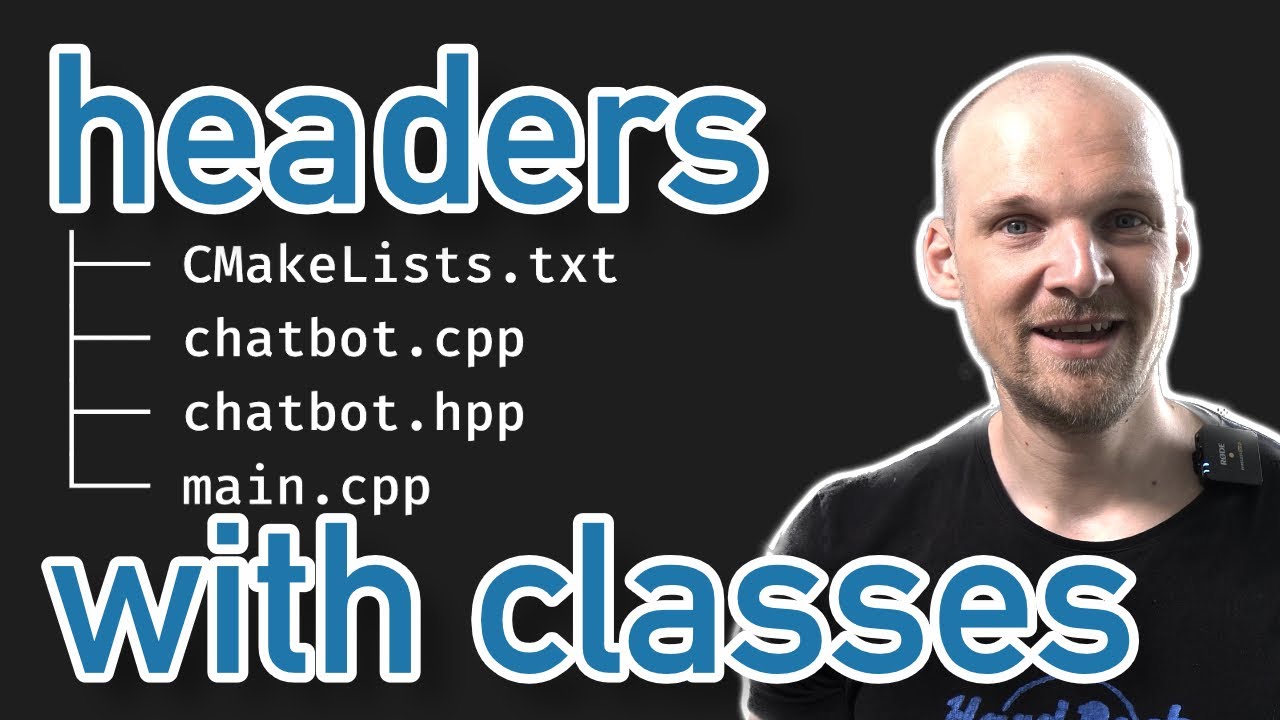
Putting it all together into a chatbot.cpp file, we get something like this:
chatbot.cpp:
#include <iostream>
#include <string>
#include <vector>

class Chatbot {
 public:
  struct Answer {
    float probability{};
    std::string text{};
  };

  struct Data {
    bool IsValid() const { return questions.size() == correct_answers.size(); }

    std::vector<std::string> questions{};
    std::vector<std::string> correct_answers{};
  };

  void Train(const Data &data) {
    if (!data.IsValid()) { return; }
    IngestData(data);
  }

  Answer GetAnswer(const std::string &question) const {
    if (smartness_ < 1) { return Answer{0.1, "I don't know"}; }
    if (smartness_ < 5) { return Answer{0.8, "Yes."}; }
    if (question.length() > 10) {
      return Answer{1.0, "You will regret this question..."};
    }
    return Answer{1.0, "Can't you ask anything more important?"};
  }

 private:
  void IngestData(const Data &data) {
    smartness_ += data.correct_answers.size();
  }

  int smartness_{};
};

int main() {
  Chatbot chatbot{};
  chatbot.Train({{"How much is 2 + 2?",
                  "What color is the sky?",
                  "What is the answer to life and everything?"},
                 {"4", "It depends", "42"}});
  const auto question = "Are you self aware?";
  std::cout << "Asking chatbot: " << question << std::endl;
  std::cout << "Chatbot answered: " << chatbot.GetAnswer(question).text
            << std::endl;
  return 0;
}
This example is a bit simplistic (again, do run it on your own!), but covers quite a few things that can happen within a class. It has classes and structs declared inside of it, it has methods and data and some of the methods are even const.
For now we have it all in one file that we can easily compile from a command line, see how it's done in previous lectures:
c++ -std=c++17 chatbot.cpp -o chatbot_exampleBut what if we want to be serious about our development and make a library out of our Chatbot class that we can use from our CMake project? Let's start by moving the implementation into a header file by simply renaming our chatbot.cpp into chatbot.hpp, adding the #pragma once or include guards statements to the top of the new header file, and moving the main function to some other file, say main.cpp that includes chatbot.hpp. If we now try to compile main.cpp in exactly the same way, it still compiles!
c++ -std=c++17 main.cpp -o chatbot_example💡 By the way, all class member functions defined in a header file are implicitly
inline, so no need to worry about the One Definition Rule (ODR) violations.
We can of course also put the appropriate commands into a CMakeLists.txt file:
# Indicate that we have header-only library
add_library(chatbot INTERFACE)
target_link_libraries(chatbot INTERFACE cxx_setup)

# A binary that uses our header-only library
add_executable(chatbot_example main.cpp)
target_link_libraries(chatbot_example PRIVATE chatbot cxx_setup)
💡 If you are confused about the
cxx_setuppart, see the lecture on CMake
If we only need a header-only library, we could stop there, but sometimes we want a compiled library. For that we would have to split our header file into a header and a source file.
💡 Oh, and if you are shaky on the differences between the two or why it is important that the class member functions are implicitly
inline, do check out my lecture on various kinds of libraries.
Generally speaking, all the data (apart from static data, stay tuned) belongs in the header file.
As for the implementation of any methods (and static data, stay tuned) we can move them to the source file, a new chatbot.cpp file, leaving only their declarations in the header file. In the definitions, we must tell the compiler that we are defining not just a free standing function, but one from a class, thus the Chatbot:: and the Chatbot::Data:: prefixes. Note also, that we have the Answer as a return type of the GetAnswer function. For such return types we also have to tell the compiler if they are part of some class, the Chatbot class in this example. Within the definition of the function we can use these types without the prefix as the compiler already knows that it operates within the namespace of a certain class.
Finally, note how the const postfix in functions that need it is present in both the header and the source file.
chatbot.hpp:
#pragma once

#include <string>
#include <vector>

class Chatbot {
 public:
  struct Answer {
    float probability{};
    std::string text{};
  };

  struct Data {
    bool IsValid() const;

    std::vector<std::string> questions{};
    std::vector<std::string> correct_answers{};
  };

  void Train(const Data &data);

  Answer GetAnswer(const std::string &question) const;

 private:
  void IngestData(const Data &data);

  int smartness_{};
};chatbot.cpp:
#include <chatbot/chatbot.hpp>

void Chatbot::Train(const Data &data) {
  if (!data.IsValid()) { return; }
  IngestData(data);
}

bool Chatbot::Data::IsValid() const {
  return questions.size() == correct_answers.size();
}

Chatbot::Answer Chatbot::GetAnswer(const std::string &question) const {
  if (smartness_ < 1) { return Answer{0.1, "I don't know"}; }
  if (smartness_ < 5) { return Answer{0.8, "Yes."}; }
  if (question.length() > 10) {
    return Answer{1.0, "You will regret this question..."};
  }
  return Answer{1.0, "Can't you ask anything more important?"};
}

void Chatbot::IngestData(const Data &data) {
  smartness_ += data.correct_answers.size();
}main.cpp:
#include <chatbot/chatbot.hpp>

#include <iostream>

int main() {
  Chatbot chatbot{};
  chatbot.Train({{"How much is 2 + 2?",
                  "What color is the sky?",
                  "What is the answer to life and everything?"},
                 {"4", "It depends", "42"}});
  const auto question = "Are you self aware?";
  std::cout << "Asking chatbot: " << question << std::endl;
  std::cout << "Chatbot answered: " << chatbot.GetAnswer(question).text
            << std::endl;
  return 0;
}
And that's it. Now we just need to update our CMakeLists.txt file, create a compiled library in it and link it to a binary that has the main function in it:
Main CMakeLists.txt of the project:
cmake_minimum_required(VERSION 3.16..3.24)
project(chatbot VERSION 0.0.1
                    DESCRIPTION "Our first project"
                    LANGUAGES CXX)
if(NOT CMAKE_BUILD_TYPE)
  set(CMAKE_BUILD_TYPE Release CACHE STRING "" FORCE)
endif()
message(STATUS "CMAKE_BUILD_TYPE: ${CMAKE_BUILD_TYPE}")

add_library(cxx_setup INTERFACE)
target_compile_options(cxx_setup INTERFACE -Wall -Wpedantic -Wextra)
target_compile_features(cxx_setup INTERFACE cxx_std_17)
target_include_directories(cxx_setup INTERFACE ${PROJECT_SOURCE_DIR})

add_subdirectory(${PROJECT_NAME})chatbot/CMakeLists.txt:
# Create a compiled library
add_library(chatbot chatbot.cpp)
target_link_libraries(chatbot PUBLIC cxx_setup)

# A binary that uses our library
add_executable(chatbot_example main.cpp)
target_link_libraries(chatbot_example PRIVATE chatbot cxx_setup)So, you see, there is only some marginal differences here and there but largely the pattern is exactly the same as we have already seen with the free-standing functions. It goes without saying that we can and should also test our classes with some unit testing library like GoogleTest too! I won't do it here but do give it a try on you own. More on that in one of my previous lectures.
So now we know how to create libraries from the code that lives either in free-standing functions or in our own your classes. We also know how to compile and link all of this code together with CMake, which means that we can write pretty complex projects from scratch while still maintaining a certain level of abstraction and overview over the logic. How cool is that?
I have to give you a short glimpse into what awaits us next! It is a homework where we will put all of this to the test and write a full program that reads an image and pixelates it. So stay tuned for the next video!