Quickstart
Download the current release from our page.
Mount the DMG, and move ashirt.app into your /Applicaions folder. Launch ashirt from your /Applications folder, through Spolight, or open -a ashirt in the terminal.
Windows builds are not provided at this time. The applicaition successfully builds and functions, but there is no recommended screenshot utility at this time.
Set the executable bit on the downloaded appimage.
chmod +x ashirt-v1.0.1-linux.appimage

On the first launch, the user must first set up an appropriate configuration. When the tray displays, open the tray and select Settings. From here, you will be presented with some options.

| Field | Meaning |
|---|---|
| Evidence Repository | Where evidence is stored. Note that this is a jumping off point. Files are stored in a subdirectory using the operation name |
| Access Key | The (shorter) base-64 key given by the ashirt frontend (look for this in Account Settings) |
| Secret Key | The (longer) base-64 key given by the ashirt frontend |
| Host Path | The http location to the ashirt API server (If you are following the ashirt-server quickstart this will be http://localhost:3000) |
| Capture Area Command | The CLI command to take a screenshot of an arbitrary area and save to a file. More on this below |
| [Capture Area Command] Shortcut | The key combination used (at a system level) to trigger the capture area command |
| Capture Window Command | The CLI command to take of a given window, and save to a file |
| [Capture Area Command] Shortcut | The key combination used (at a system level) to trigger the capture window command |
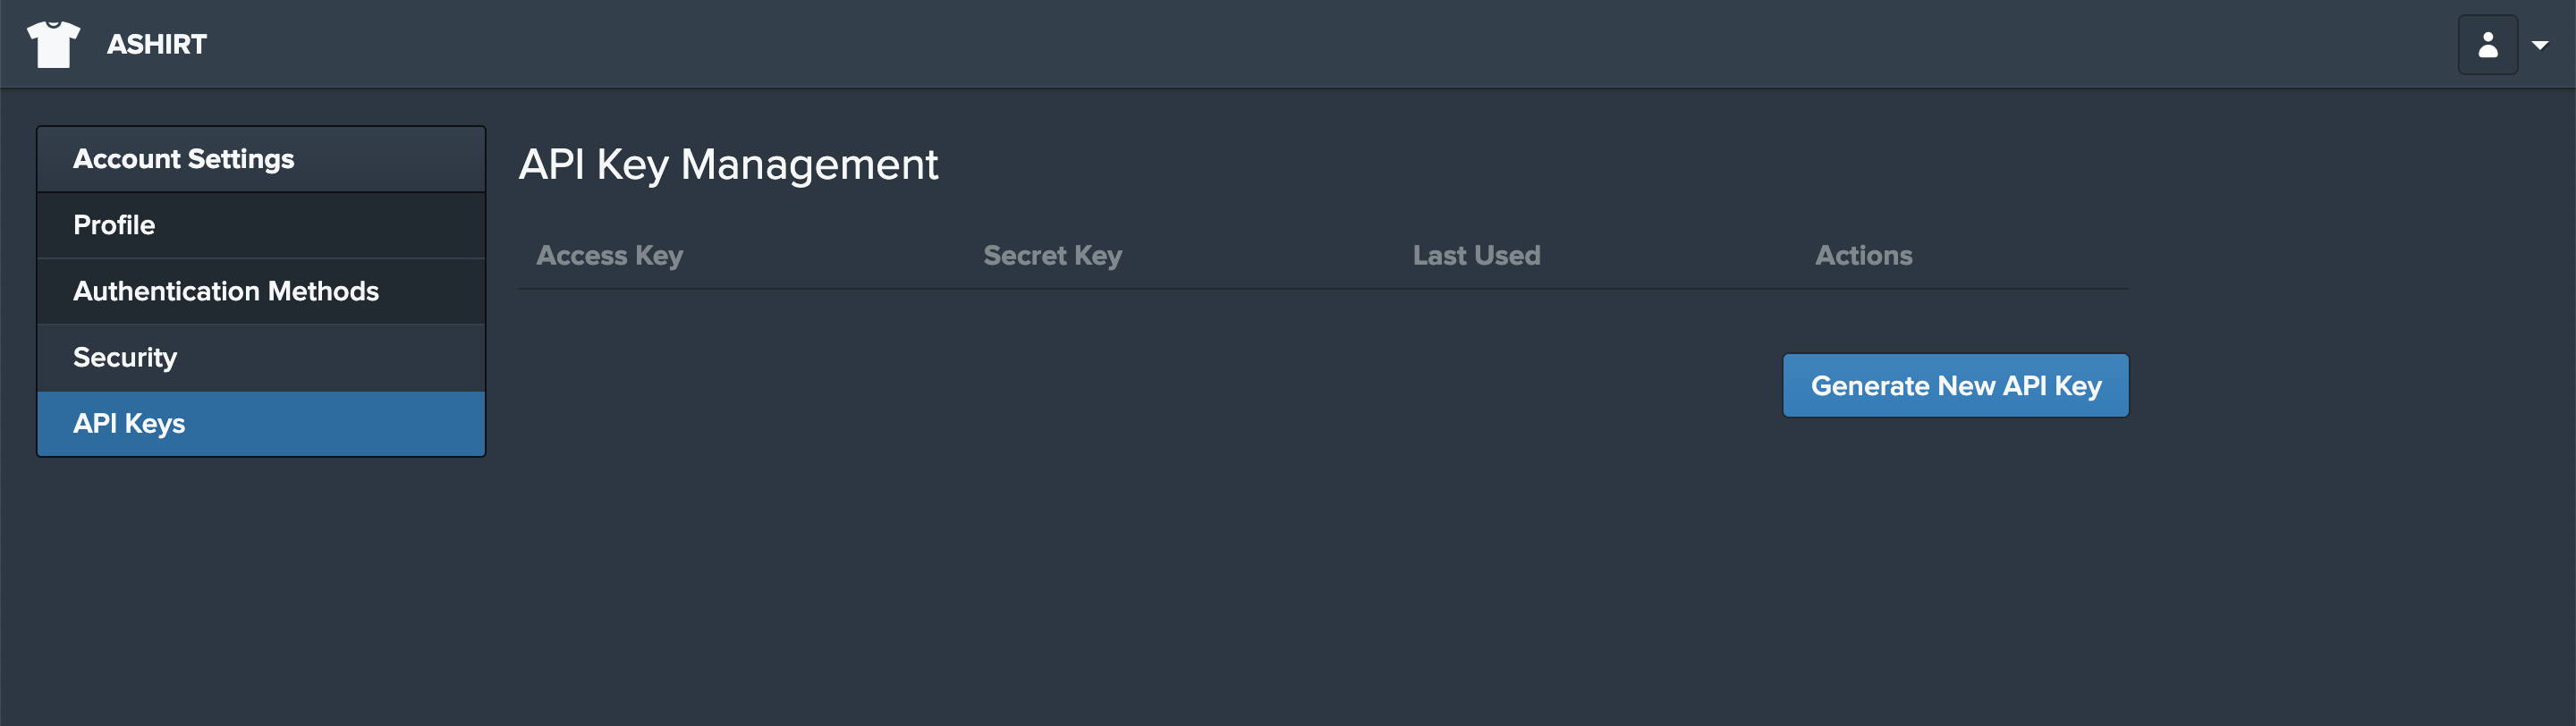
Authentication to the ashirt server is managed via API keys that you can generate when logged into the web interface. Once you login use the dropdown menu in the top right to select Account Settings and navigate to the API Keys tab in the left rail.
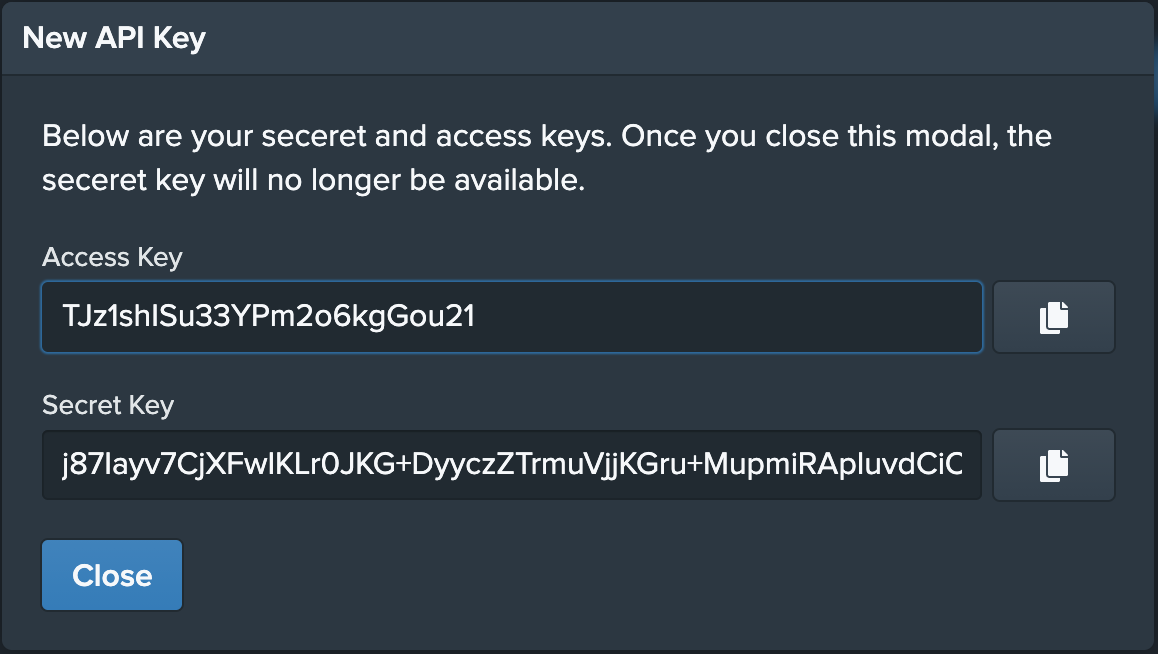
You'll see a Create new API Key button. Click this button to generate a new API key. A modal will pop up with your access key and secret key pair. Don't close this modal without saving the secret key somewhere because you won't be able to see it again.
Once the above is configured, save the settings and you can now select an operation. Open the tray, and under Select Operation, choose an operation to start using the application. Note that whenever you change the host path, the list of operations will be updated
On Mac the system screenshot shorcuts are Shift+Meta+3 and Shift+Meta+4 for window and area respectively. An unreserved, similar combination can be configured in ashirt with Crtl+Meta+3 and Crtl+Meta+4.
To change operations, navigate to Select Operation and choose one of the operations exposed in the list. If the operation you are looking for is not in the list, you can refresh the list by closing and re-opening the tray menu, or check with the operation owner to ensure that you have write access to that operation.
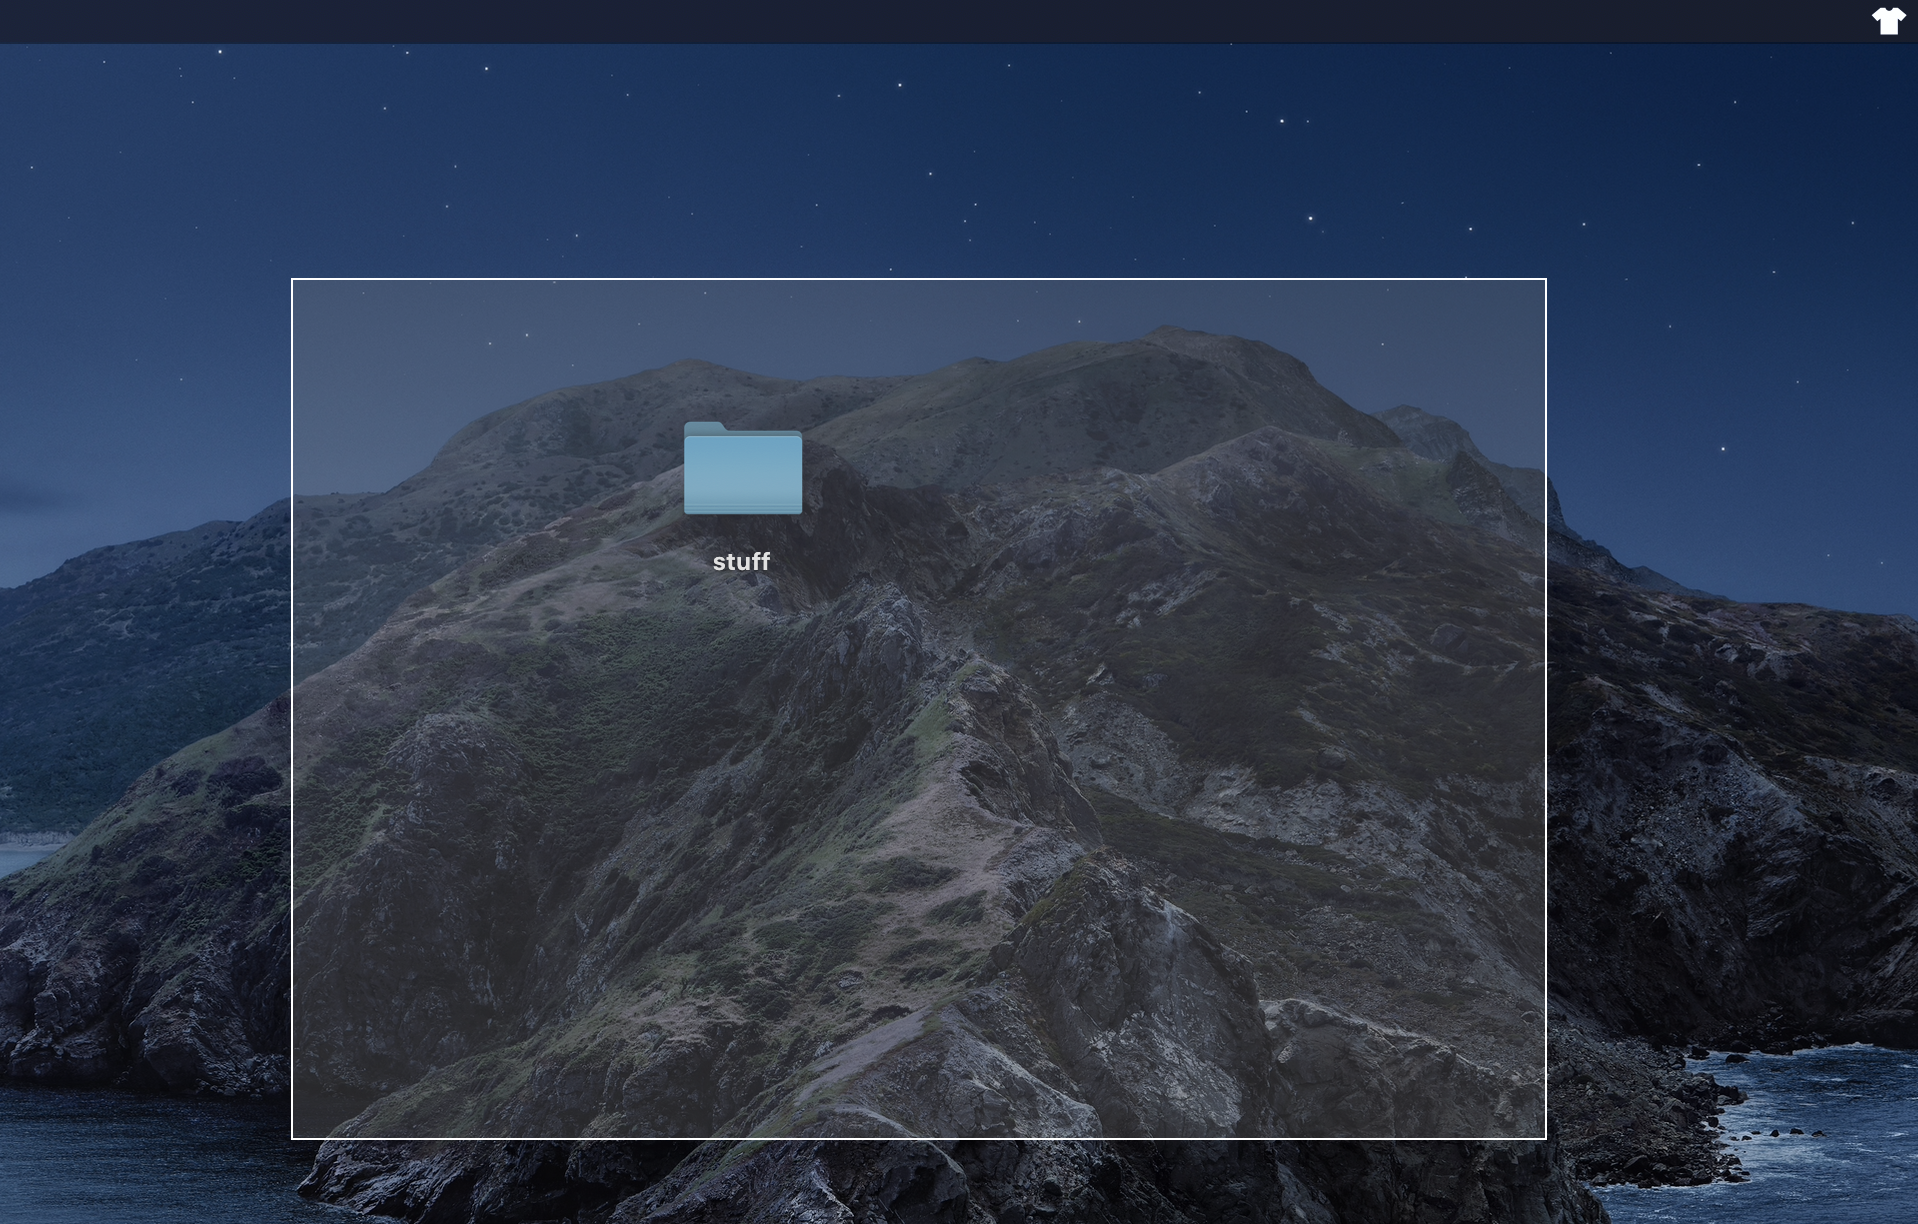
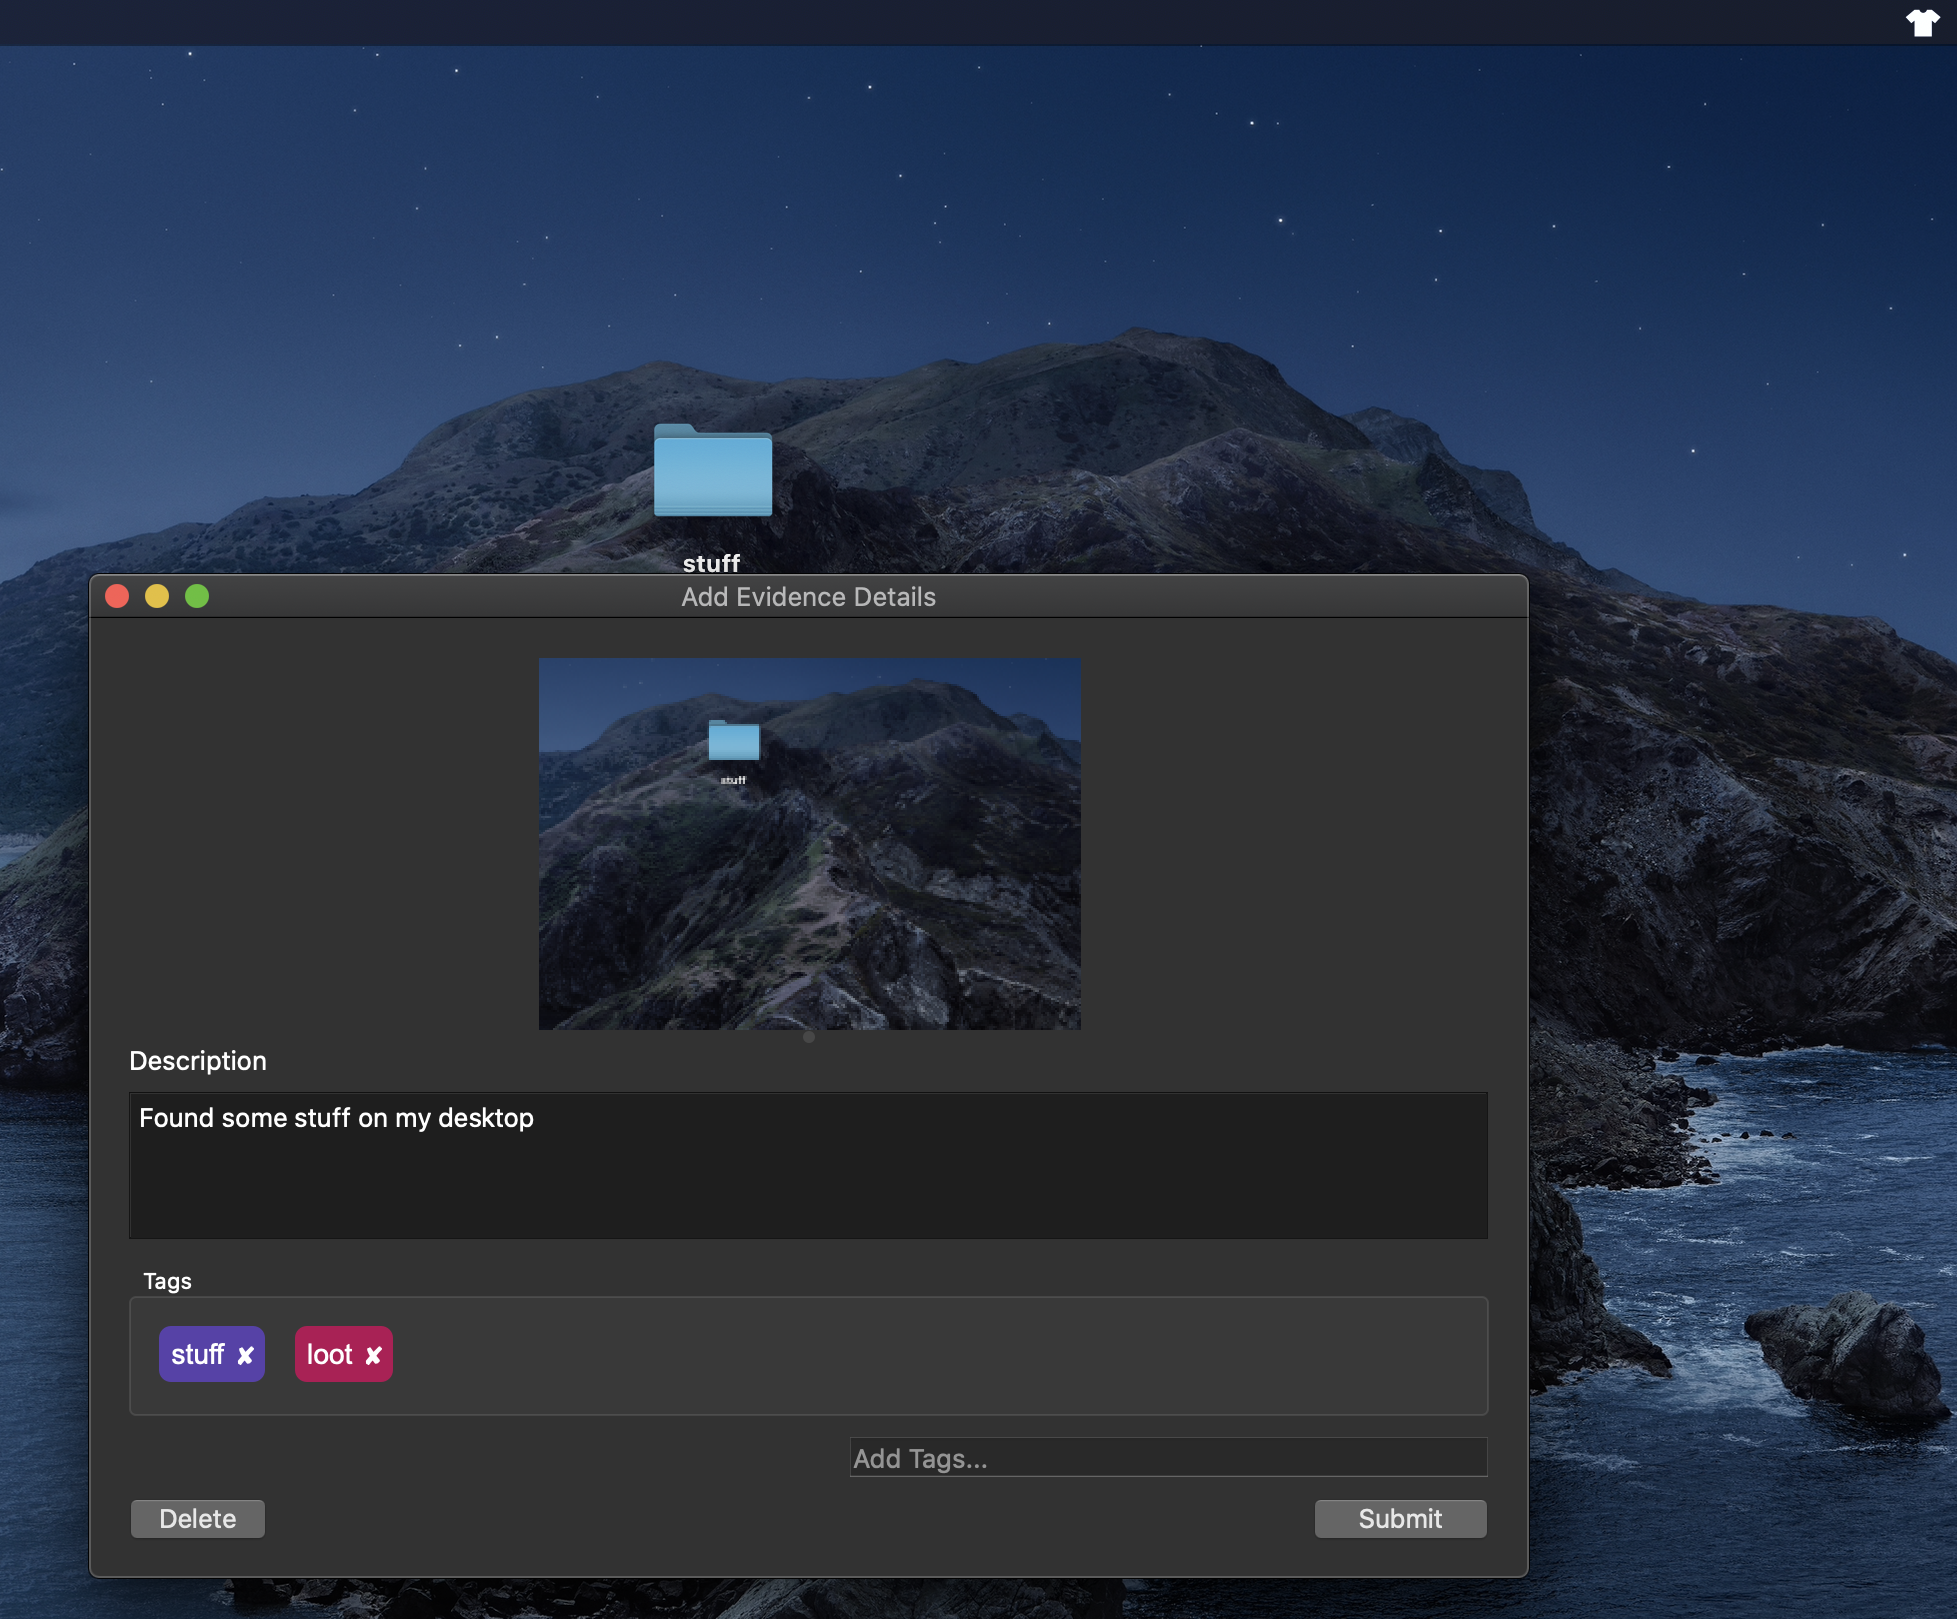
Try capturing the screen with the configured hotkey, or selecting Capture Screen Area from the tray. Add an optional description, tags, and then submit to the current operation. NOTE On Mac you will need to give ashirt the Screen Recording authorization in Security & Privacy > Privacy in your system settings.
This application requires taking screenshots from the command line. The application must:
- Allow for saving the screenshot to a named file.
- Create the file must before the application exits.
Theoretically, any application that satisfies this requirement will work. For Mac, the system command to do this is pre-populated, since this is a standard feature. For Linux, there are a number of screenshot commands, and so none are provided. For Windows, a 3rd party application must be used, as there is currently no way to save a screenshot to a named file.
This tool will replace the above filename with %file as noted below:
| OS/DE/App | Capture Window | Capture Area | Notes |
|---|---|---|---|
| Linux/Gnome | gnome-screenshot -w -f %file | gnome-screenshot -a -f %file | Capture window captures the focused window, rather than allowing a selection; adding the --delay flag can help mitigate choosing the wrong window |
| MacOS X | screencapture -w %file | screencapture -s %file |
Note: this application expects a single, basic command. While piping output to another command may work, it is not guaranteed. Likewise, providing multiple commands on the same "line" may work, but is also not guaranteed. Officially, both of these techniques are unsupported.
Global shortcut keys can be registered with your computer, depending on the exact operating system. These shortcuts may conflict with shortcuts for a given application, where it is unclear which shortcut will trigger. All this is to say that this feature, while supported, may not work perfectly every time. That said, here is how you configure shortcuts:
Within Settings next to each capture command is a small text box to provide the shortcut. Each shortcut should add in one or more modifier keys (e.g. ctrl) in order to provide less of a chance to interfere with other system/application commands. These modifier keys have reserved names for shortcuts, noted in the below table:
| Key | Name | Alternate Names |
|---|---|---|
| Shift | shift |
shft |
| Control | control |
ctrl |
| Alt | alt |
-- |
| Windows/Meta/MacOS Command key | meta |
win |
To specify a shortcut pattern, simply decide on what set of modifier keys you want, plus a single alphanumeric key (or F- key), and separate these by +.
E.g. Ctrl+Shift+p