Last year (2021) while surfing the internet, I came across the smart_knob(SK) project and was immediately interested. However, after looking into it, I was discouraged by the "expensive" brushless motor that was out of stock 😅.
I recently discovered @45coll and @fywbcchong2's open source Super_Dial, which inspired me to try it out 🤗.
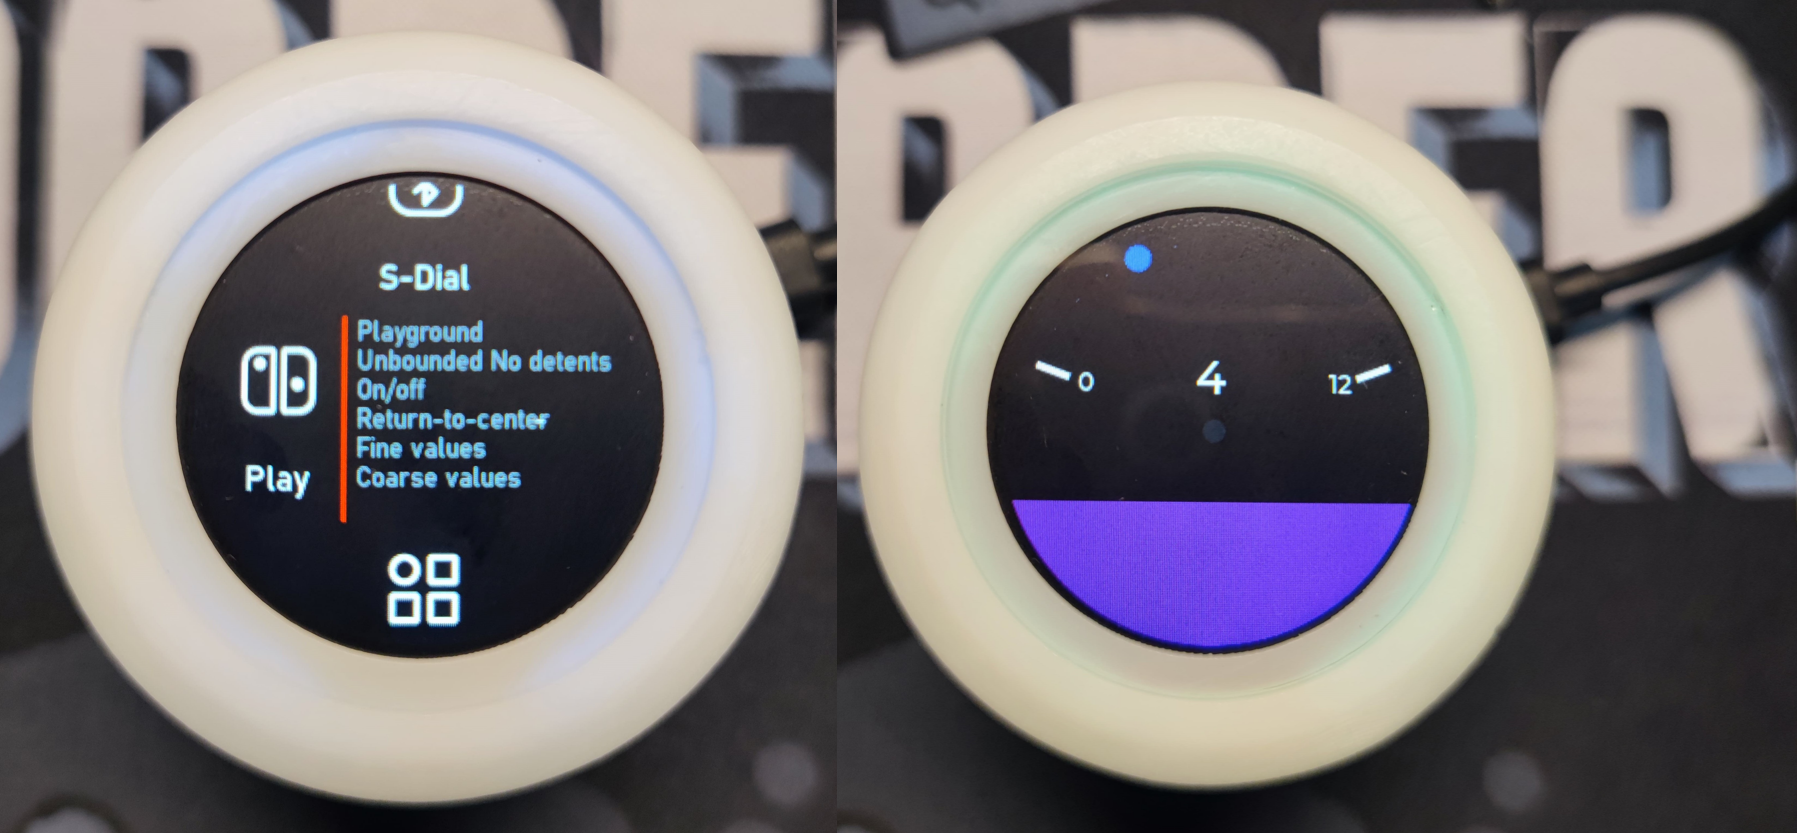
The Super_Dial replaces the "expensive motor" used in the original smart_knob project and adopts a straight design, which I personally find more aesthetically pleasing.
In addition, the author of smart_knob mentioned in the project that they plan to use lvgl to design the UI in the future.
migrate to LVGL, for better display rendering and easy support for menus, etc. Shouldn't require a full 240x240x24b framebuffer in memory, freeing some for wifi, etc.
Coincidentally, I had previously played with X-TRACK, which had an extremely smooth UI. Therefore, this project will be a composite version of Smart Knob + X-Track UI. So I call it X-Knob.
Main hardware list:
- 3 PCBs: main control board + driver board + screen board
- 3205 Brushless Direct Current Motor(10 CNY)
- MCU: ESP32-S3 WROOM-1U-N16R8
- Screen: 240x240 round LCD ("GC9A01"), protected by 40.0 mm watch glass
- Magnetic encoder: MT6701CT
- 602535 600mAh Lithium Battery
Features supported by X-KNOB:
- X-TRACK UI framework(based on LVGL)
- 7 Modes: Combinations of BOUND, DETENTS, ENDSTOPS, and more
- smart-knob UI based on LVGL framework
- Surface Dial
- Press vibration feedback
- Power management
- Battery management, system deep sleep;
- Latest hardware (V2) supports UPS
- X-Knob can be integrated with Home Assistant via MQTT to control devices connected to HASS.
Demo video of controlling smart home via MQTT

The picture above (3D CAD) is from 455555菌的视频
Basic environment:
- VScode + PlatformIO
- arduino-esp32 v2.0.5
- Basic configuration
git clone https://github.com/SmallPond/X-Knob.git

# Open the Firmware project using PlatformIO
# Rename the src/secrets.h.example file to src/secrets.h
# and modify the relevant configurations: WiFi password, MQTT server, etc.
cp src/secrets.h.example src/secrets.h

# (Optional) Modify MQTT_HOST in the config.h file to your name
# This macro is used to attach to the MQTT Topic
#define MQTT_HOST "dingmos" - Compile && Flash && Enjoy