subject of the informatiCup 2016/2017
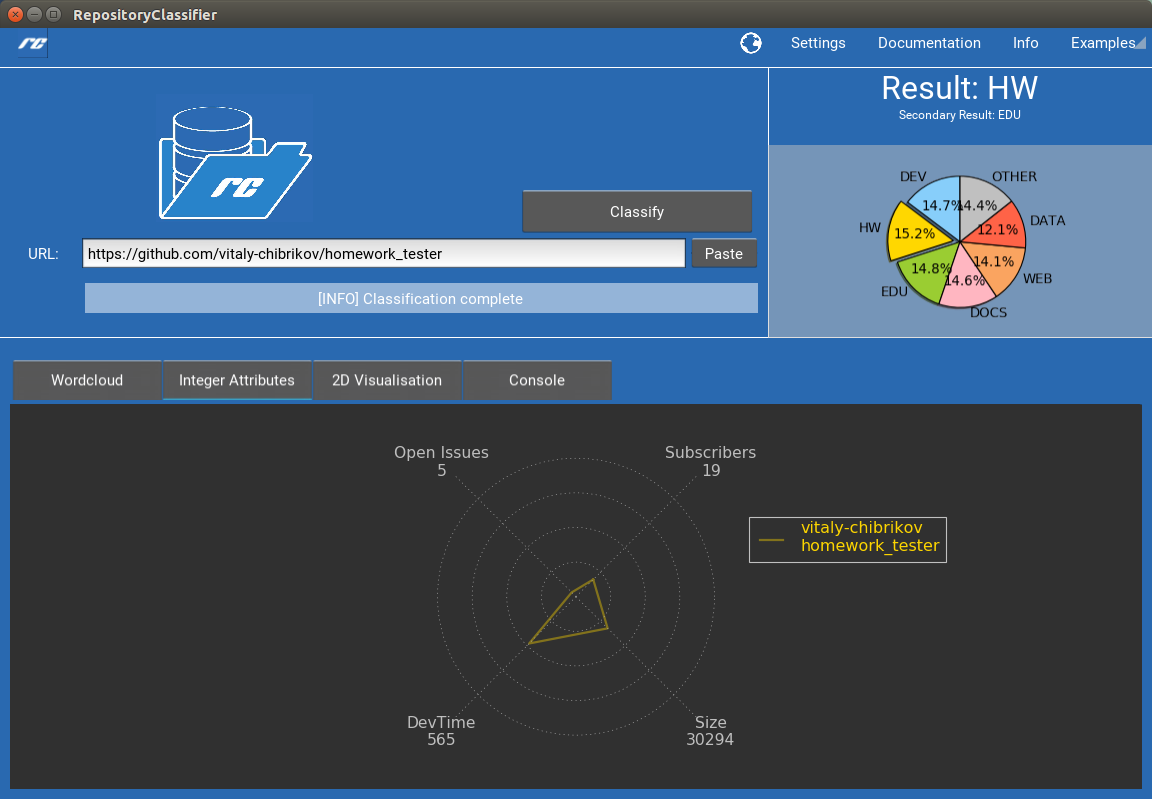
This program will take an URL of a GitHub repository as the input and will try to assign it to one of seven categories.
The categories are:
- DEV - a repository primarily used for development of a tool, component, application, app or API
- HW - a repository primarily used for homework, assignments and other course-related work and code.
- EDU - a repository primarily used to host tutorials, lectures, educational information and code related to teaching
- DOCS - a repository primarily used for tracking and storage of non-educational documents
- WEB - a repository primarily used to host static personal webpages or blogs
- DATA - a repository primarily used to store data sets
- OTHER - this category is used only if there is no strong correlation to any other repository category
We built an executable for Windows-x64 systems which should work on most systems. No Python installation and no external library, except Open-GL 2.0 (which should be installed by default on your system) is required to run the executable.
You can download the zip-file from here, unzip it to an arbitrary location and execute one of the batch files.
You can launch the GUI via rc_gui.bat and the CLI via rc_cli.bat.
If you have trouble executing the GUI, you can first try to start the .exe directly in the command-line.
If the problem still persists, you can follow the guide to run the python-version.
(e. g. the Python version support Open-GL Versions < 2.0 now)

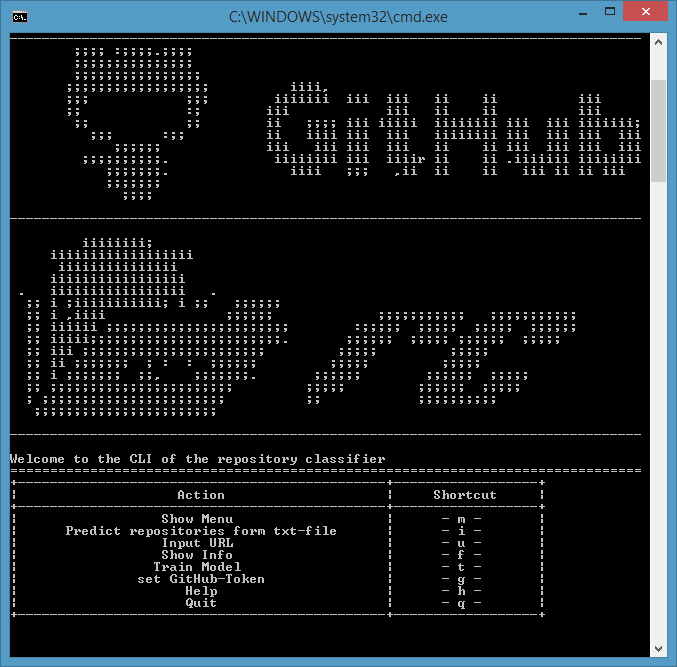
The rc_cli will provide a way for you to use the classifier with the commandline, including a console-menu. It also accepts a GitHub-Url as a console-argument if you wish to automate the classification process. Besides, you can also transfer a path to a .txt file with repositories urls separated by a line break. The repositories will be classified and a result file will be created in the same directory.
First clone this repository or download and extract it as a .zip-file.
git clone https://github.com/QueensGambit/GitHubRepositoryClassifier
The Python Version has been tested with Python 3.5.1 on Windows 8.1 and Windows 10
[optional] Create a virtual environment in a directory of your choice and activate it. [optional] Activate the virtual environment:
virtualenv --no-site-packages env
env/Scripts/activate.bat
[optional] Install the Anaconda Distribution which provides most packages from the start:
Install all remaining requirements:
pip install -r requirements.txt
If you have trouble installing some of these package (e.g. kivy) via pip, it's easiest to download them from this website:
http://www.lfd.uci.edu/~gohlke/pythonlibs/#kivy
After downloading the .whl file install the precompiled packages by opening cmd.exe in the directory and then run:
pip install my-package.whl
Alternatively you can build these packages yourself. For this you must have Microsoft Visual C++ Build Tools or Visual Studio 2015 / Visual Studio 2017 installed.
To build kivy on windows it's recommend to follow the official installation guide:
https://kivy.org/docs/installation/installation-windows.html
[optional] Activate the virtual environment:
sudo apt-get install python3-pip
pip3 install virtualenv
virtualenv --no-site-packages env
source my_project/bin/activate
In order to install packages on Linux it's likely that you need the Python dev-packages.
sudo apt-get install build-essential gfortran libatlas-base-dev python3-dev
You can now install the required packages:
pip3 install -r requirements.txt
If you have issues installing kivy with the pip command you can alternatively install it with the Ubuntu package management:
See https://kivy.org/docs/installation/installation-linux.html for more information.
sudo add-apt-repository ppa:kivy-team/kivy
sudo apt-get install python3-kivy
# optionally you can download the official kivy-examples:
# sudo apt-get install python-kivy-examples
if you use an Anaconda Environment https://stackoverflow.com/questions/38981491/installing-kivy-in-anaconda you can install it via:
conda install --channel https://conda.anaconda.org/jiayi_anaconda kivy
The app uses the stopwords data-set from the nltk-package. Download it with the command:
python3
nltk.download()
# select 'stopwords' in the dialog 'All Packages'
In order to display plots interactively in the GUI a backend for kivy is needed:
garden install matplotlib
You should now be able to start the GUI via ./rc_gui.sh and the CLI via ./rc_cli.sh.
The app has been tested on Ubuntu 14.04 LTS with Python 3.4.1.
If you still encounter problems by installing the program you're advised to create an issue at the issue-page.
For further documentation about the code and the software-architecture you can visit our wiki:
https://github.com/QueensGambit/GitHubRepositoryClassifier/wiki/Documentation
The project has been devoloped by students of the Hochschule Furtwangen University.
-
Team Members
- Björn Beha, Johannes Czech, Lukas Scheuerle, Suhay Sevinc
-
Supervisor
- Prof. Dr. Friedbert Kaspar
![]()