These instructions are specific to the "solar system" use-case described above, but after completing the setup, hopefully you will see how it can be applied to your own use-case.
- An Okta tenant. If you don't already have an Okta tenant, you can sign up for a free-forever Okta developer edition.
Note: These instructions assume that you are using the developer edition of Okta. If you are using the Enterprise version, some of the menus may be a little different.
Note: Also, we’re going to use the default authorization server that is built in to the developer edition. This is what the default authorization server looks like on the Okta API screen:
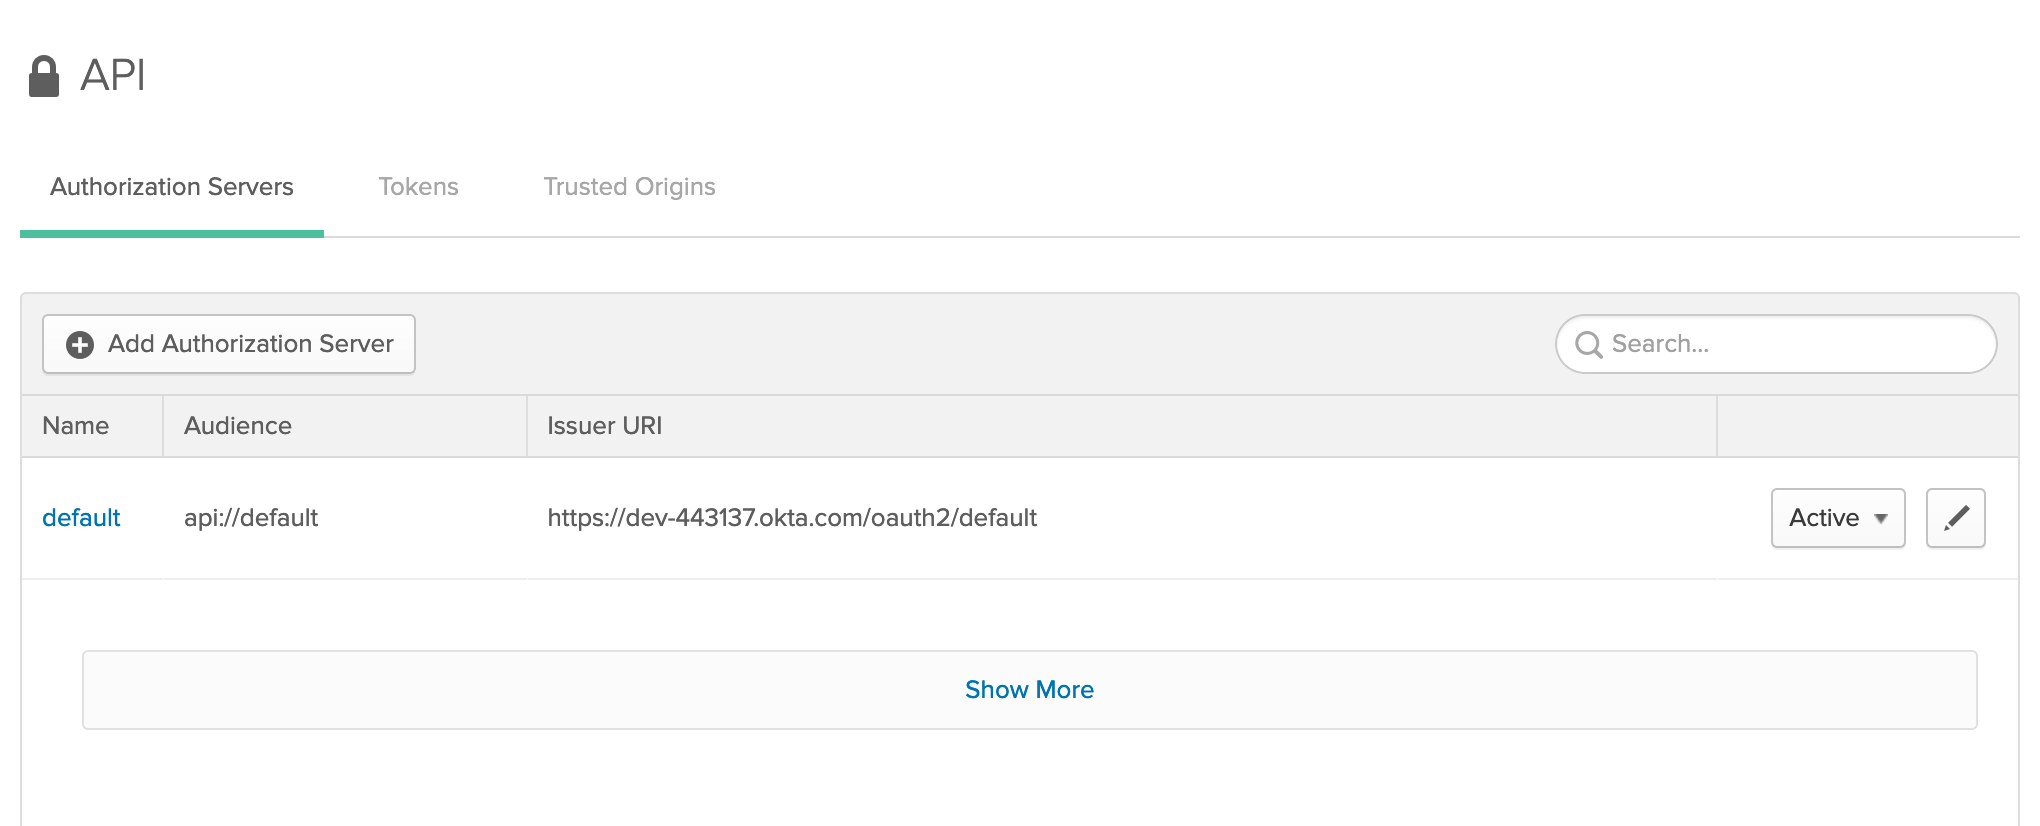
If you don't have a default authorization server, you can set one up.
At the end of this setup, you will have the following values, which will be needed to set up the test application and the API gateway:
client_id
client_secret
- Click “Applications” and then “Add Application”.
- Choose “Web”, then Next.
- The following login redirect URI is created for you by default:
http://localhost:8080/authorization-code/callback - Add another login redirect URI:
http://localhost:8080 - Leave all of the other default settings as-is. Click Done.
You've created an OIDC client in your Okta tenant. Take note of your
Client IDandClient secret, because we'll need those later.
Note: the developer edition assigns new OIDC applications to the Everyone group by default. If you're not using the developer edition, take a moment to assign your new application to the Everyone group.
Create one group that will contain silver-level subscribers, and another group that will contain gold-level subscribers.
- Set up a group: Directory->Groups->Add Group
- Name the group “silver subscribers”; you can use the same for the description
- Click Add Group
Repeat the same steps for the "gold subscribers" group.
Create one user who is a member of the silver subscribers group, and another user who is a member of the gold subscribers group.
- Add a user: Users->People->Add Person
| Field | Value |
|---|---|
| First name: | Carl |
| Last name: | Sagan |
| Username: | carl.sagan@mailinator.com |
| Primary email: | carl.sagan@mailinator.com |
| Secondary email: | {{your email}} |
| Groups: | silver subscribers |
| Password: | you can choose to either set the user's password now (set by admin) or send the user an activation email. The activation email will go to both the primary and secondary email addresses. |
- Add another user: Users->People->Add Person
| Field | Value |
|---|---|
| First name: | Jodie |
| Last name: | Foster |
| Username: | jodie.foster@mailinator.com |
| Primary email: | jodie.foster@mailinator.com |
| Secondary email: | {{your email}} |
| Groups: | gold subscribers |
| Password: | you can choose to either set the user's password now (set by admin) or send the user an activation email. The activation email will go to both the primary and secondary email addresses. |
You need to add a CORS Trusted Origin for http://localhost:8080 if you don't already have one.
- Security->API
- Click Trusted Origins
- Click Add Origin
- On the Add Origin Screen, give a name such as "Solar" and add http://localhost:8080 as the Origin URL
- Check the boxes for CORS and Redirect
- Click Save
Create custom scopes in your authorization server to represent "gold" privileges and "silver" privileges.
Note: we are going to structure scopes as URLs per API best practices.
-
API->Authorization Servers->default
-
Click the Scopes tab
-
Click Add Scope
Field Value Name: http://myapp.com/scp/silver Description: silver scope Default scope: [non checked] Metadata: [checked] -
Click Create
Repeat the same steps for the "gold" scope, using
http://myapp.com/scp/goldas the name.
IMPORTANT: By default, the authorization server has a Default Policy that honors all requests for all scopes. This is great for development and troubleshooting, but to test that users are being accurately denied access to certain scopes, you need to make the Default Policy inactive.
Create an authorization policy that will govern when scopes are granted.
- API->Authorization Servers->default
- Click the Access Policies tab
- Click Add New Access Policy
Field Value Name: Solar system API access Description: Solar system API access Assign to: My Web App (also OK to leave assigned to All clientsfor demo purposes) - Click Create Policy
Add rules to your policy.
-
In your policy, click the Add Rule button
Field Value Rule Name: silver access to solar system API Grant Type: Authorization Code (also OK to leave all selected for demo purposes) User is: Assigned the app and a member of the following: Groups: silver subscribers Scopes requested: Select "The following scopes:" Click "OIDC default scopes" to populate the OIDC default scopes Then add following scopes: "http://myapp.com/scp/silver" -
Click Create Rule
Now the gold access rule. Note that we are adding both silver and gold scopes to the gold subscribers group.
-
In your policy, click the Add Rule button
Field Value Rule Name: gold access to solar system API Grant Type: Authorization Code (also OK to leave all selected for demo purposes) User is: Assigned the app and a member of the following: Groups: gold subscribers Scopes requested: Select "The following scopes:" Click "OIDC default scopes" to populate the OIDC default scopes Then add following scopes: http://myapp.com/scp/gold http://myapp.com/scp/silver -
Click Create Rule
Your authorization server is now set up so that when an application asks for an access token on behalf of a user:
-
if the user is a member of the silver subscribers group and the application requests the
http://myapp.com/scp/silverscope, then the authorization server will honor the request and include thehttp://myapp.com/scp/silverscope in the access token. -
if the user is a member of the gold subscribers group and the application requests the
http://myapp.com/scp/silverscope or thehttp://myapp.com/scp/goldscope, then the authorization server will honor the request and include the requested scope(s) in the access token.
The application can then send this access token to an API to request resources on behalf of the user. The API (or API gateway) will verify that the access is valid, and ensure that it has the appropriate scope(s) for the resource that is being requested.
You can now return to the main setup and move to "Set up the test application".