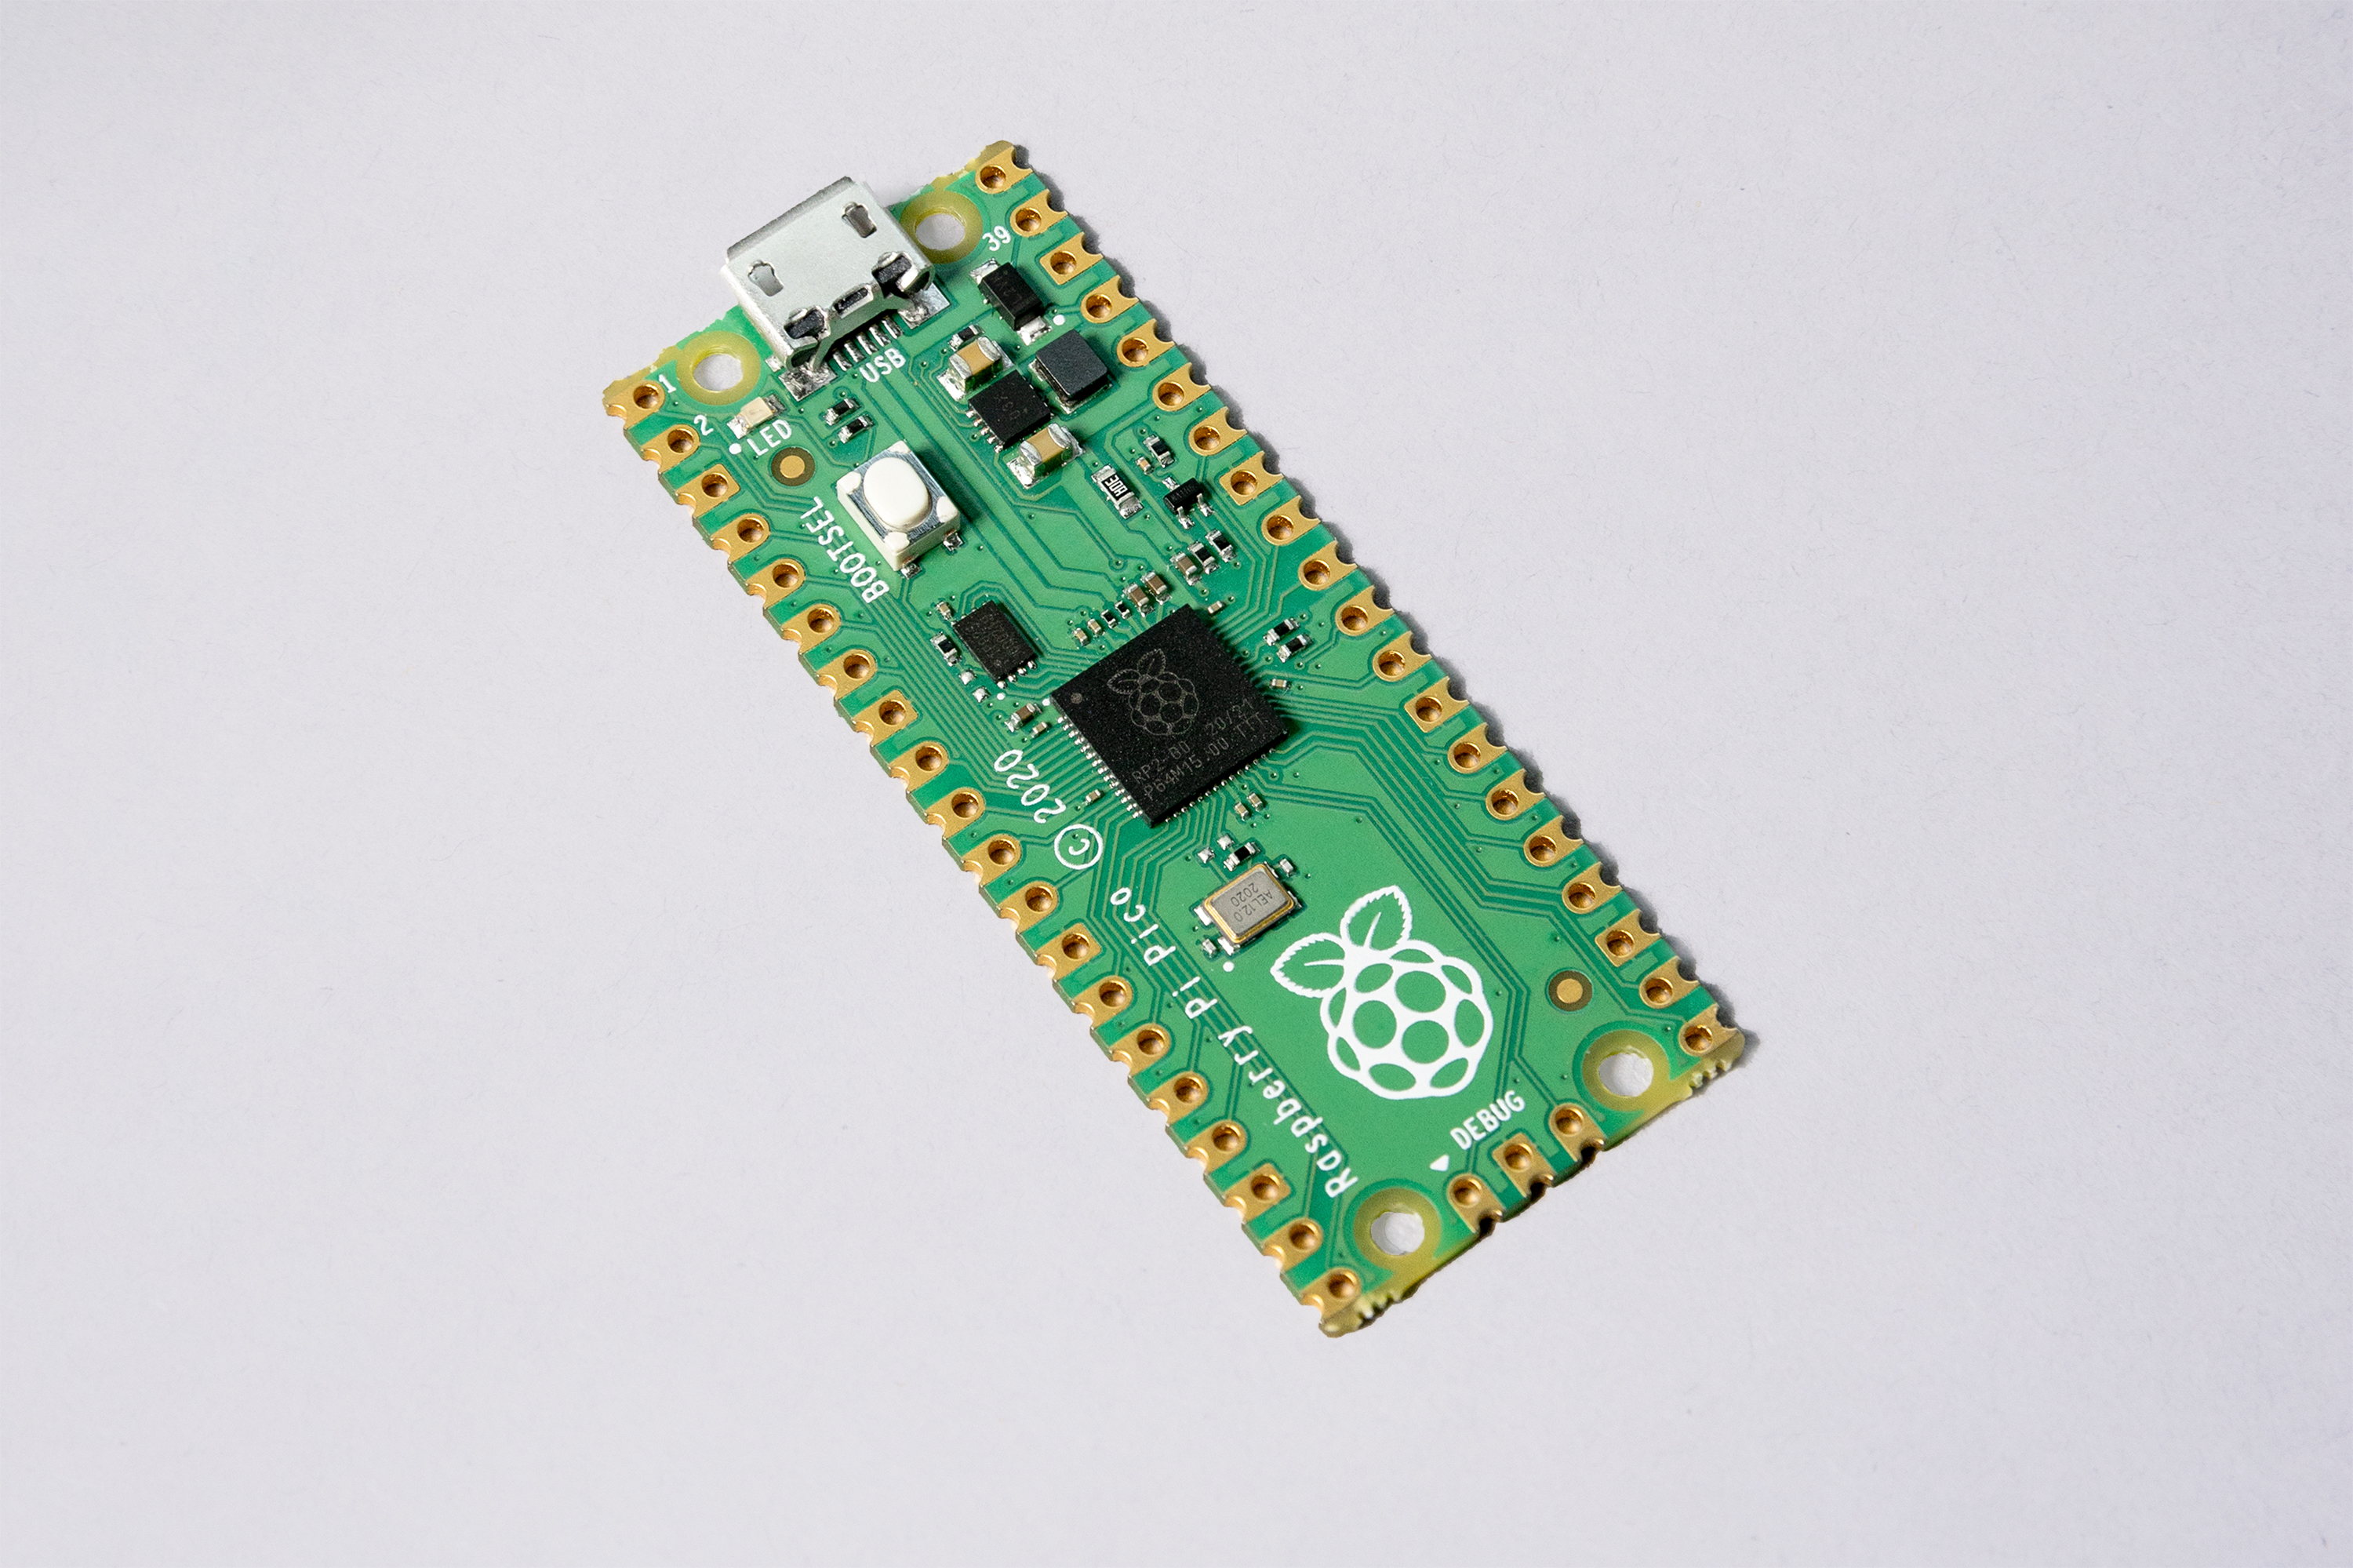
The Raspberry Pi Pico is a board developed by the Raspberry Pi Foundation and is based on the RP2040 chip.
First, follow the Tock Getting Started guide
The Nano RP2040 uses UF2 files for flashing. Tock compiles to an ELF file.
The elf2uf2-rs utility is needed to transform the Tock ELF file into an UF2 file.
To install elf2uf2, run the commands:
$ cargo install elf2uf2-rsThe Raspberry Pi Pico RP2040 Connect can be programmed using its bootloader, which requires an UF2 file.
To flash the Pico RP2040, it needs to be put into BOOTSEL mode. This will mount a flash drive that allows one to copy a UF2 file. To enter BOOTSEL mode, press the BOOTSEL button and hold it while you connect the other end of the micro USB cable to your computer.
Then cd into boards/raspberry_pi_pico directory and run:
$ make flash

(or)

$ make flash-debug
Note: The Makefile provides the BOOTSEL_FOLDER variable that points towards the mount point of the Pico RP2040 flash drive. By default, this is located in
/media/$(USER)/RP2040. This might be different on several systems, make sure to adjust it.
Enter BOOTSEL mode.
Apps are built out-of-tree. Once an app is built, you can add the path to it in the Makefile (APP variable), then run:
$ APP="<path to app's tbf file>" make flash-appThe Raspberry Pi Pico can also be programmed via an SWD connection, which requires the Pico to be connected to a regular Raspberry Pi device that exposes the necessary pins OR using another Raspberry Pi Pico set up in “Picoprobe” mode. The kernel is transferred to the Raspberry Pi Pico using a custom version of OpenOCD.
To install OpenOCD on the Raspberry Pi run the following commands on the Pi:
$ sudo apt update
$ sudo apt install automake autoconf build-essential texinfo libtool libftdi-dev libusb-1.0-0-dev git
$ git clone https://github.com/raspberrypi/openocd.git --recursive --branch rp2040 --depth=1
$ cd openocd
$ ./bootstrap
$ ./configure --enable-ftdi --enable-sysfsgpio --enable-bcm2835gpio
$ make -j4
$ sudo make install
Enable SSH on the Raspberry Pi by following the instructions on the Raspberry Pi website.
Next, connect the SWD pins of the Pico (the tree lower wires) to GND, GPIO 24, and GPIO 25 of the Raspberry Pi. You can follow the schematic in the official documentation and connect the blue, black, and purple wires.
Also connect the other three wires as shown in the schematic, which will connect the Pico UART to the Raspberry Pi. This will enable the serial communication between the two devices.
To install OpenOCD on Debian/Ubuntu run the following commands:
$ sudo apt update
$ sudo apt install automake autoconf build-essential texinfo libtool libftdi-dev libusb-1.0-0-dev git
$ git clone https://github.com/raspberrypi/openocd.git --recursive --branch rp2040 --depth=1
$ cd openocd
$ ./bootstrap
$ ./configure --enable-picoprobe
$ make -j4
$ sudo make install
Download the Picoprobe UF2 file onto the USB mass storage device presented by the Pico that is going to act as Picoprobe device after plugging it into some USB port: https://datasheets.raspberrypi.com/soft/picoprobe.uf2 (the device should automatically restart after the file has been written).
Next, connect the SWD pins of the Pico target (the tree lower wires, left-to-right) to GP2, GND, and GP3 of the Pico that will act as Picoprobe. You can follow the schematic in the official documentation and connect the blue, black, and purple wires.
Also connect the other four wires as shown in the schematic, which will connect the Pico UART and power to the Picoprobe. This will enable the serial communication between the two devices.
cd into boards/raspberry_pi_pico directory and run:
$ make flash OPENOCD_INTERFACE=[swd|picoprobe]The OPENOCD_INTERFACE parameter selects which mode to flash the target Pico device in: swd flashes directly via SWD over GPIO (default, needs to be run a regular Raspberry Pi), picoprobe flashes indirectly via another Raspberry Pi Pico device.
You can also open a serial console on to view debug messages:
$ sudo apt install picocom
$ picocom /dev/ttyACM0 -b 115200 -lcd into boards/raspberry_pi_pico directory and run:
$ make

(or)

$ make debug
Connect via ssh to the Raspberry Pi and forward port 3333. Then start OpenOCD on the Pi.
$ ssh pi@<pi_IP> -L 3333:localhost:3333

(wait to connect)

$ openocd -f interface/raspberrypi-swd.cfg -f target/rp2040.cfg
You can also open a serial console on the Raspberry Pi for debug messages.
$ sudo apt install minicom
$ minicom -b 115200 -o -D /dev/serial0
On the local computer use gdb-multiarch on Linux or arm-none-eabi-gdb on MacOS to deploy tock.
$ arm-none-eabi-gdb tock/target/thumbv6m-none-eabi/release/raspberry_pi_pico.elf
(gdb) target remote :3333
(gdb) load
(gdb) continueApps are built out-of-tree. Once an app is built, you can add the path to it in the Makefile (APP variable), then run:
$ make programThis will generate a new ELF file that can be deployed on the Raspberry Pi Pico via gdb and OpenOCD as described in the section above.
For further details and examples about how to use Tock with the Raspberry Pi Pico, you might want to check out the Getting Started with Secure Embedded Systems book.