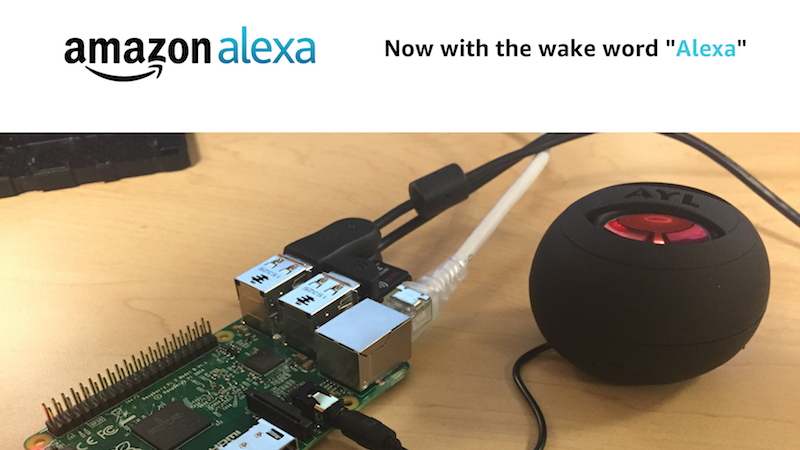
Amazon's Alexa-controlled Echo speaker is a wireless speaker. But it's capable of much more. Using nothing but the sound of your voice, you can search the Web, create to-do and shopping lists, shop online, get instant weather reports, and control popular smart-home products—all while your phone stays in your pocket. Thanks to Amazon opening up the Alexa Developer API's we now are able to access Alexa on the Raspberry Pi. This project was initially started by Sam Machin based in the UK but soon grabbed international attention when makers, hackers from all around the world realized that they could turn their Raspberry Pi's into Alexa devices as well.
This document provides a tutorial on the installation of AlexaPi on the Raspberry Pi. This document was originally authored by the AlexaPi team and can also be read at AlexaPi
To get Alexa working on your Raspberry Pi you will need to have a USB mike connected and configured. You will also need speakers (preferrably) or headphones so that you are able to hear Alexa speak. Grab one of the USB mikes from ebay.com or amazon.com and plug them into the USB port of your Raspberry pi. The speakers will be connected to the audio out port on the Raspberry Pi. An alternative to using a USB mike is re-purposing an existing Web Camera with an on-board mike. Most of the mid range and high end webcams out there have a decent mike built into them.
Once you have plugged in your web camera and mike run through the following setup tasks in the next section.
In this section we will configure your Raspberry Pi to record sound using the USB mike and play sound using the connected speakers.
- Let's start by editing the asound.conf file which stores the sound configuration for your Raspberry Pi.
bash# vi /etc/asound.conf
 pcm.!default {
 type plug
 slave {
 pcm "hw:1,0"
  }
 }

 ctl.!default {
 type hw
 card 1
 }
- With your asound.conf configured let's now reboot the Raspberry Pi.
bash# reboot
- Once your Raspberry Pi has rebooted let's login and test if we are able to record sound.
- Issue the following command to create a new wave file while you speak into your USB mike.
bash# arecord -D plughw:1,0 -f cd test.wav
- Hit control+c to kill the recording session. All you need is 5-10 seconds of sound recorded.
- To playback the recorded sound file issue the following command.
bash# aplay test.wav
- Feel free to adjust the sound using the alsa mixer command.
bash# alsamixer
- To save your sounds settings using the following command.
bash# sudo alsactl store
At this point it's also worth noting that you can use the "raspi-config" command to configure the Raspberry Pi to playback sound from various available output devices.
With the Raspberry Pi configured to record sound and playback sound we can now proceed with installing Alexa on the Raspberry Pi.
First you need to obtain a set of credentials from Amazon to use the Alexa Voice service. Make a note of these credentials as you will be asked for them during the install process.
- Login at https://developer.amazon.com and go to
ALEXA, thenAlexa Voice Service. Register a Product Type>Device.- You are at
Device Type Infoleft tab.- For the
Device Type IDandDisplay Nameuse something like AlexaPi or whatever you want. Next
- For the
- You are at
Security Profileleft tab.- From the drop-down menu choose
Create a new profile. - Choose whatever for
Security Profile NameandSecurity Profile Description. HitNext. - Under
Web Settingshorizontal tab hitEditand:Allowed Origins- put therehttp://localhost:5050andhttp://ALEXA.DEVICE.IP.ADDRESS:5050Allowed Return URLsputhttp://localhost:5050/codeandhttp://ALEXA.DEVICE.IP.ADDRESS:5050/code. You have to replaceALEXA.DEVICE.IP.ADDRESSwith the IP (for example 192.168.1.123) of your AlexaPi device (for example Raspberry Pi). This is especially necessary when you are installing from another computer than AlexaPi is gonna run on.
- From the drop-down menu choose
- Fill some of the other stuff in.
-
Boot your Raspberry Pi and login to a command prompt.
-
Let's Make sure you are in
/optby issuingbash# cd /opt -
Lets make sure you have git installed
bash# sudo apt-get install git # For Debian OSs (Debian, Raspbian, OSMC, OpenElec...) bash# sudo pacman -Sy git # For Arch Linux -
Now let's go ahead and clone the Alexa repo
bash# sudo git clone https://github.com/alexa-pi/AlexaPi.git -
You can also clone the repository to any other directory (and lose the
sudohere, if you have permission to write to that directory), but you won't be able to run AlexaPi on boot with our init scripts. It is therefore recommended for advanced users (who know what they're doing) only. -
Lets now run the setup script
bash# sudo ./AlexaPi/src/scripts/setup.shFollow instructions...
Now that you have installed AlexaPi there's a couple of things you need to do.
-
Reboot your machine or start AlexaPi with
sudo systemctl start AlexaPi.service -
Check the status of AlexaPi with
sudo systemctl status AlexaPi.serviceIf it is not running, be sure to see the full logs.
-
In a lot of cases, you have to setup your input / output devices properly in the configuration file. Read the Audio setup & debugging section in the documentation.
-
If you have a desktop OS (such as default Raspbian), you have to set up system-wide PulseAudio. You usually get dbus and pulseaudio error in the log if you don't do this.
-
If you got this working, but audio playback is choppy, try changing the playback handler in the config from vlc to sox. This will be default in later versions of AlexaPi. If you're using pulseaudio, please read audio setup guide.
It might also be a good idea to read the detailed DOCUMENTATION before heading off to the forums and asking questions.
Enjoy :)