Clone the repository. Move into the directory on your terminal.
Install dependencies for development.
pipenv sync --devInstall pre-commit to run a battery of automatic quick fixes against your work.
pipenv run pre-commit installRun tests.
pipenv run pytestBefore you release your package, be sure to customize the setup.py file to fit your project.
The repository includes a ready-to-serve documentation site managed by Python's Sphinx framework.
The configuration is stored in the docs directory. The default settings in docs/conf.py include several common Sphinx extensions. The documentation is written in Markdown files stored within the directory. If you plan to publish documentation, you should started by editing docs/index.md and go from there. You can learn more about the options to available in the MyST guide to writing Markdown in Sphinx.
To build the documentation as a bundle of HTML files, run the following command:
cd docs && pipenv run make htmlYou can launch a preview site with the following command:
cd docs && pipenv run make livehtmlThe documentation site is automatically built by a GitHub Actions workflow that runs on every push to the repository. If you provide the proper credentials, it will also automatically publish the documentation to an Amazon S3 bucket after a push to the main branch.
Our release process is automated as a continuous deployment via the GitHub Actions framework. The logic that governs the process is stored in the workflows directory.
That means that everything necessary to make a release can be done with a few clicks on the GitHub website. All you need to do is make a tagged release, then wait for the computers to handle the job.
Before you can begin, you have to do the following one-time configuration:
- Visit PyPI and create an API key with permission to release a package
- Save the key as a secret called
PYPI_API_TOKENin your repository settings
Once that is done, you can automatically release new versions. Here’s how to do it, step by step. The screenshots are from a different repository, but the process is the same.
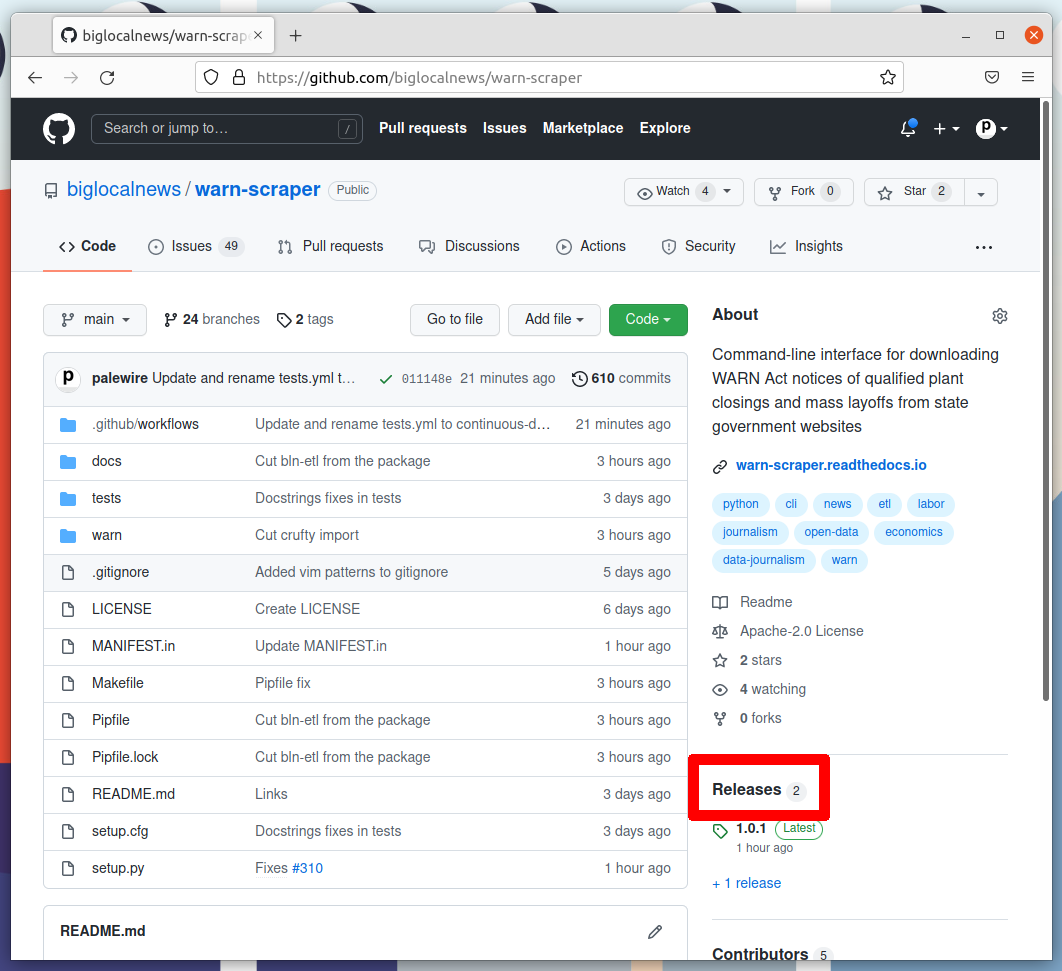
The first step is to visit your repository's homepage and click on the "releases" headline in the right rail.
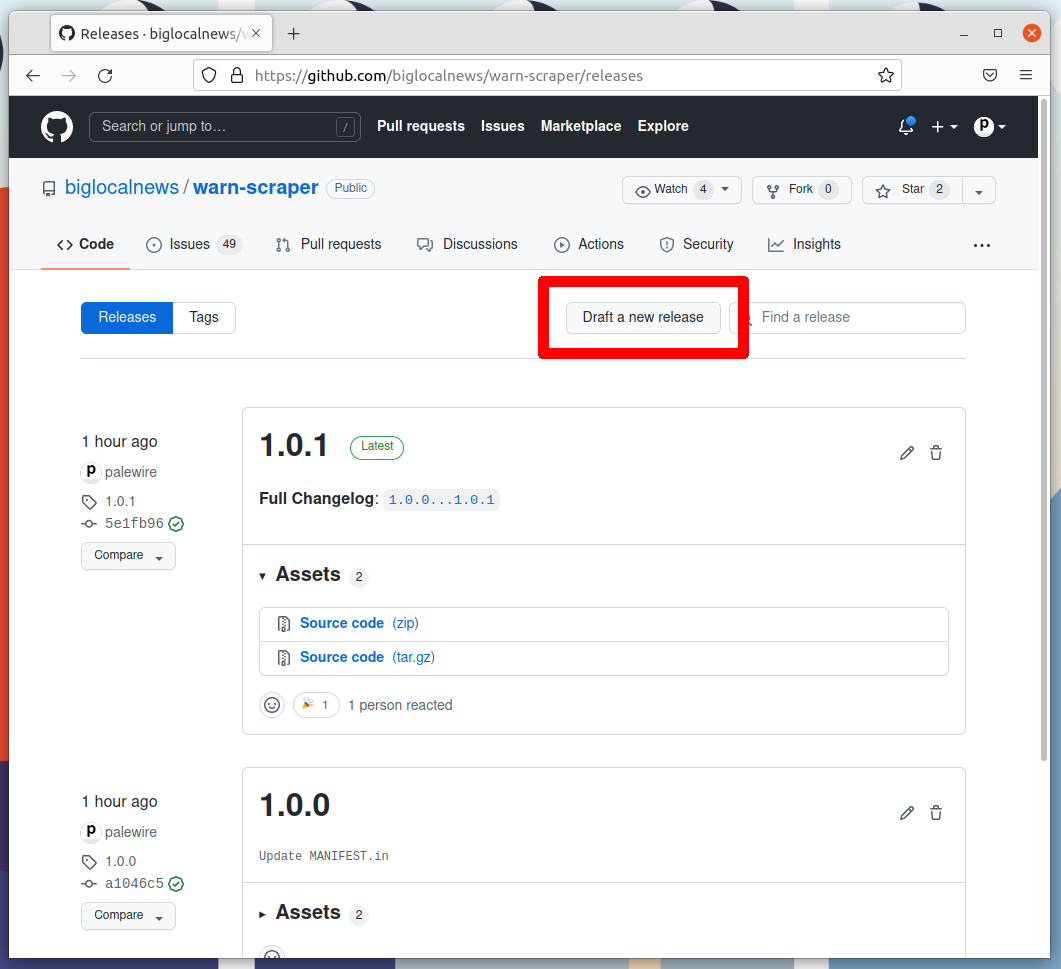
Note the number of the latest release. Click the "Draft a new release" button in the upper-right corner. If you don't see this button, you do not have permission to make a release. Only the maintainers of the repository are able to release new code.
Think about how big your changes are and decide if you're a major, minor or patch release.
All version numbers should feature three numbers separated by the periods, like 1.0.1. If you're making a major release that isn't backwards compatible, the latest release’s first number should go up by one. If you're making a minor release by adding a feature or major a large change, the second number should go up. If you're only fixing bugs or making small changes, the third number should go up.
If you're unsure, review the standards defined at semver.org to help make a decision. In the end don't worry about it too much. Our version numbers don't need to be perfect. They just need to be three numbers separated by periods.
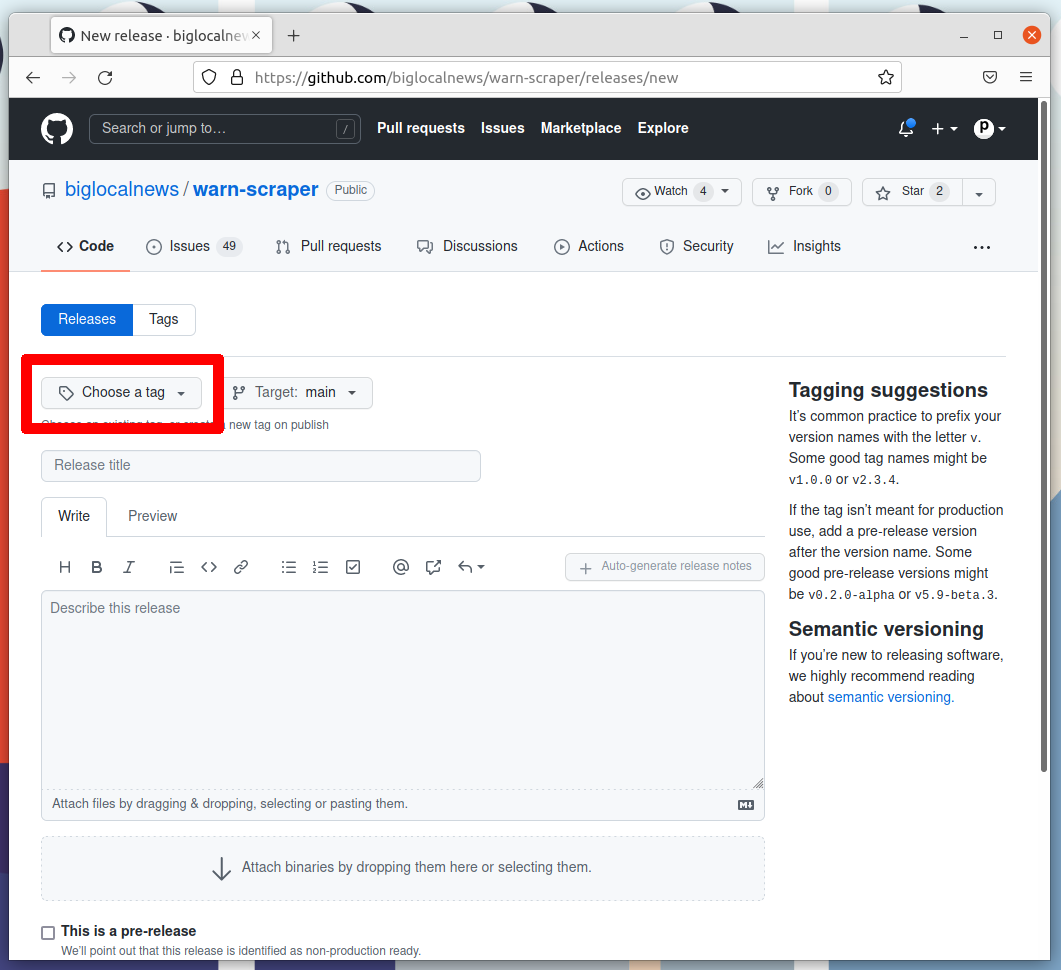
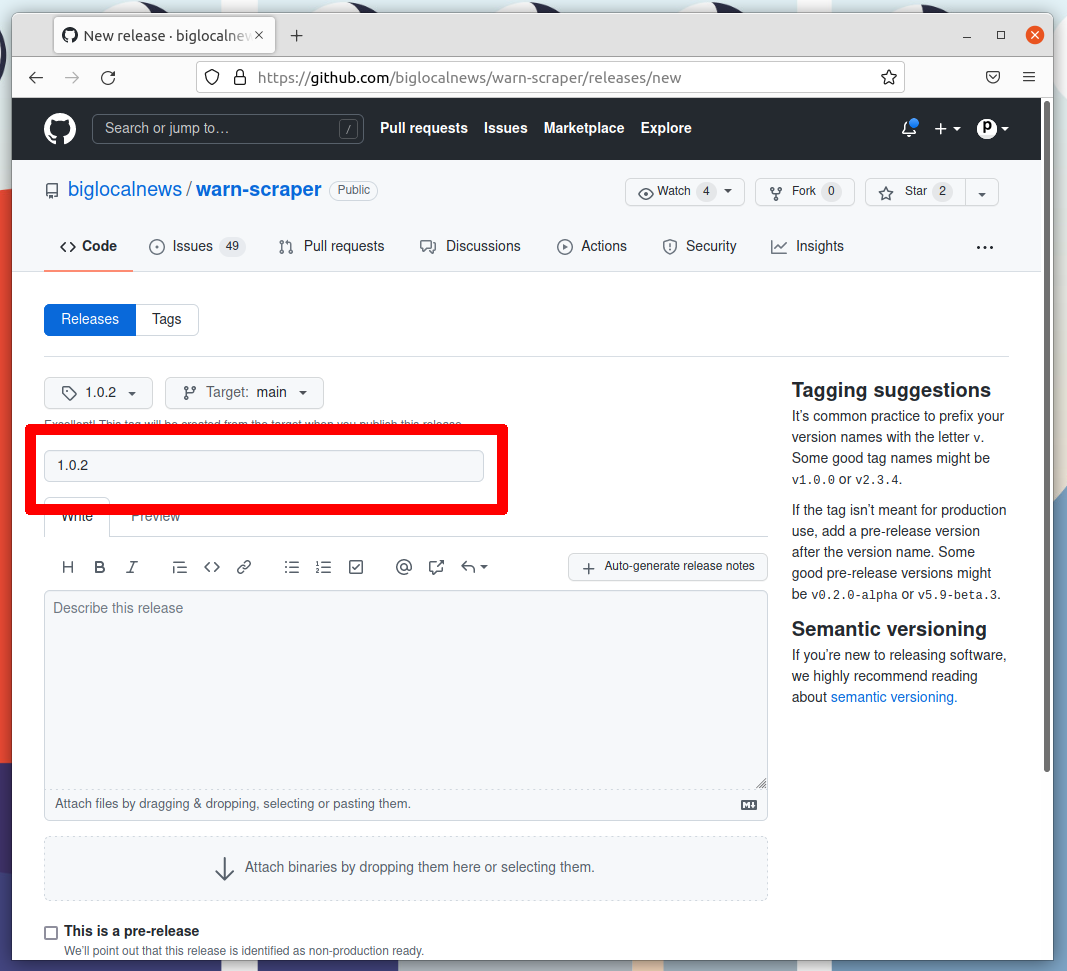
Once you've settled on the number for your new release, click on the "Choose a tag" pull down.
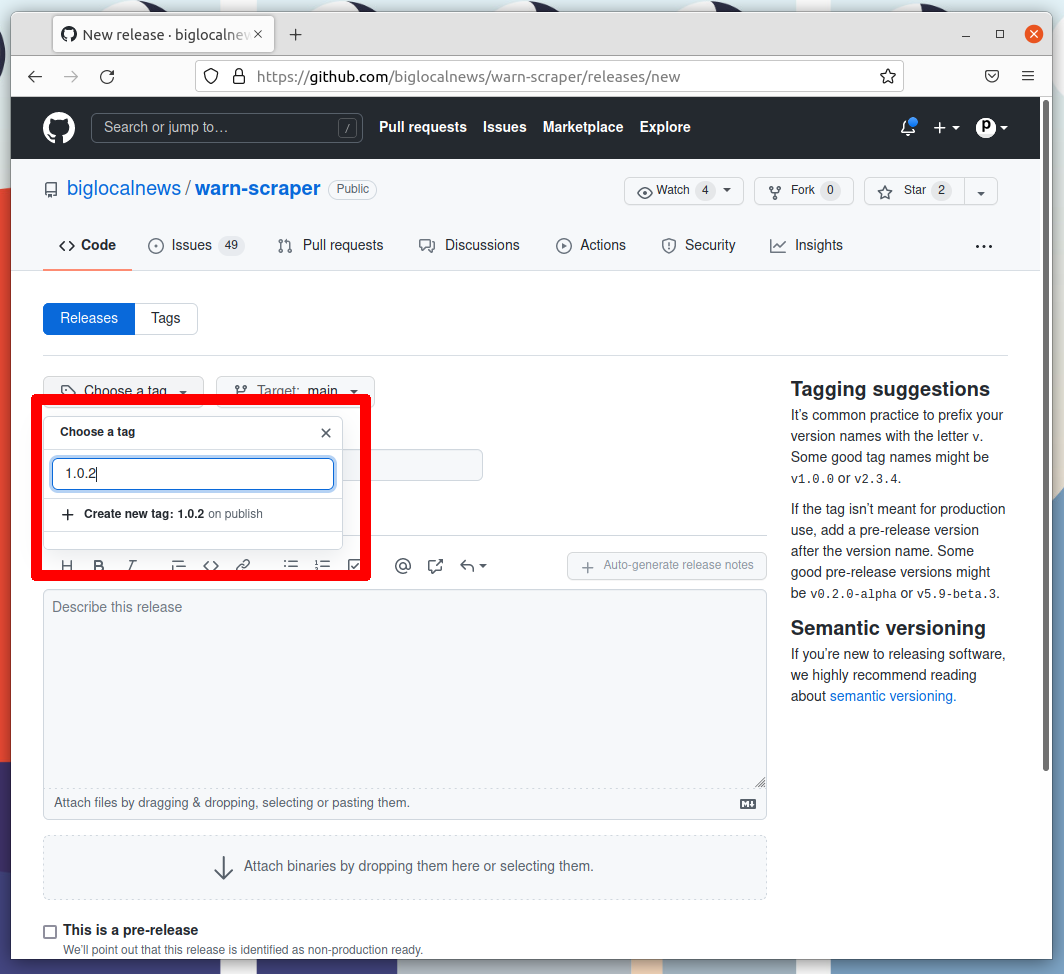
Enter your version number into the box. Then click the "Create new tag" option that appears.
Enter the same number into the "Release title" box.
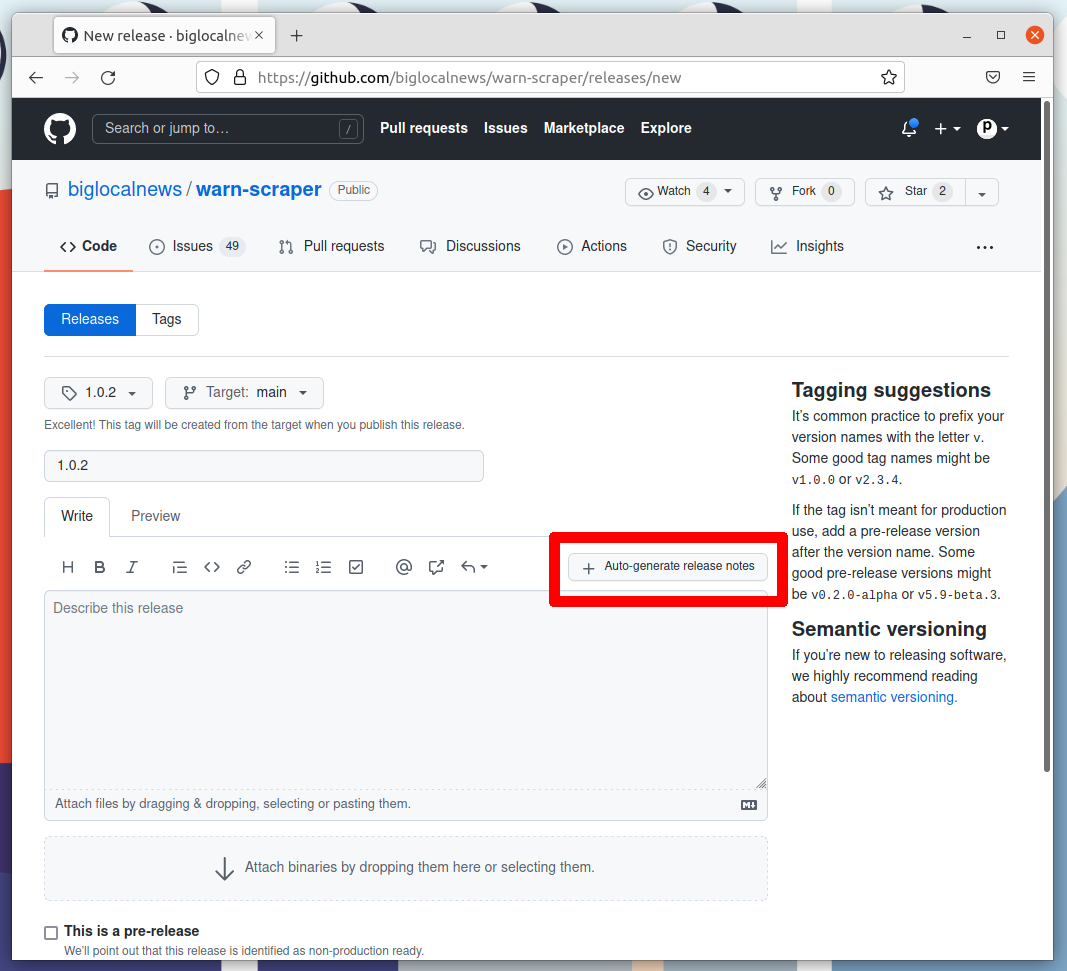
Click the "Auto-generate release notes" button in the upper right corner of the large description box.
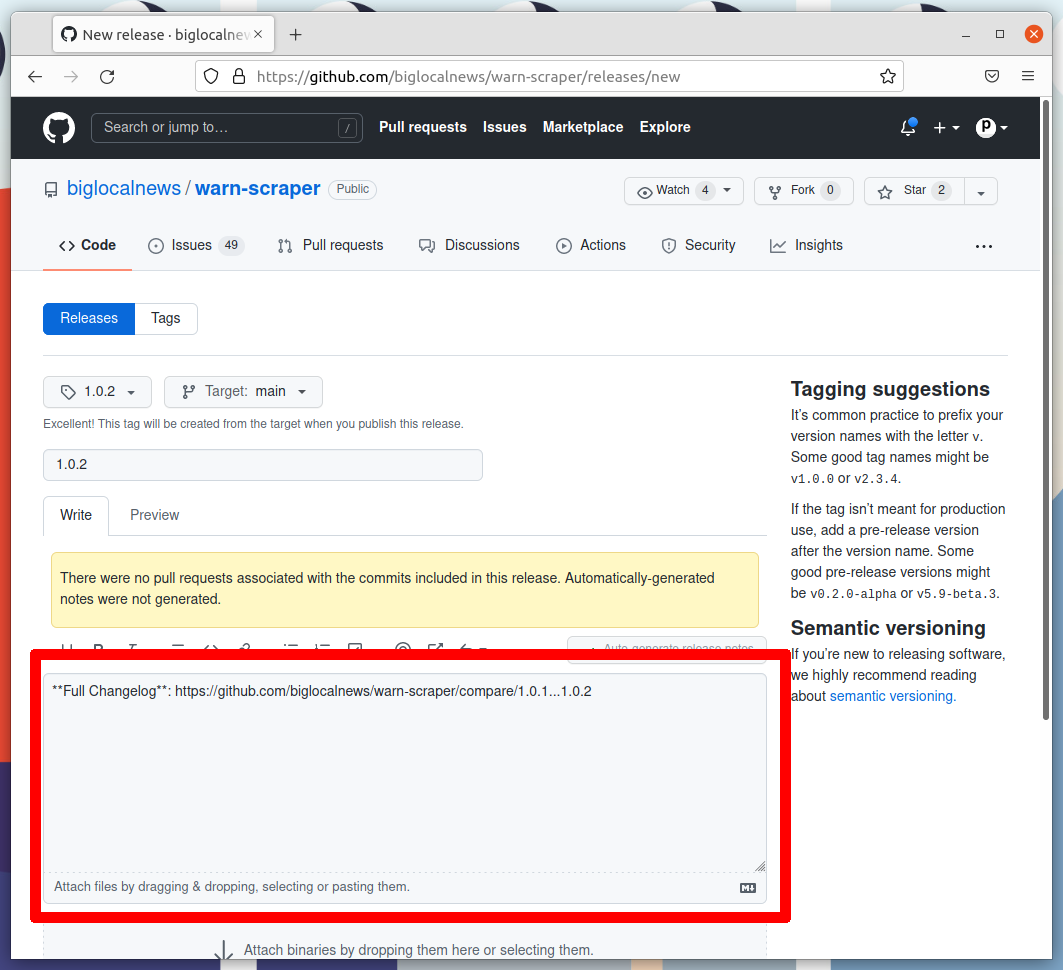
That should fill in the box below. What appears will depend on how many pull requests you've merged since the last release.
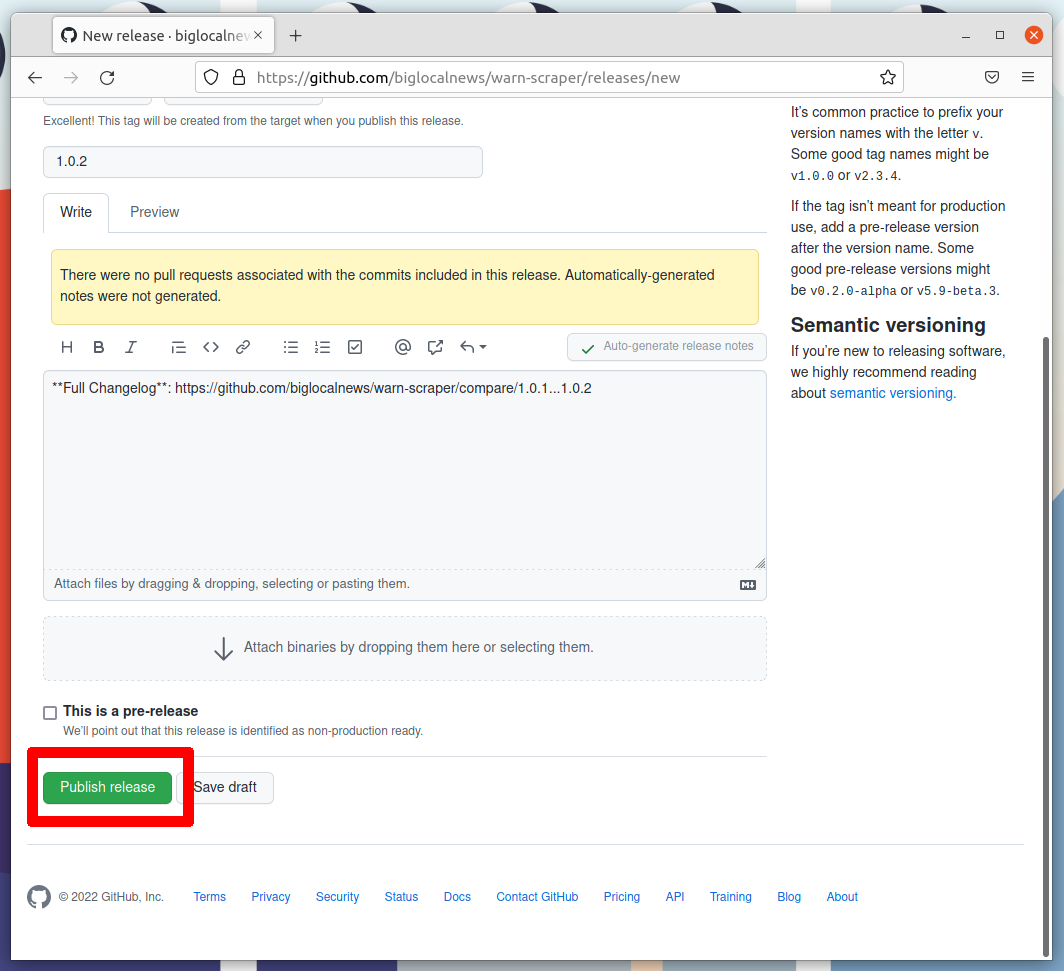
Click the green button that says "Publish release" at the bottom of the page.
GitHub will take you to a page dedicated to your new release and start an automated process that release our new version to the world. Follow its progress by clicking on the Actions tab near the top of the page.
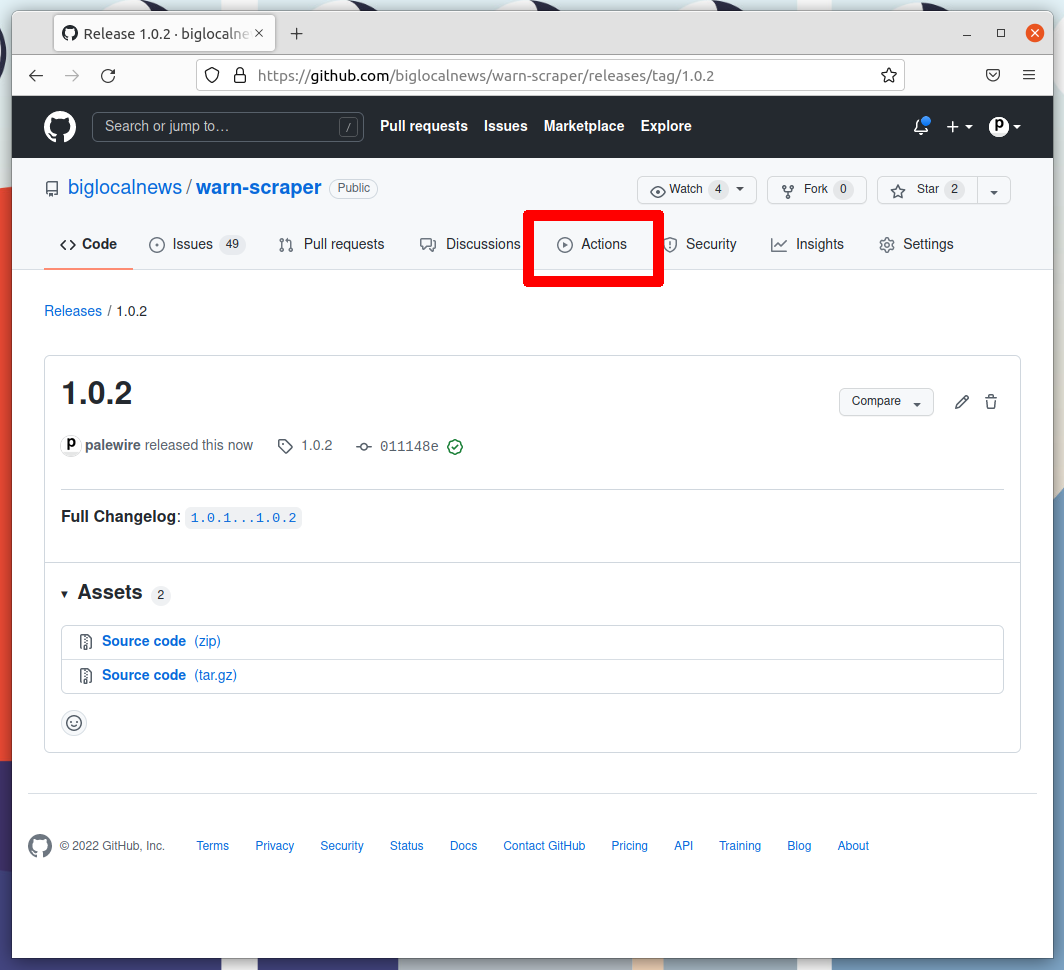
That will take you to the Actions monitoring page. The task charged with publishing your release should be at the top.
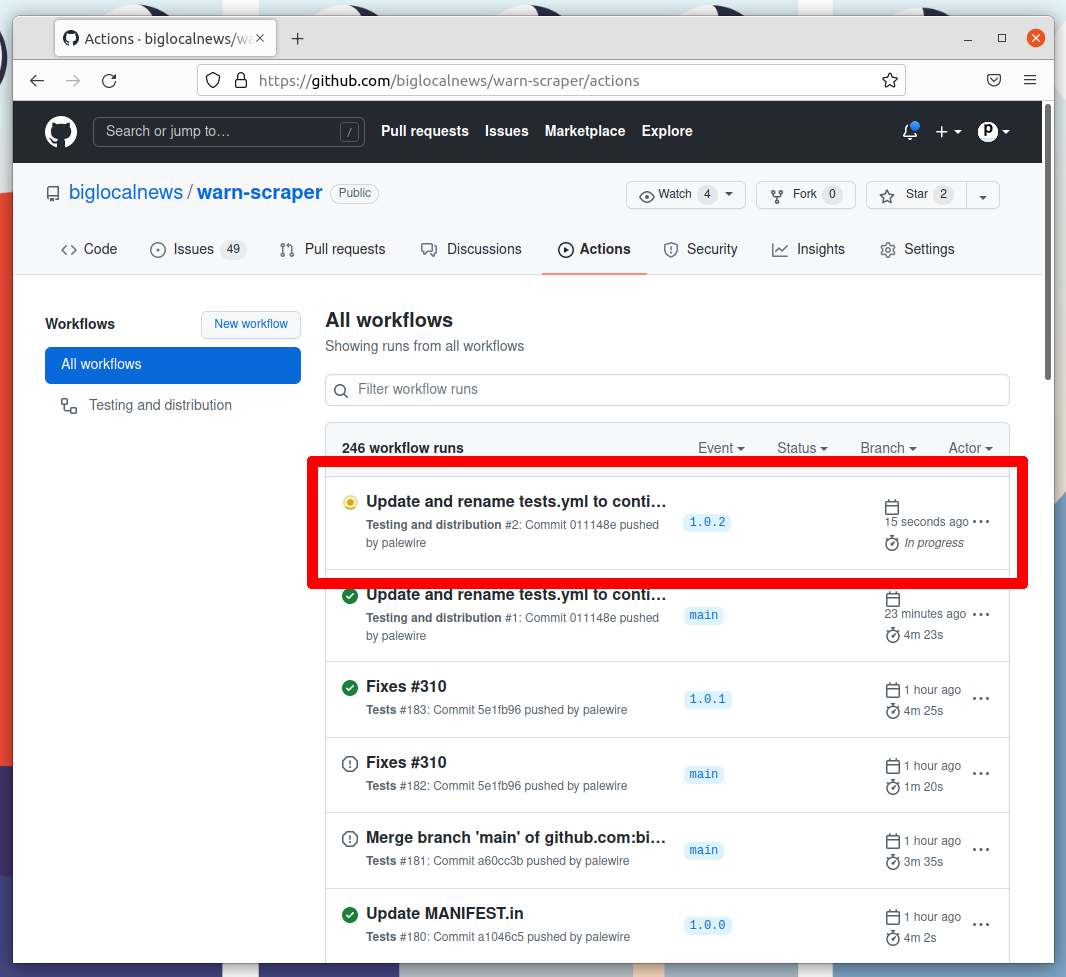
After a few minutes, the process there should finish and show a green check mark. When it does, visit your package’s page on PyPI, where you should see the latest version displayed at the top of the page.
If the action fails, something has gone wrong with the deployment process. You can click into its debugging panel to search for the cause or ask the project maintainers for help.