A simple, straight forward CMS and website builder.
Saber gives software engineers the ability to focus on traditional web development by writing HTML, CSS (LESS), and Javascript in their respective file formats from an integrated development environment (IDE) within their Saber website.
Saber is lightweight, blazing fast, with a "zero footprint" policy, and has a very robust plugin system. Saber is meant for enterprise-level web application development.
- Visual Studio 2022
- ASP.NET 6.0
- SQL Server 2017 (or greater)
- SQL Server Management Studio (SSMS)
- Node.js
- Gulp
-
Clone the repository and get all submodules:
git clone http://github.com/Datasilk/Saber MySaberProject --recursive- NOTE: If you plan on making changes to Saber, you must make sure all submodules are not in a detached HEAD state
git submodule foreach git checkout master git submodule foreach git submodule foreach git checkout master -
Run command
npm install -
Run command
gulp default -
In Visual Studio, build & publish the Sql project to SQL Server
-
If you are running MS SQL Server on the same PC, you can set up your database to use a trusted connection.
- In SQL Server Management Studio (SSMS), under Security > Logins, create a new user for NT AUTHORITY\NETWORK SERVICE,
and within the user properties window, select User Mappings, then check the Saber database,
and check the following database membership roles for the Saber database:
db_datareader,db_datawriter,db_ownerbefore saving changes to your new user.
- In SQL Server Management Studio (SSMS), under Security > Logins, create a new user for NT AUTHORITY\NETWORK SERVICE,
and within the user properties window, select User Mappings, then check the Saber database,
and check the following database membership roles for the Saber database:
-
Copy
/App/Content/temp/config.jsonto/App/config.json, then open the file and update the Sql connection string -
Choose the App profile & click Play in Visual Studio & navigate to https://localhost:7070
- Get the latest release of Saber at https://www.github.com/Datasilk/Saber/releases
- Extract the release zip file
- Create/Update your MSSQL Database
- To Create a new database, execute the file
Sql/Saber_Create.sqlusing SSMS. You may want to open the file first and change the following lines to your own database name::setvar DatabaseName "Saber" :setvar DefaultFilePrefix "Saber"
- To Update an existing database, use the file
Sql/Saber.dacpac. In Microsoft SQL Server Management Studio, right-click your existing Saber database and select Tasks > Upgrade Data-tier Application and follow the upgrade wizard.
- To Create a new database, execute the file
- Choose which platform you wish use Saber on below (Docker, IIS, Windows, or Linux)
Saber also supports Docker. In order for Saber to work with Docker in Windows, you must first install and run Docker Desktop.
- Running Docker from Visual Studio:
- Copy
/App/Content/temp/config.docker.jsonto/Appfolder and open the file to update the Sql connection string Initial Catalog along with the User ID & Password you've created in Sql Server that has access to your Saber database - Choose the Docker profile & click Play in Visual Studio to launch a new Docker container in debug mode
- Copy
- Running Docker from Release:
- execute
docker compose upto run Saber after extracting the contents of the release zip file
- execute
Saber now supports IIS natively (in-process & out-of-process)
-
Install the .NET Core Hosting Bundle to allow IIS to support .NET Core applications
-
Create a new website in Internet Information Services (IIS)
- Under Sites, right-click and select Add Website..
- Under Application Pools, right-click the application pool associated with your new website and select Basic Settings..., then change .NET CLR version to No Managed Code
- Under Application Pools, right-click the application pool associated with your new website and select Advanced Settings..., then change Identity to NetworkService
-
Copy all files & folders from the
Appfolder to your IIS website folder for Saber. -
Open
web.configin your IIS website folder and changehostingModel="OutOfProcess"tohostingModel="InProcess" -
Copy
/Content/temp/config.prod.jsonto/config.prod.json. -
Open
config.prod.jsonand modify the database connection string -
If you are running MS SQL Server on the same PC as IIS, you can set up your database to use a trusted connection. *. In SSMS, under Security > Logins, create a new user for NT AUTHORITY\NETWORK SERVICE, and within the user properties window, select User Mappings, then check the Saber database, and check the following database membership roles for the Saber database:
db_datareader,db_datawriter,db_owner*. Openconfig.prod.jsonand modify the database connection string, removeUser IdandPasswordfields, then addTrusted_Connection=true; -
Open a web browser and navigate to your new website.
NOTE: If you receive an In-Process Start Failure, you may need to open
config.prod.jsonand change your database connection string to point to the correct database. Make sure to restart your website in IIS after making changes to your config file.
Saber can be run from PowerShell with the following command ./Saber.exe from the release App folder
Saber can be run with the following command ./saber from the release App folder
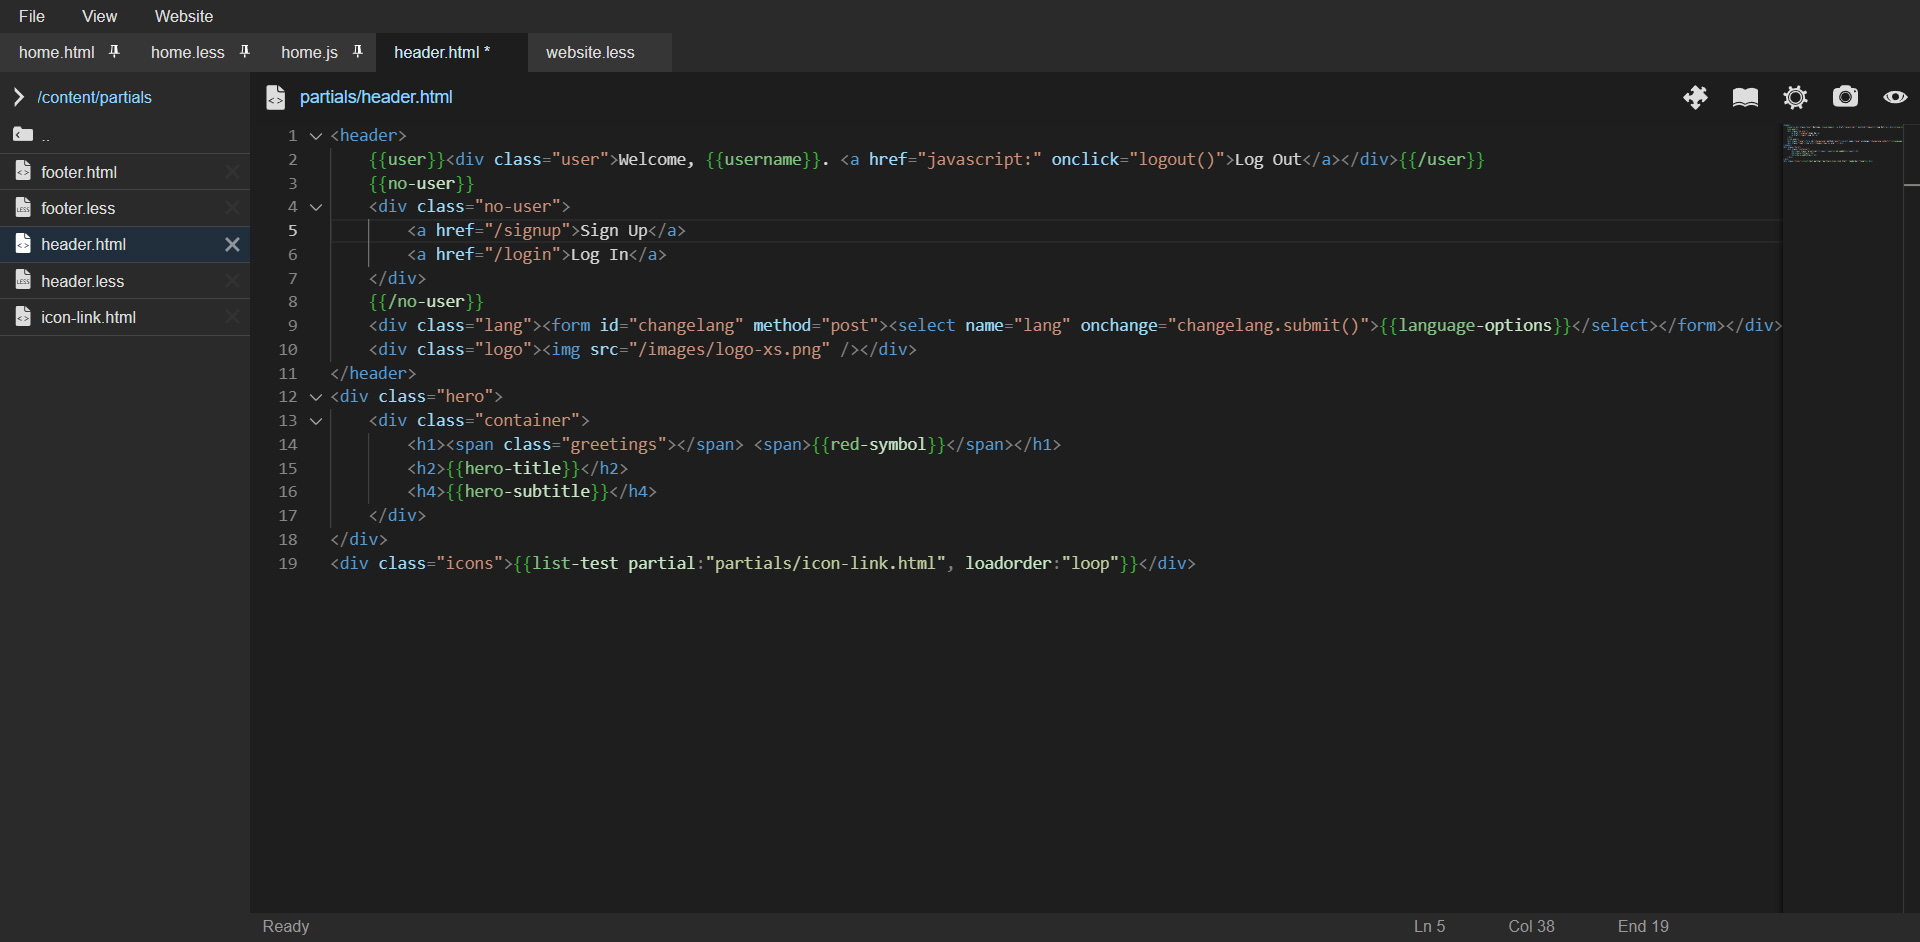
Build web pages from within your web browser using a built-in IDE for editing HTML, CSS, LESS, & JavaScript files.
Convert any URL within your website to a valid web page simply by navigating to the URL and writing some HTML, CSS, & JavaScript within the built-in IDE. The editor initially opens 3 files (HTML, LESS, & JS) that are associated with the web page being viewed.
Use the file browser within the built-in IDE to open website resources (HTML, CSS, LESS, & JS files) in new tabs. Use the View drop down menu to open the file browser and the File drop down menu to create new files & folders. The initial folder structure is described below:
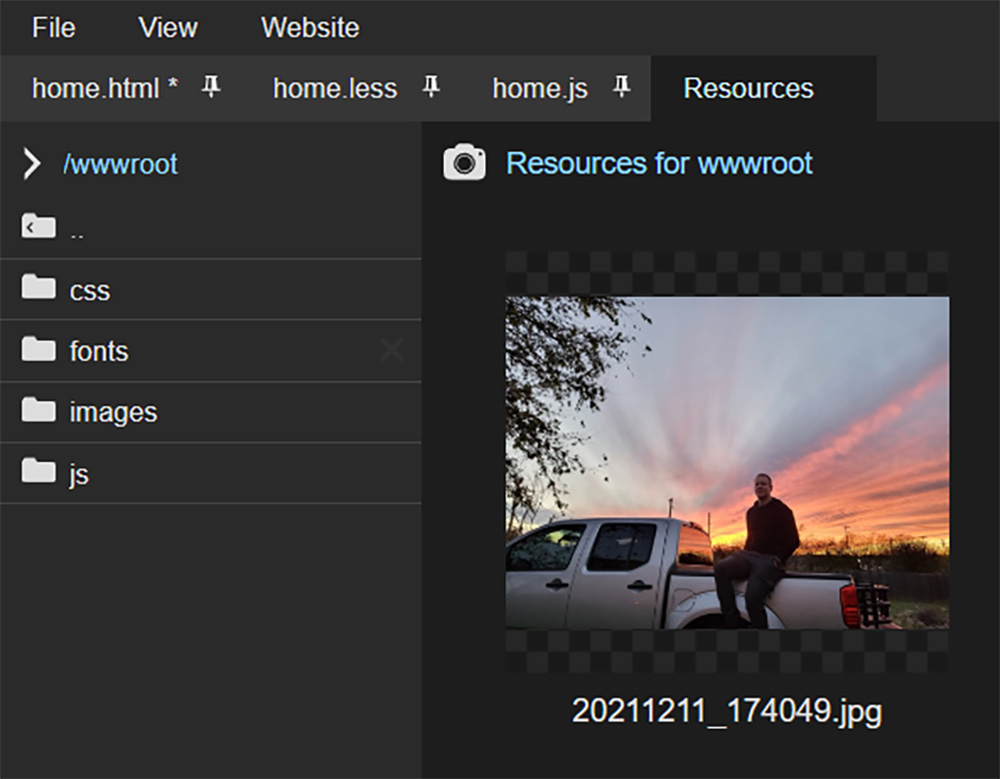
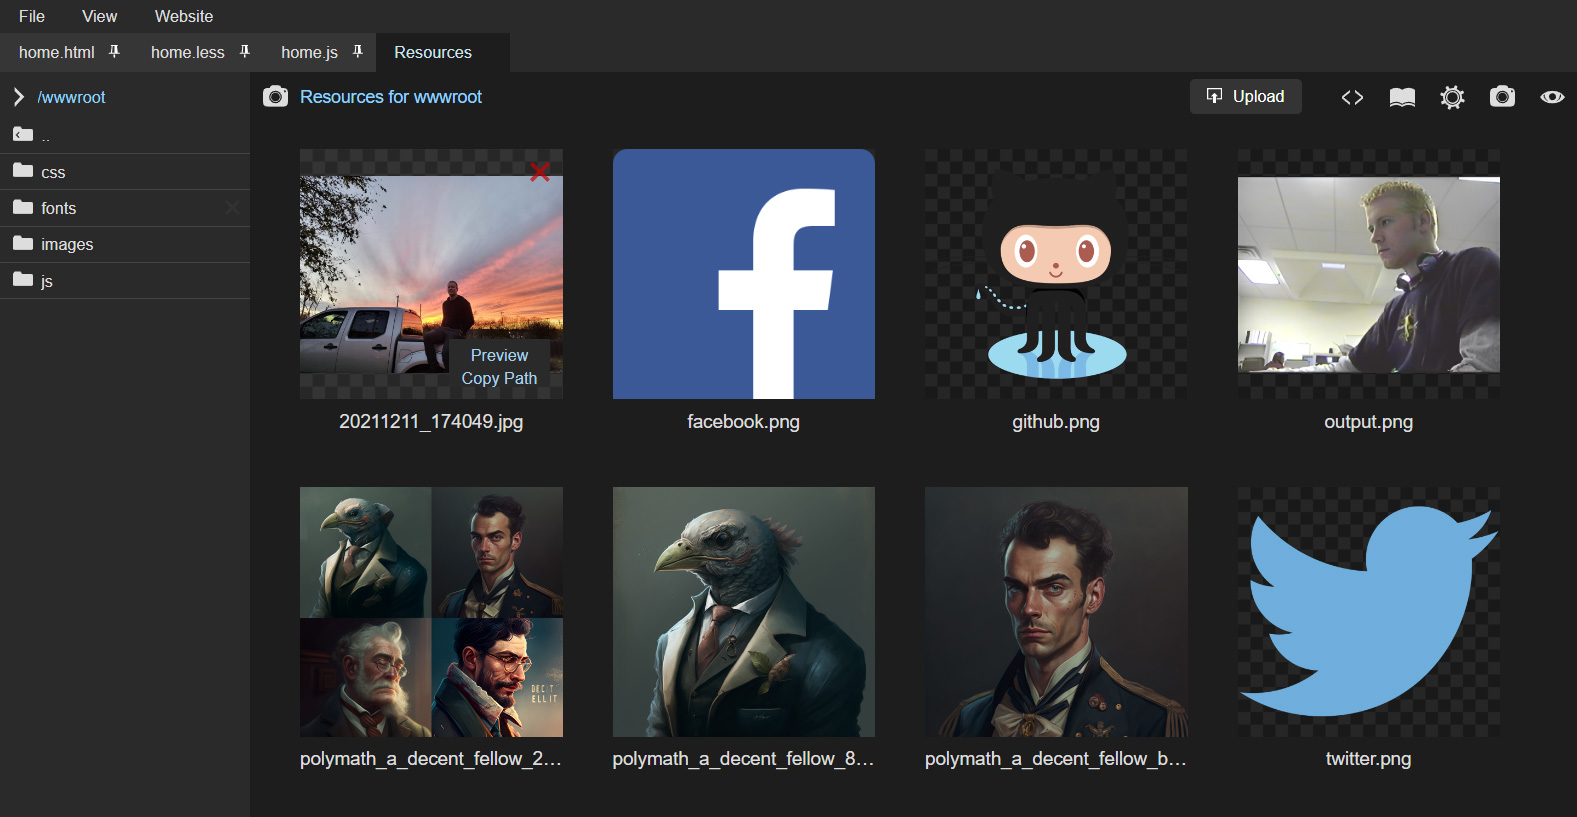
- wwwroot is a public-facing folder where you can upload files & images to utilize within your website
- pages is a protected folder used to store all pages belonging to your website. Clicking on an HTML page in the file browser will navigate to that page within your website for editing.
- partials is a protected folder used to store HTML files that can be included within web pages throughout your website (such as header.html & footer.html files)
- website.less is compiled into a CSS file and loaded on every page within your website
You can upload image files & other resources for a specific web page or within the wwwroot folder to be used globally. Manage your uploads within an image-gallery style file browser.
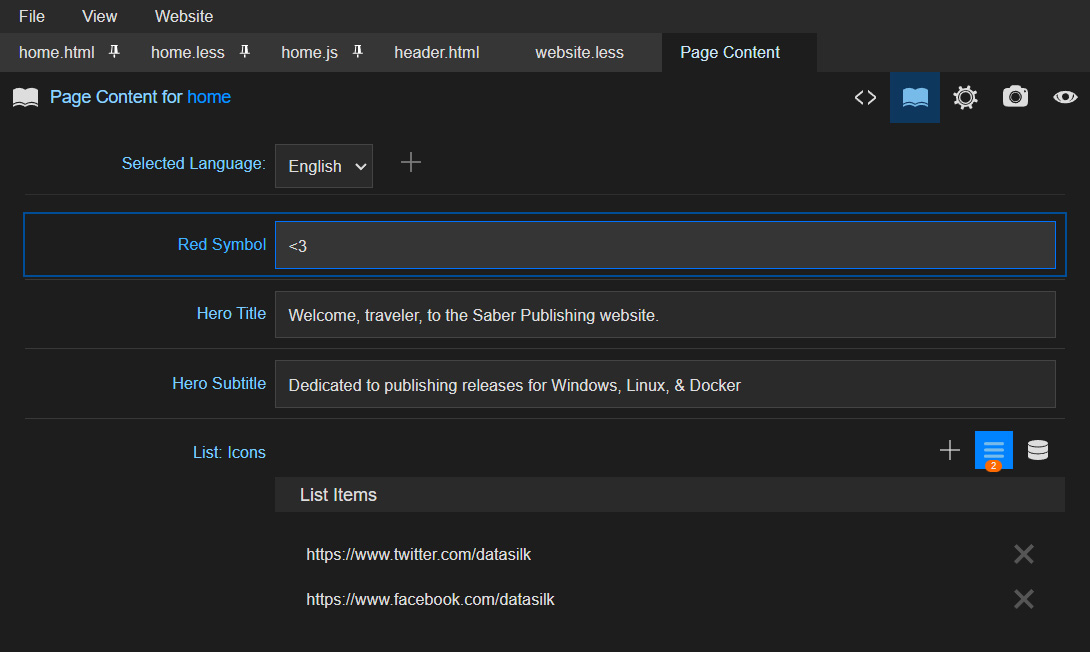
- Generate a form that contains text fields by adding mustache variables to your HTML page (e.g.
<div>{{article-title}}</div>) - Fill out the text fields with your content, which will replace the variables in the HTML page. (e.g.
Insert Article Title Here) - Select which language the content will be written in and allow visitors to change their desired language
- Write content using Markdown syntax that will later be rendered as HTML
Create HTML files as Partial Views within your website's /partials folder and then use mustache variables to
inject your partial views into web pages to render robust, dynamic content across your website.
For example:
{{sidebar "partials/UI/sidebar.html"}}
sidebar is the mustache variable name and the relative file path is located within quotes.
Note: The relative path to all files are case-sensitive
When users visit your website, Saber will only render content that you've developed. Your users will not have to download any resources related to Saber's platform or IDE and so your website will truly feel like it was hand-crafted.
Create dynamic lists of content for your pages by combining a Partial View and a Data Source. For example, you could use the Web Pages data source to display a filtered list of web pages on your blog sidebar. You could also create a custom database of content using the DataSets plugin and utilize your datasets as a data source for the List component. You could also just manually create new items for your list instead of using a data source.
You can create a template web page (e.g. https://yoursite.com/support/template) and design the template page to be
used as a starting point when creating new sub-pages. When navigating to a new URL within your website
(e.g. https://yoursite.com/support/my-new-page), Saber will copy & load the design & content from the associated
template web page when the URL is accessed for the first time. Then, you can customize the content of your new page quickly
and efficiently. This is useful when managing complex websites such as a wiki, blog, or storefront.
Saber supports 3rd-party plugins, including a few plugins developed in-house. You can find a list of plugins @ saber.datasilk.io.
You can learn how to develop Vendor plugins and find a list of supported Vendor plugins and links to their repositories online at saber.datasilk.io and /Vendor/README.md.
All vendor plugins must be installed within the /App/Vendors folder. For example:
git clone https://github.com/Datasilk/Saber-DataSets App/Vendors/DataSets
Saber uses Monaco as its code editor
- Minimap next to scrollbar
- Intellisense for HTML, CSS, LESS, & Javascript
- Syntax Highlighting for HTML, CSS, LESS, Javascript, &
{{mustache}} - Code Folding
- Commands (press F1)
Saber includes a robust security system so administrators can give users permissions to specific features & web pages.
Create Security Groups to manage permissions to features within Saber, then assign users to your Security Groups.
Assign one or more Security Groups to a web page to make the page secure. All secure pages that are accessed by users
without proper permissions will be redirected to the /access-denied page.
Configure Saber to use an email client when emails need to be sent out to your users. Saber comes with an SMTP email client manager but you can always utilize a 3rd-party Vendor plugin (or develop your own plugin) that can send emails another way. For example, you could install the SendGrid plugin if your website uses SendGrid as a way to send emails to users.
Saber will send emails to users based on various actions, such as new account signups or when the user requests to reset their password.

Edit page resources for any URL within your domain name
Browse server-side files and edit them via the IDE within Saber
Use a minimap to scroll through your code faster than ever
Upload images & other resources
Generate form fields by writing HTML variables (e.g. <h2>{{hero-title}}</h2>) and use them to fill out content for your web pages
- Ctrl + S (save)
- Escape (toggle editor / website preview)
- F1 (Text Editor Command window)
- F2 Page Content tab
- F3 Page Settings tab
- F4 Page Resouces tab
- F6 Website Settings tab
- F7 User Management tab
- F8 Security Groups tab
- F9 toggle File Browser
- Manage a list of acceptable meta title prefixes and suffixes to make sure your website has consistentpage titles
- Select which prefix or suffix to add to individual web page titles & descriptions via the page settings
- Manage a list of website icons to use viewed in a web browser, on Android, and on iOS respectively.
- Create multiple headers & footers for your website and select which ones to use within each individual page's settings
- Include custom Javascript & Stylesheet files on specific pages within your website or on every page within your website
Saber uses a few technologies developed by its creator, Mark Entingh, including:
- Datasilk Core MVC as the MVC middleware for ASP.NET Core
- Saber Core as a business logic layer for the Vendor plugin systen
- Tapestry for frontend CSS UI design
- Datasilk Core JS as a frontend JavaScript framework
- Selector as a replacement for jQuery at only 5kb in size
- Upload a cover photo to use when sharing with Facebook, Twitter, and other social platform
- Page-level meta data management
- Fields from schema.org (JSON-LD)
- product related fields (price, saleprice, colors, specs)