You signed in with another tab or window. Reload to refresh your session.You signed out in another tab or window. Reload to refresh your session.You switched accounts on another tab or window. Reload to refresh your session.Dismiss alert
I had some troubles, so I documented my journey. (esp. the "don't use .xcodeproj" part)
Not going to fork and PR this, you may use this text if you want :)
=== Installation ===
To install this app on your iPhone, you will need to build it yourself. For this you will need to have Xcode and [Cocoapods](https://cocoapods.org/) installed.
1. Clone this repo and, in the terminal, go to the folder you cloned it into. Run `pod install`
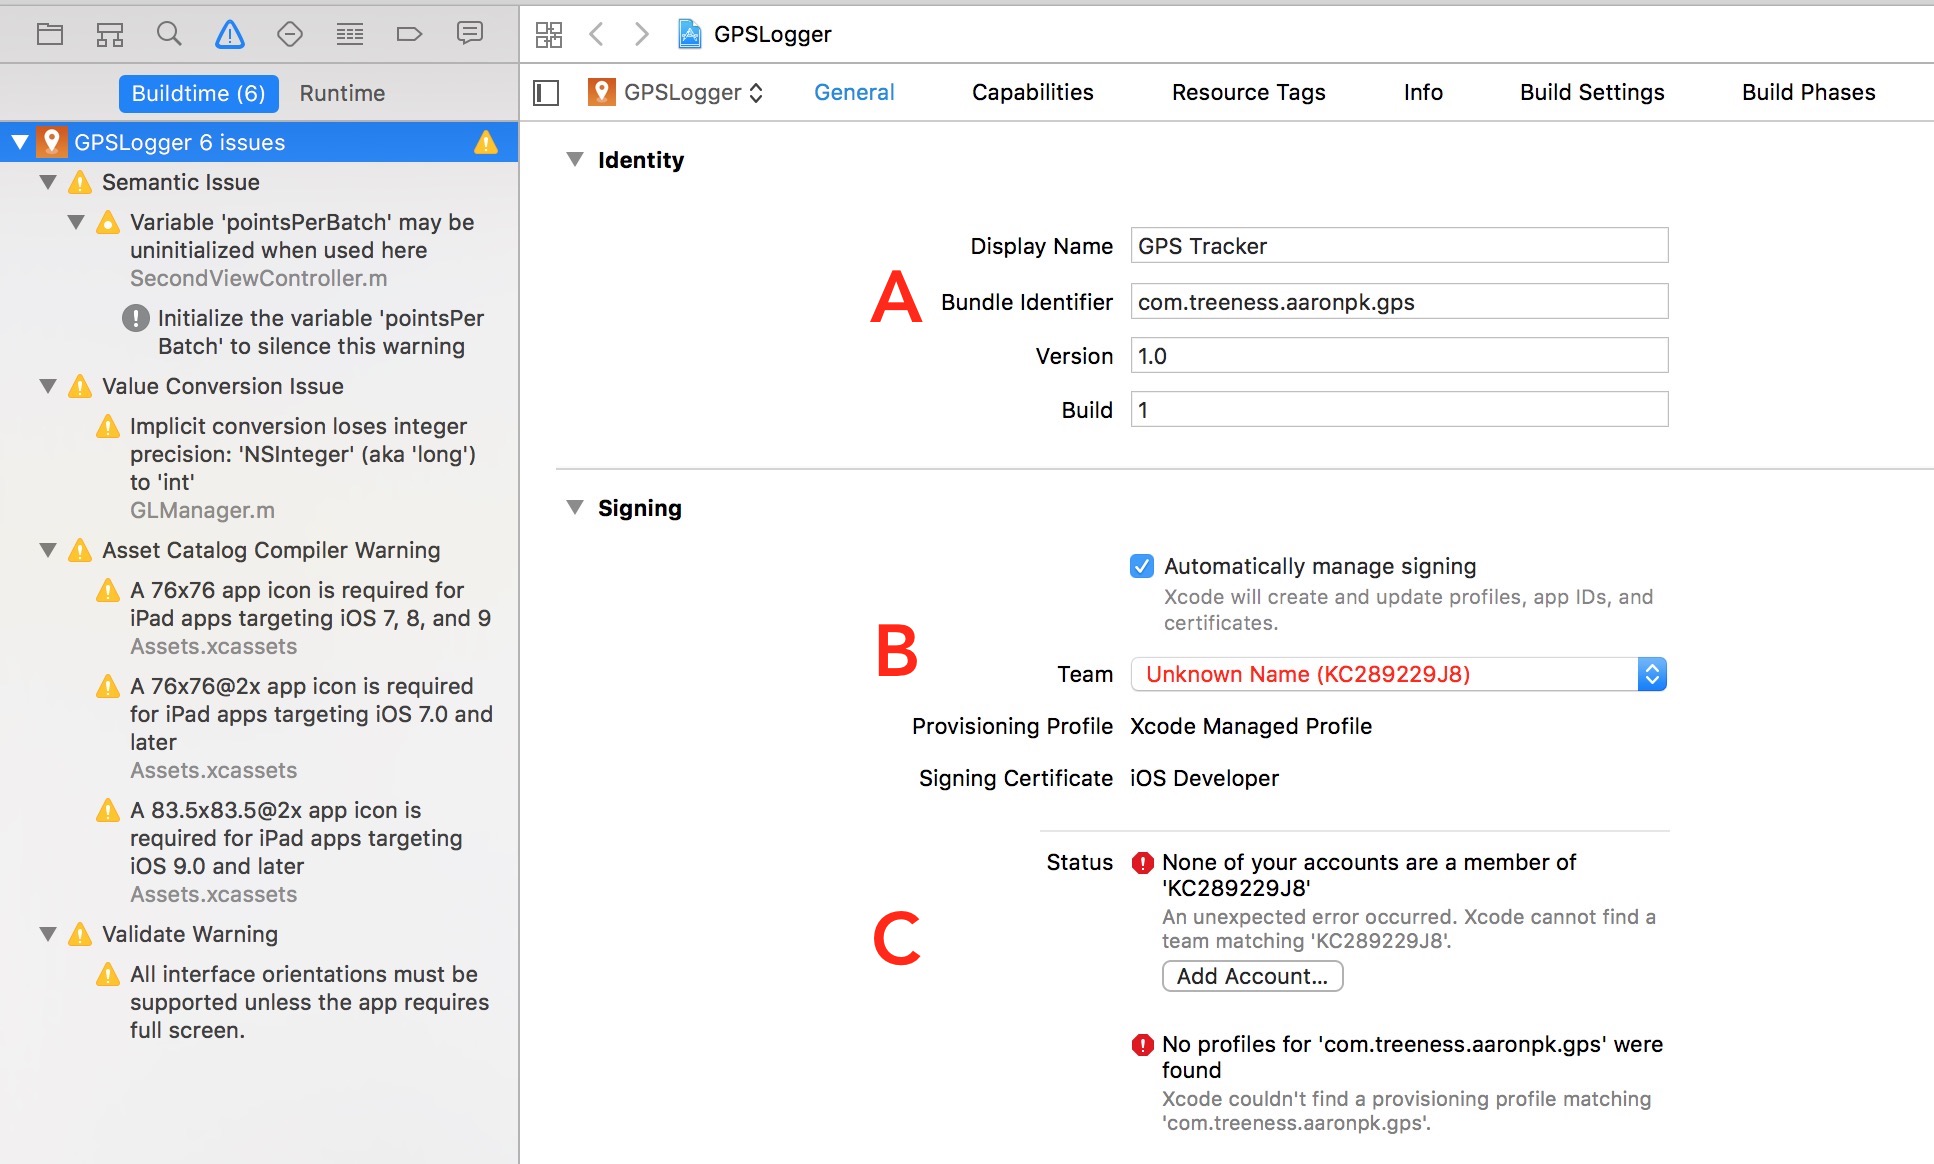
2. Open `GPSLogger.xcworkspace` (not `.xcodeproj`!) in Xcode. Change the bundle identifier (domain name in reverse order is the convention). Under team, choose 'Add account', and log in with an AppleID. If bundle identifier was not accepted, change it and click button 'try again'.

3. Hook up your iPhone, select it from the list (next to the play, stop and 'GPSLogger' buttons) and click the play button to build it.
4. You may need to confirm you trust your AppleID as a developer on your iPhone. For this, go to Settings > General > **Apparaatbeheer** _what's that in English?_ on your iPhone.
=== Installation ===
To install this app on your iPhone, you will need to build it yourself. For this you will need to have Xcode and Cocoapods installed.
Clone this repo and, in the terminal, go to the folder you cloned it into. Run pod install
Open GPSLogger.xcworkspace (not .xcodeproj!) in Xcode. Change the bundle identifier (domain name in reverse order is the convention). Under team, choose 'Add account', and log in with an AppleID. If bundle identifier was not accepted, change it and click button 'try again'.
Hook up your iPhone, select it from the list (next to the play, stop and 'GPSLogger' buttons) and click the play button to build it.
You may need to confirm you trust your AppleID as a developer on your iPhone. For this, go to Settings > General > Apparaatbeheerwhat's that in English? on your iPhone.
The text was updated successfully, but these errors were encountered:
I would like to note that if you have a non-paid Apple developer account, the app lasts for about a week. After that, it stops working, and you need to build it again by hooking up your iPhone and hitting the play/build button. Building it on day 6 does not seem to prevent this from happening: you just need to rebuild it after it broke.
Using a paid Apple developer account would probably fix this.
I had some troubles, so I documented my journey. (esp. the "don't use
.xcodeproj" part)Not going to fork and PR this, you may use this text if you want :)
=== Installation ===
To install this app on your iPhone, you will need to build it yourself. For this you will need to have Xcode and Cocoapods installed.
pod installGPSLogger.xcworkspace(not.xcodeproj!) in Xcode. Change the bundle identifier (domain name in reverse order is the convention). Under team, choose 'Add account', and log in with an AppleID. If bundle identifier was not accepted, change it and click button 'try again'.The text was updated successfully, but these errors were encountered: